
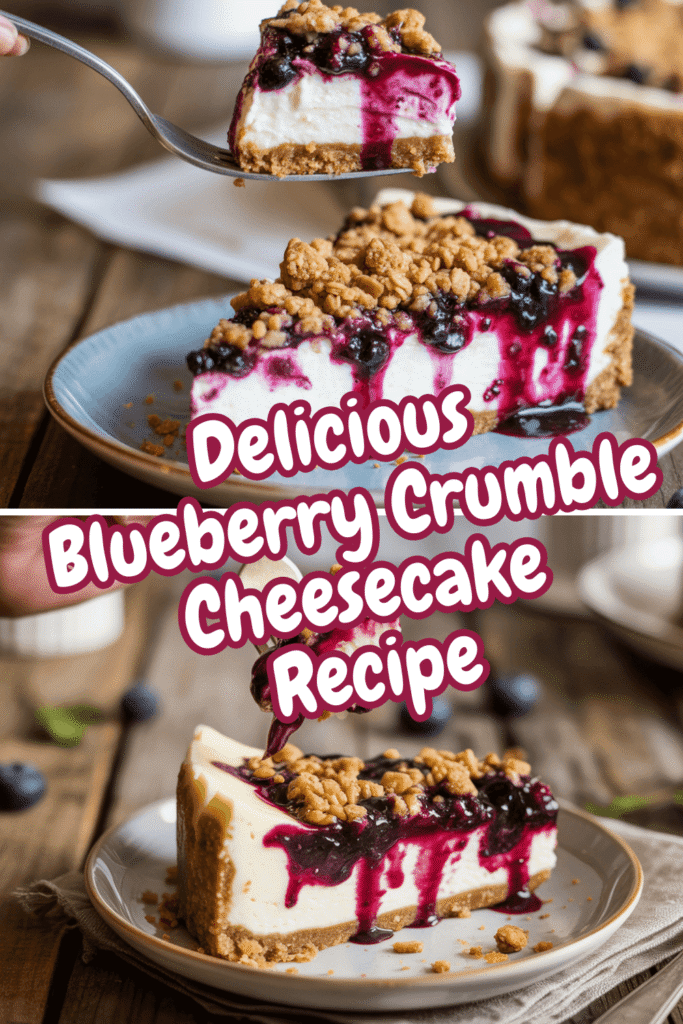
Alright, let’s talk about something important. Life is too short for boring desserts. You know what I mean? You’re at a gathering, and someone brings out a perfectly fine, store-bought cheesecake. It’s… fine. But then you imagine a dessert that combines the creamy, tangy bliss of a New York cheesecake with the rustic, buttery joy of a fruit crumble. That’s not just a dessert; that’s a statement.
That’s exactly what we’re making today: a Blueberry Crumble Cheesecake. This isn’t just a recipe; it’s your new secret weapon. It looks like you spent all day in the kitchen (and okay, you kinda will), but every minute is worth it. So, are you ready to create something legendary? Let’s get into it.
1. Why You Should Choose This Recipe
Why wouldn’t you choose this recipe? IMO, it’s the ultimate crowd-pleaser. But let me break it down for you beyond just its obvious deliciousness.
It Solves the “What to Bring” Dilemma Forever
Ever been invited to a dinner party and panicked about what to make? This cheesecake is your answer. It’s impressive without being overly fussy. It says, “I’m a talented home baker who has their life together,” even if you spent the whole morning in your pajamas debating whether to actually go. We’ve all been there.
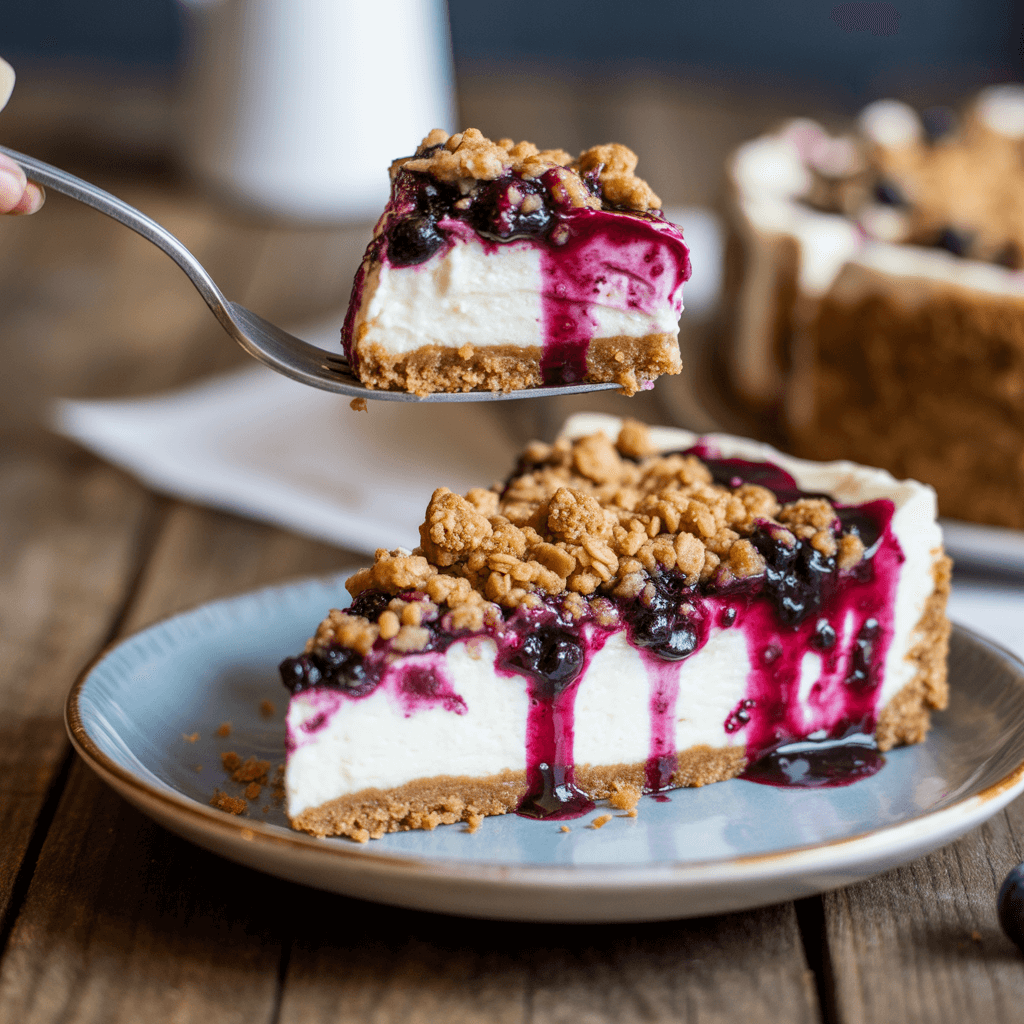
The Textural Symphony
A great dessert needs a play of textures, and this one delivers a whole orchestra. You’ve got:
The Crunch: A buttery graham cracker base.
The Creamy: The dense, velvety, and perfectly tangy cheesecake layer.
The Jammy & The Crispy: The juicy, bursting blueberries topped with a crunchy, oat-y crumble.
Each bite is a journey. It’s an experience, not just a slice of cake.
It’s Surprisingly Forgiving
Think all cheesecakes are temperamental divas that crack if you look at them wrong? This one is different. The blueberry and crumble topping is like the best kind of accessory—it hides any potential imperfections. A tiny crack? Who cares, it’s about to be covered in deliciousness. This recipe builds your confidence.
Seriously, what’s not to love?
2. What You Will Need in the Kitchen
Before we get to the ingredients, let’s talk gear. You don’t need a ton of fancy equipment, but a few key items are non-negotiable. Using the right tools is half the battle won.
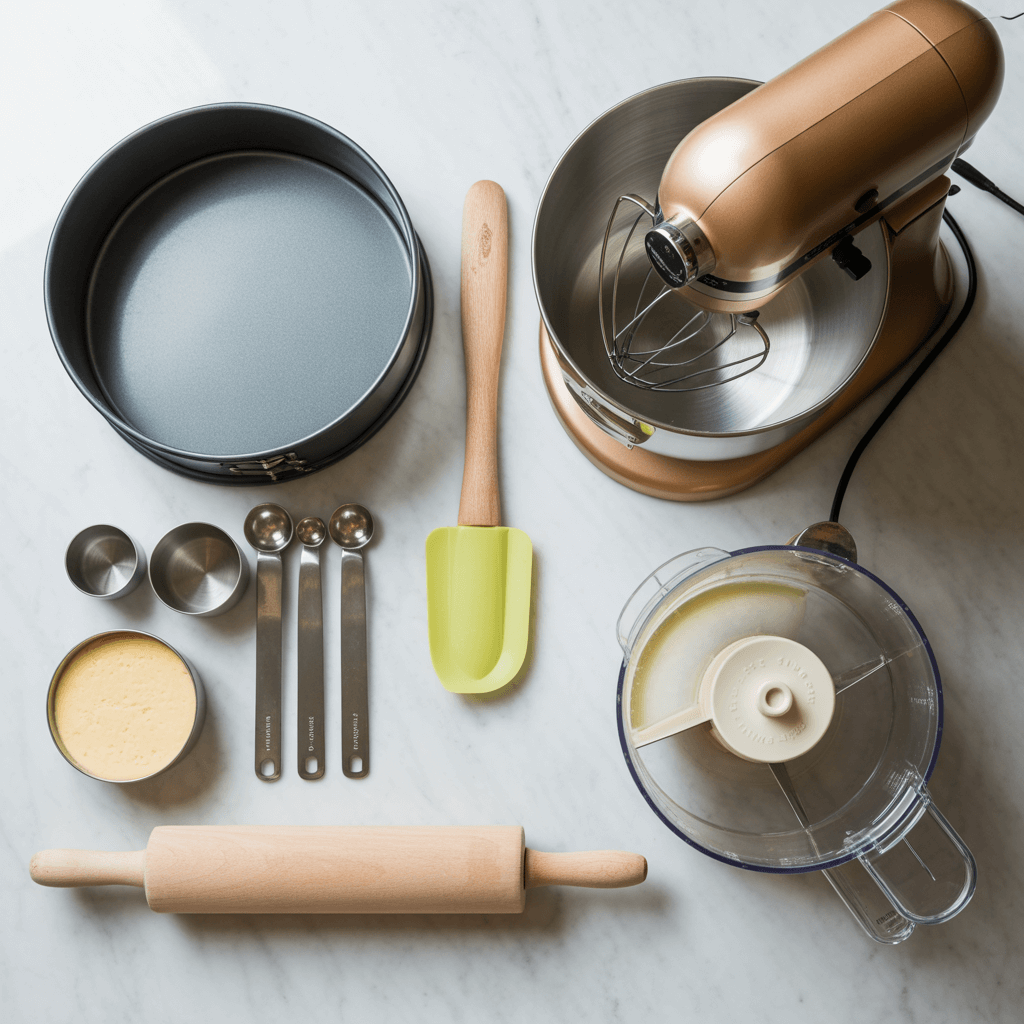
The Essential Hardware
A 9-inch Springform Pan: This is the MVP. Don’t even try to make a cheesecake without one. The removable sides are the only way you’re getting a clean slice out of there.
A Stand Mixer or Electric Hand Mixer: You could mix the filling by hand, but your arm will hate you. For a perfectly smooth, lump-free filling, an electric mixer is your best friend.
A Large Roasting Pan or Dish: This is for the water bath. Don’t panic! I’ll explain why we need it later, but it’s the secret to that creamy texture we’re after.
Food Processor: Super helpful for making the crust and the crumble topping quickly. You can also do this by hand (see below).
Mixing Bowls, Measuring Cups/Spoons, Spatula: The usual suspects.
The “You Can Do It By Hand” Option
No food processor? No problem! For the crust and crumble:
For the Crust: Put the graham crackers in a sturdy zip-top bag and go to town with a rolling pin. It’s a great way to work out any frustration.
For the Crumble: Use a pastry cutter or even just your fingertips to rub the cold butter into the dry ingredients until you get those lovely pea-sized crumbs.
See? Flexible.
3. Ingredients You Are Going to Need
Okay, let’s get to the good stuff. Here’s your shopping list. Pro-tip: make sure all your refrigerated ingredients (cream cheese, eggs, sour cream) are at room temperature. This is crucial for a smooth filling that doesn’t have little lumps of cream cheese. I know it’s tempting to skip this step, but don’t. I’ve learned this the hard way so you don’t have to.
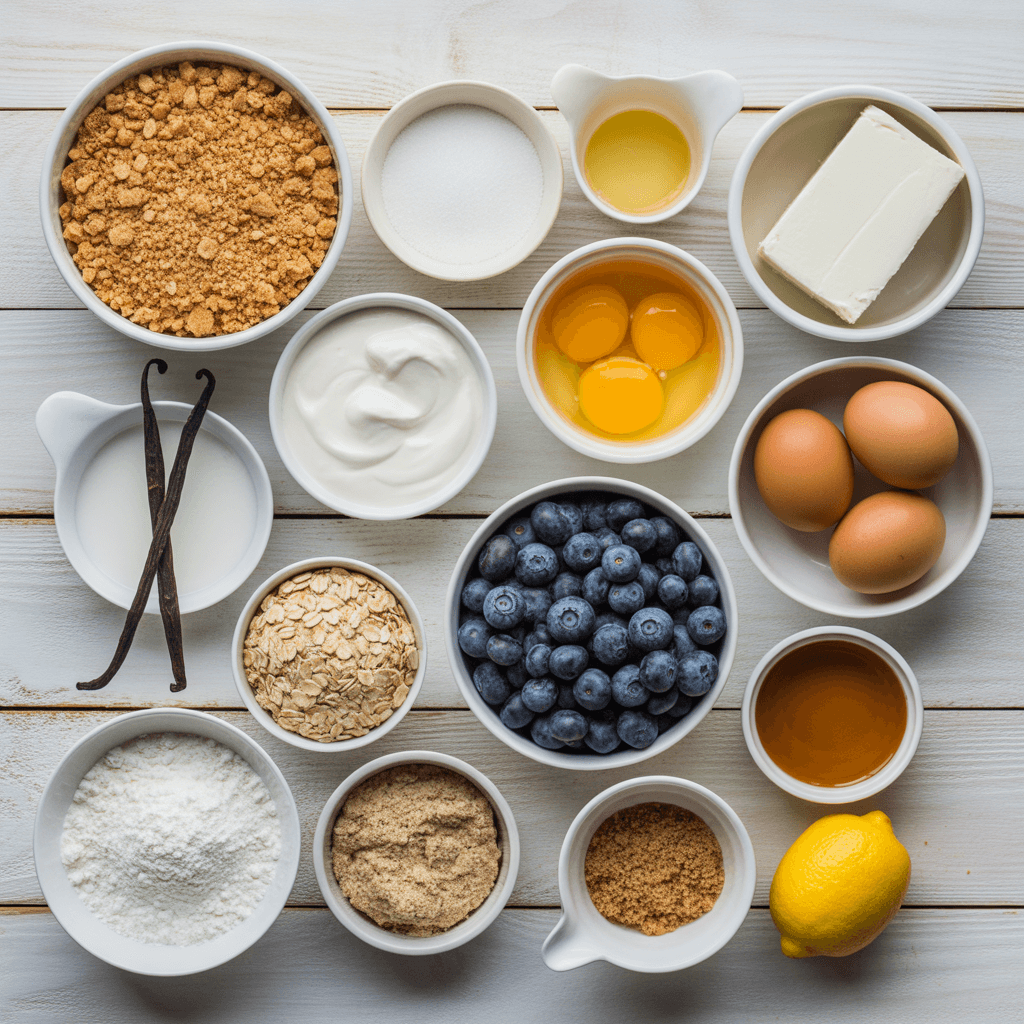
For the Graham Cracker Crust
1 ½ cups graham cracker crumbs (about 10-12 full sheets)
⅓ cup granulated sugar
6 tablespoons unsalted butter, melted
A tiny pinch of salt
For the Cheesecake Filling
24 ounces (three 8-oz blocks) full-fat cream cheese, softened
1 cup granulated sugar
1 cup sour cream, room temperature
3 large eggs, room temperature
1 teaspoon pure vanilla extract
1 tablespoon all-purpose flour (helps stabilize the filling)
A pinch of salt
For the Blueberry Crumble Topping
2 cups fresh blueberries (frozen work too, don’t thaw them)
2 tablespoons granulated sugar
1 tablespoon lemon juice
½ cup old-fashioned rolled oats
½ cup all-purpose flour
¼ cup brown sugar, packed
¼ teaspoon ground cinnamon
4 tablespoons cold unsalted butter, cubed
4. Step-by-Step Guide to Cheesecake Glory
Take a deep breath. We’re going to do this together. Read through all the steps once before you start—it’s like reading the map before a road trip.
Step 1: Conquer the Crust
First things first, preheat your oven to 325°F (160°C).
Grab your springform pan and give it a light coating of non-stick spray. For extra security, I like to line the bottom with a round of parchment paper. It’s like an insurance policy for your crust.
In a medium bowl, mix the graham cracker crumbs, sugar, and salt. Pour in the melted butter and stir until every last crumb is moist. It should feel like wet sand.
Dump the mixture into your prepared pan and press it down firmly and evenly into the bottom. Use the bottom of a flat glass or measuring cup to really pack it in. A firm crust is a crust that won’t fall apart when you slice it.
Bake the crust for 10 minutes. Then, take it out and let it cool on a wire rack. Leave the oven on.
Step 2: Create the Creamy Dream (The Filling)
While the crust is cooling, let’s make the filling. Remember, room temperature ingredients!
In the bowl of your stand mixer (or a large bowl with a hand mixer), beat the cream cheese on medium speed until it’s completely smooth and creamy. Scrape down the sides and bottom of the bowl. You’d be surprised how much cream cheese hides down there.
Gradually add the sugar and beat until it’s fully incorporated. Scrape the bowl again. Are you sensing a theme? Scraping the bowl is the secret ritual of pro bakers.
Beat in the sour cream, vanilla, and flour. Mix until just combined.
Now, with the mixer on low speed, add the eggs one at a time. Mix only until each egg disappears into the batter. Over-mixing at this stage incorporates too much air and can cause the cheesecake to puff up and crack. Be gentle!
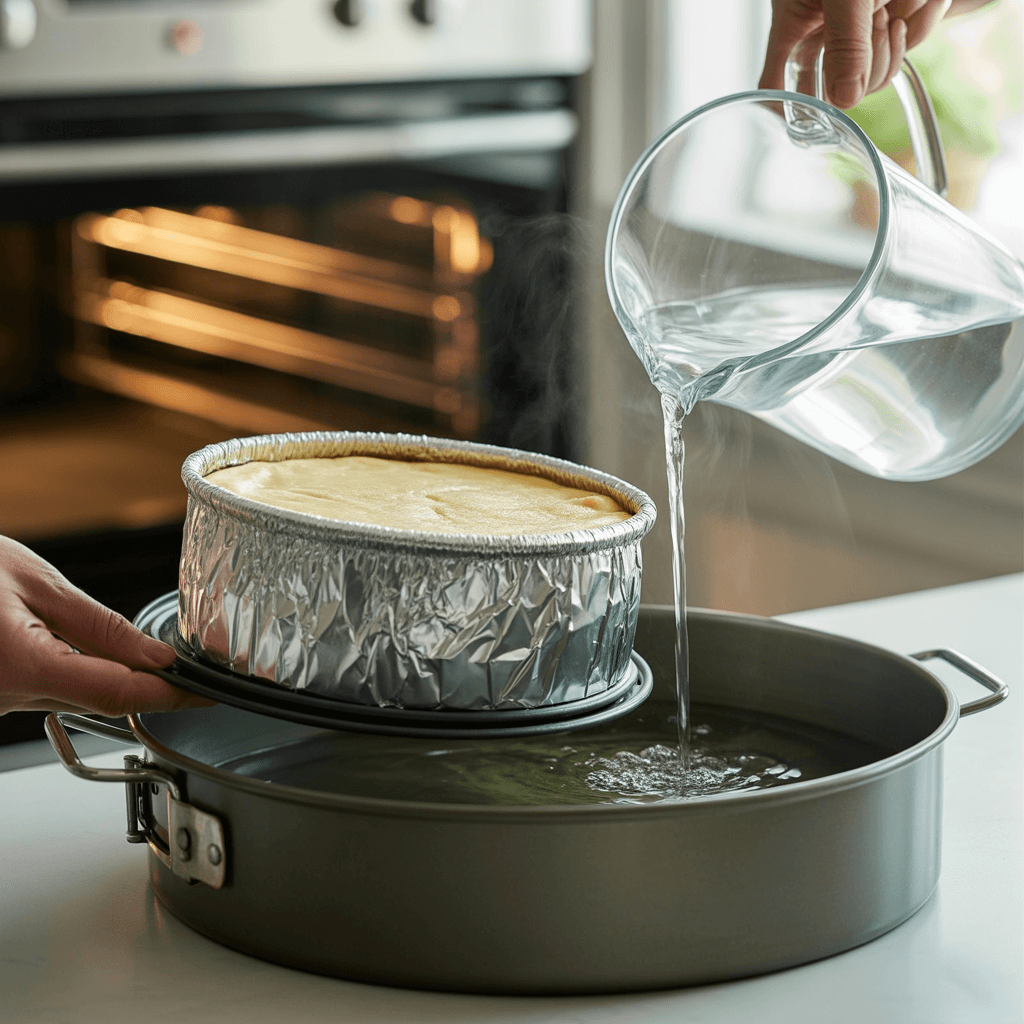
Step 3: The Infamous Water Bath
I know, it sounds intimidating. But trust me, it’s the key to a creamy, dreamy, crack-free top. The water bath creates a steamy environment that cooks the cheesecake gently and evenly.
Place your springform pan with the cooled crust on a large piece of heavy-duty aluminum foil. Fold the foil up the sides of the pan to create a waterproof shield. You don’t want any water sneaking in.
Pour the beautiful filling onto the crust and smooth the top.
Place the foil-wrapped pan into your large roasting pan. Carefully pour hot water into the roasting pan until it comes about halfway up the sides of the springform pan.
Gently, and I mean gently, place the whole setup into the preheated oven. Bake for 45-55 minutes. The edges should be set, but the center will still have a slight jiggle to it—like Jell-O. That’s perfect.
Step 4: The Patience Test (Cooling)
This is the hardest part. Do not, I repeat, do NOT open the oven door.
Turn off the oven. Crack the oven door open just a tiny bit with a wooden spoon.
Let the cheesecake cool slowly in the oven for one hour. This gradual temperature change prevents shocking the cheesecake, which is the main cause of cracking.
After an hour, remove the cheesecake from the water bath, take off the foil, and let it cool completely on a wire rack. Then, cover it and refrigerate for at least 6 hours, but preferably overnight. This chilling time is non-negotiable for the perfect slice. Go watch a movie. Read a book. The wait is worth it.
Step 5: The Grand Finale (Topping & Serving)
The next day, it’s showtime!
Make the Blueberry Layer: In a small saucepan, combine the blueberries, 2 tablespoons of sugar, and lemon juice. Cook over medium heat for 5-7 minutes, until the blueberries break down and the mixture thickens slightly. Let it cool completely.
Make the Crumble Topping: Preheat your oven to 350°F (175°C). In a bowl, combine the oats, flour, brown sugar, and cinnamon. Add the cold, cubed butter. Using your fingers or a pastry cutter, work the butter into the dry ingredients until you have a crumbly mixture. Spread this on a small baking sheet and bake for 10-12 minutes, until golden brown. Let it cool.
Assemble: Remove the chilled cheesecake from the springform pan. Spread the cooled blueberry compote evenly over the top. Sprinkle the baked crumble topping generously over the blueberries.
Now, for the moment of truth. Dip your knife in hot water, wipe it dry, and make your first clean cut. Admire your work. You made this!
So, there you have it. Your path to Blueberry Crumble Cheesecake greatness. It’s a project, sure, but it’s one of the most satisfying bakes you’ll ever do. Now go forth and impress everyone. You’ve totally got this.

