
You know that feeling? It’s lunchtime, you’re hungry, but the thought of another sad salad or a basic sandwich just doesn’t spark joy. You want something warm, something cheesy, something that feels like a hug from the inside. My friend, you have stumbled upon the recipe that will ban lunchtime boredom forever.
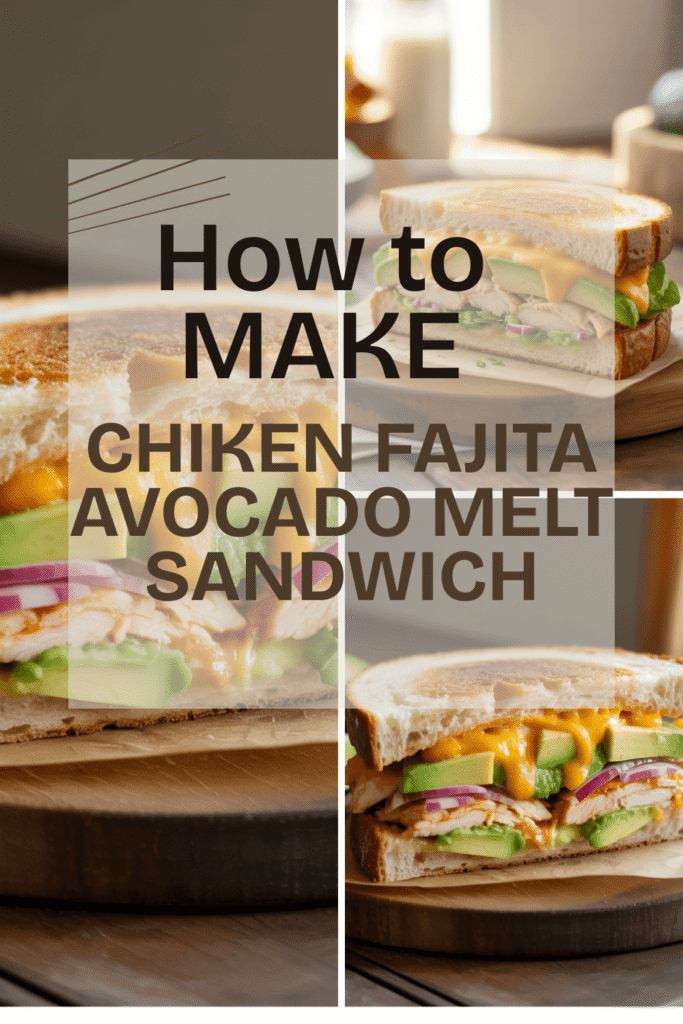
I’m talking about the Chicken Avocado Melt. This isn’t just a sandwich; it’s an experience. It’s the glorious love child of a creamy chicken salad and a perfectly toasted, cheese-drenched grilled cheese. I’ve been perfecting this recipe for years, and IMO, it’s the ultimate quick and satisfying meal. Let’s get into it.

1. Why This Sandwich is a Game-Changer
Why should you drop everything and make this specific sandwich right now? Let me count the ways.
It’s the Ultimate Texture and Flavor Combo
Ever bitten into a sandwich that’s just… perfect? That’s the goal here. We’re combining creamy, cool, zesty chicken avocado salad with the hot, crispy, gooey goodness of melted cheese and toasted bread. The contrast is nothing short of magical. You get the rich, buttery smoothness of the avocado, the tender bite of chicken, the sharp tang of the red onion, and the way the cheese just stretches for miles. It’s a symphony in your mouth, and you’re the conductor.
It’s Surprisingly Simple (No, Really)
I know what you’re thinking. “This sounds fancy. I’m not a chef.” Trust me, neither am I on a Tuesday night after a long day. The beauty of this recipe is its simplicity. If you can chop an avocado and use a skillet, you’ve got this. We’re using a few clever shortcuts (like rotisserie chicken) to get maximum flavor with minimal effort. This isn’t a fussy, complicated restaurant dish; it’s a down-to-earth, glorious sandwich you can whip up in under 20 minutes.
It’s Infinitely Customizable
Are you a spice fiend? Add some jalapeños. Not a fan of red onion? Leave it out! The basic formula is your playground. This recipe is less of a rigid rulebook and more of a trusted guide. You can make it your own, which, FYI, is the secret to any great home-cooked meal.
2. What You Will Need in the Kitchen
You don’t need any fancy equipment for this. Just a few basics.
The Non-Negotiable Gear
A Good Skillet or Frying Pan: This is your MVP. A cast-iron skillet is my personal favorite because it gives an unbeatable, even sear, but any heavy-bottomed non-stick pan will work beautifully.
A Mixing Bowl: For combining our glorious chicken avocado filling. Size doesn’t matter too much, just something big enough to stir without making a mess.
A Sharp Knife and Cutting Board: For dicing the avocado, onion, and any other add-ins you choose. A sharp knife makes this process safe and quick.
A Spatula: You’ll need this for flipping your sandwich with confidence. No one wants a meltdown during the flip (pun intended).
The Nice-to-Haves
A Panini Press: If you have one, fantastic! It makes achieving that perfect, pressed toast incredibly easy. But it’s absolutely not required. We’ll get the same result with our skillet.
A Pastry Brush: For buttering the bread. You can just use your fingers or the back of a spoon, but a brush gives you a nice, even coating.
3. Ingredients You Are Going to Need
Here’s your shopping list. This makes one generously sized sandwich, but do yourself a favor and double or triple it. You’ll thank me later.
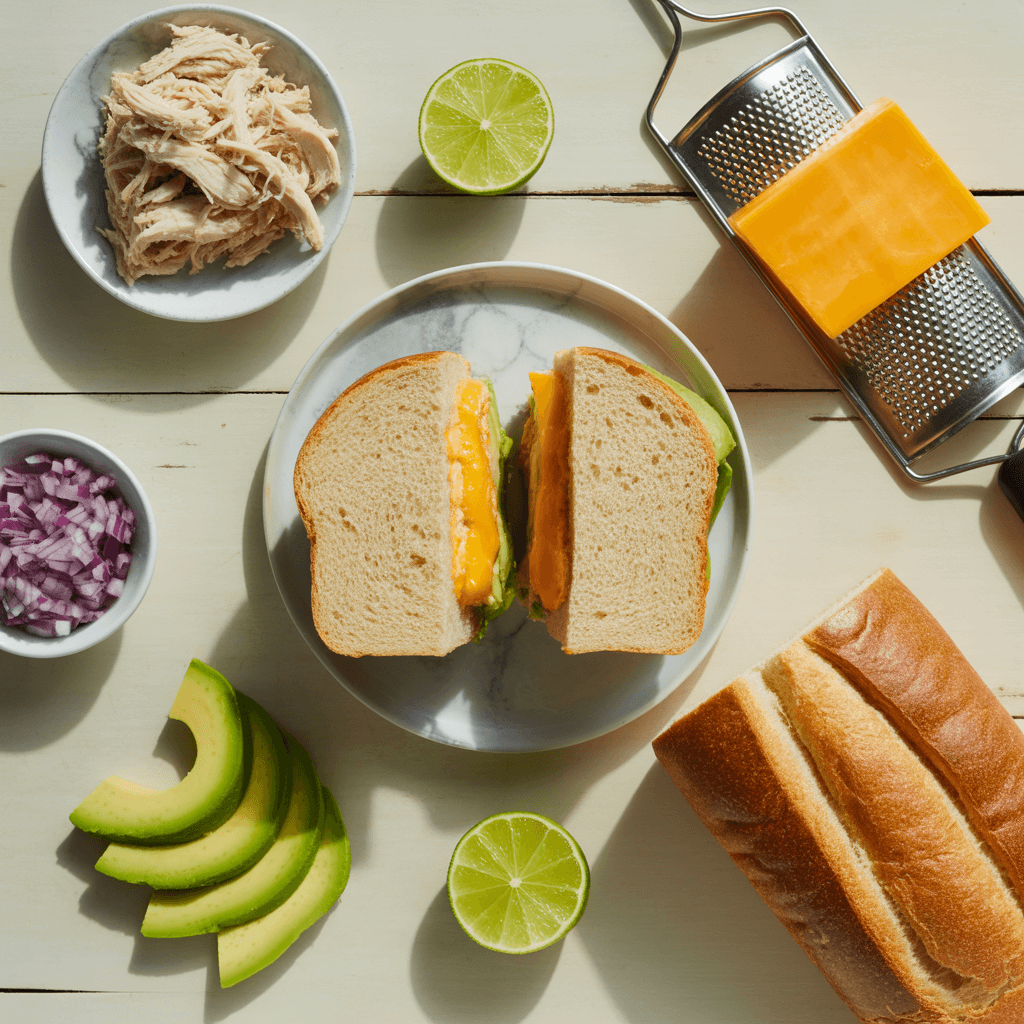
The Main Cast
2 Slices of Good Bread: This is the foundation, so choose wisely! I swear by a sturdy sourdough or a hearty country bread. It holds up to the filling without getting soggy. Avoid super-soft, thin sandwich bread—it can’t handle the pressure.
1 cup Cooked Chicken, shredded or diced: This is our biggest shortcut. A rotisserie chicken from the store is your best friend here. It’s already flavorful and saves you so much time. Leftover grilled or baked chicken works perfectly, too.
1 Ripe Avocado: The star of the show. You want an avocado that gives slightly to gentle pressure. Too hard, and it’s useless; too soft, and it’s mush.
1/4 cup Shredded Cheese: Use a cheese that melts well. This is non-negotiable. I’m a big fan of a sharp cheddar for its flavor, or pepper jack if I want a little kick. Provolone or Swiss are also elite choices.
1 Tbsp Red Onion, finely diced: This adds a necessary bite and crunch. If raw onion is too strong for you, you can quickly soak the diced pieces in cold water for 5 minutes to mellow them out.
1 Tbsp Mayonnaise: This adds a little creaminess to the filling and helps bind it. You can substitute Greek yogurt if you prefer.
1 tsp Lime Juice (or Lemon Juice): The acid is crucial! It brightens up the rich avocado and keeps it from turning brown too quickly.
Butter, for spreading: About 1 tablespoon, softened. This is what gives our bread that golden, crispy exterior.
The Flavor Boosters (The Supporting Cast)
Salt and Black Pepper: Season at every step. Taste as you go!
Garlic Powder: A tiny pinch adds a depth of flavor that’s just chef’s kiss.
Optional Add-ins: This is where you get creative.
A pinch of smoked paprika or cumin
Chopped cilantro or parsley
Crispy cooked bacon, crumbled
Sliced jalapeños
A dash of hot sauce
4. Your Step-by-Step Guide to Sandwich Glory
Okay, the stage is set, the players are ready. Let’s make this masterpiece.
Step 1: Create the Chicken Avocado Filling
First, grab your mixing bowl. Cut the avocado in half, remove the pit, and scoop the flesh into the bowl. Add the lime juice right away and give it a rough mash with a fork. You don’t want it completely smooth—a little texture is nice.
Now, add your shredded chicken, diced red onion, mayonnaise, and a good pinch of salt, pepper, and that garlic powder. Mix it all together until everything is well combined. Taste it! Does it need more salt? More lime? Adjust it now. This is your chance to make it perfect.
Step 2: Assemble the Sandwich Like a Pro
Lay your two slices of bread on the cutting board. Evenly distribute the shredded cheese on both slices of bread. Why? This creates a magical cheese barrier that helps seal the sandwich and prevents the moist filling from making the bread soggy. It’s a pro tip, and we’re all pros here.
Now, pile your chicken avocado mixture onto one slice of bread, spreading it right to the edges. Gently press the other slice of bread, cheese-side-down, onto the filling. Press down lightly to compact it a bit.
Step 3: Butter and Get Sizzling
Take your softened butter and generously spread it on the outside of both slices of bread. This is the key to that beautiful, golden-brown, crispy crust.
Place your skillet over medium heat. Let it get properly warm—don’t rush this. If you throw the sandwich on a cold pan, the bread will soak up the butter before it toasts. Not ideal. A medium heat ensures the bread toasts and the cheese melts without burning the outside.
Step 4: The Perfect Toast
Carefully place your sandwich in the hot skillet. Now, here’s another secret: cover the skillet with a lid. I know, it sounds weird for a sandwich, right? But trapping that heat helps the cheese melt thoroughly and quickly, ensuring the inside is hot and gooey by the time the outside is perfectly crisp.
Cook for about 3-4 minutes, until the bottom is a deep golden brown. Peek underneath with your spatula to check. Then, flip! Cook the other side for another 3-4 minutes, covered, until it’s equally gorgeous.
Step 5: The Finale (The Hardest Part)
Remove the sandwich from the pan and place it on a cutting board. I know the temptation to bite into it immediately is overwhelming. But you must resist! Let the sandwich rest for exactly one minute before cutting. This allows the filling to set just a little, so it doesn’t all squirt out on the first bite. It’s a test of willpower, but it’s worth it.
Then, slice it diagonally (because it tastes better that way, it’s a scientific fact) and serve.
So, there you have it. Your path to lunchtime enlightenment. This Chicken Avocado Melt is more than just a recipe; it’s a reminder that the best meals are often the simplest ones, made with a little bit of know-how and a whole lot of love. Now go forth and make a sandwich that will make your taste buds sing. You’ve earned it.

