

Okay, let’s be real. You’ve seen the pictures. A golden, flaky, sugar-dusted pastry that looks like a croissant and a muffin had a beautiful, buttery baby. You’ve craved it. You’ve wondered, “Can I, a mere mortal, possibly create such a thing in my own kitchen?”
The answer is a resounding yes. I’m not going to lie to you and say it’s as easy as scrambling eggs. This is a project. But is it a fun, incredibly rewarding project that will make your entire home smell like a Parisian bakery and impress everyone you know? Absolutely. I’ve been through the butter-splattered trenches, and I’m here to guide you through it. Forget the intimidation; we’re in this together. Let’s make some croissant-muffin magic.
1. Why You Should Choose This Recipe (Besides the Obvious Butter High)

So, why would you spend a good part of your day folding dough when you could just, you know, go buy one? I get it. Time is precious. But trust me, the reasons to DIY this are more compelling than you might think.
The Bragging Rights Are Unreal
Let’s start with the shallowest (but still totally valid) reason. Walking into a brunch with a tray of homemade croissant-muffins doesn’t just say, “I brought pastries.” It screams, “I am a culinary wizard who possesses patience and skill you can only dream of.” The Instagram likes are just a bonus.
You Control the Universe (of Ingredients)
When you make these yourself, you decide everything. Not a fan of super-sweet? Dial back the sugar. Want to add a layer of chocolate hazelnut spread or a sprinkle of orange zest? You’re the boss. You can use high-quality European butter, which makes a world of difference, and avoid any weird preservatives. The flavor and texture you can achieve at home, when done right, can honestly surpass many coffee shop versions.
It’s Weirdly Therapeutic
There’s a certain rhythm to laminating dough—the rolling, the folding, the chilling. In a world of constant notifications, focusing on a single, tactile task can be a form of meditation. A slightly messy, floury meditation, but meditation nonetheless. You’re creating something beautiful with your own hands, and that’s a fantastic feeling.
Ever wondered why artisan bakers seem so zen? Now you’ll know.
2. What You Will Need in the Kitchen (Gear Up!)
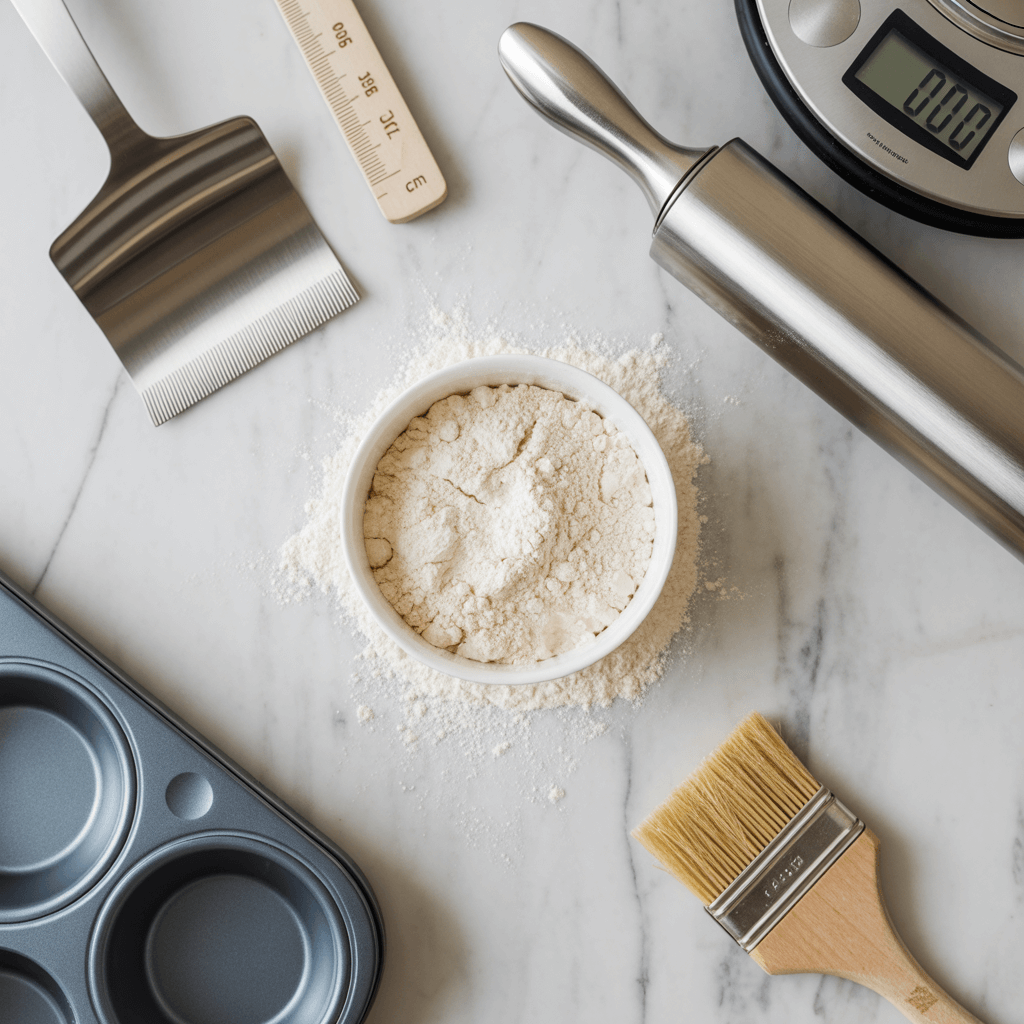
You don’t need a professional bakery setup, but a few key tools will make your life infinitely easier. Trying to roll out cold butter without a rolling pin is a path to frustration I don’t recommend.
Here’s your battlefield kit:
A Stand Mixer with a Dough Hook: You can do this by hand, but a stand mixer makes the initial dough development so much simpler and quicker. If you’re going the hand-kneading route, I salute your biceps.
A Rolling Pin: A must-have. No substitutes. 🙂
A Ruler or Measuring Tape: This is non-negotiable. Laminating dough is a science, and eyeballing it is a recipe for dense, bready pastries. Precision is your friend here.
Plastic Wrap or Reusable Beeswax Wraps: You’ll be chilling the dough a lot. Like, a lot.
A Baking Sheet & Muffin Tin: We’re making muffins, so a standard 12-cup muffin tin is perfect. A baking sheet is useful for catching any buttery drips.
A Pastry Brush: For that gorgeous, golden egg wash finish.
3. Ingredients You Are Going to Need (Quality Matters)
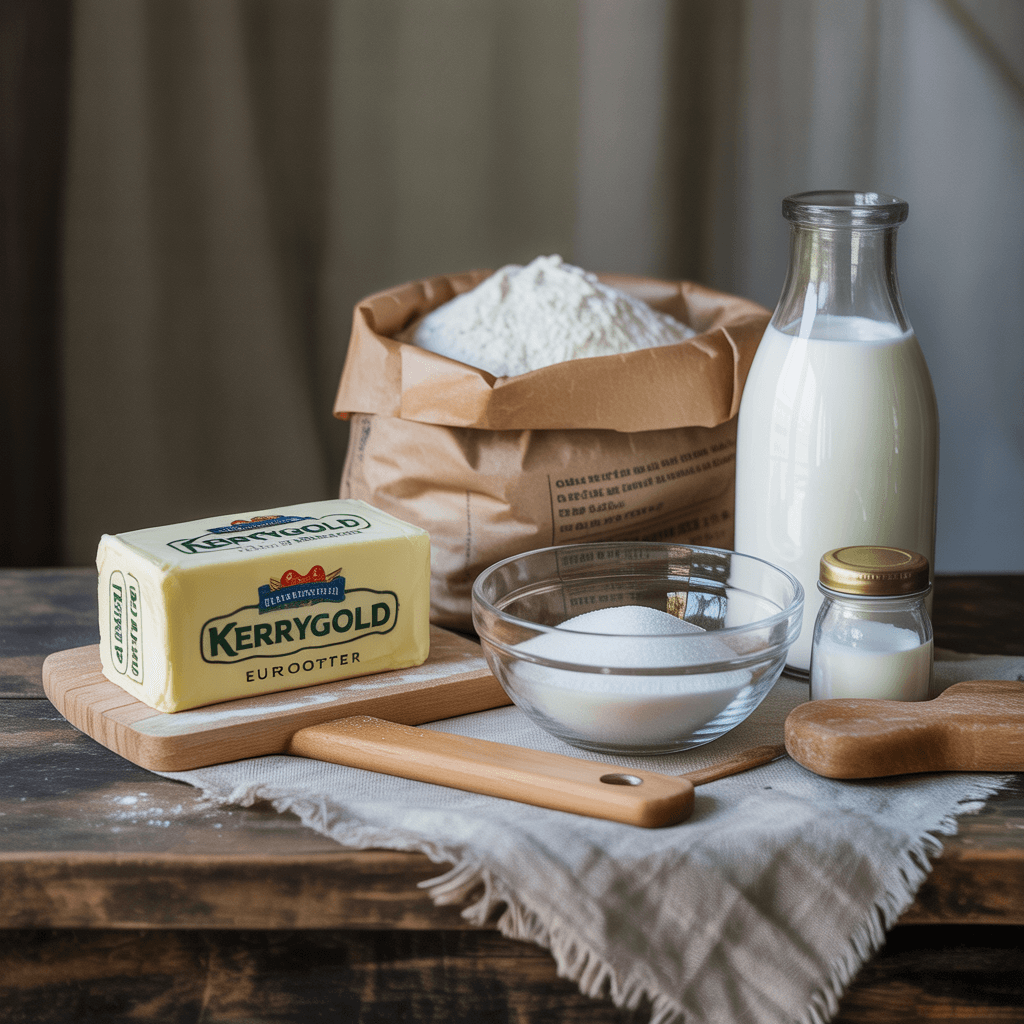
This is not the time to grab the margarine. The ingredient list is deceptively simple, so the quality of each component really shines through.
For the Dough (The Détrempe):
4 cups (500g) All-Purpose Flour (plus more for dusting)
1/3 cup (65g) Granulated Sugar
1 packet (2 1/4 tsp) Active Dry Yeast
1 1/4 cups (300ml) whole milk, lukewarm
2 tsp Salt
For the Butter Block (The Beurrage):
1 1/2 cups (340g) high-quality European-style butter, cold but pliable (I like Plugrá or Kerrygold. The higher fat content is crucial.)
2 tablespoons of all-purpose flour
For Assembly & Finish:
1 egg (for egg wash)
1 tbsp water or milk
Pearl sugar or coarse sugar for sprinkling (optional, but highly recommended for that professional crunch)
FYI, the French terms are just for fun. Feel free to call them “the doughy part” and “the buttery block of joy.”
4. Step-by-Step Guide to Croissant-Muffin Glory
Here we go. The main event. Read through all the steps first, and don’t panic. We’re taking it one fold at a time. IMO, the key is to keep your butter cold and your patience warm.
Step 1: Make the Dough
First, activate your yeast. Whisk the yeast into the lukewarm milk and let it sit for about 5-10 minutes until it gets foamy. If it doesn’t foam, your yeast might be asleep forever (aka dead), and you should start over.
In your stand mixer bowl, combine the flour, sugar, and salt. Pour in the yeasty milk and mix with the dough hook on low speed until everything comes together. Then, increase the speed to medium and knead for 5-7 minutes until the dough is smooth and slightly elastic. It will be a bit soft and sticky, and that’s okay.
Shape the dough into a ball, place it in a lightly oiled bowl, cover it with plastic wrap, and let it rise in a warm spot for about 1-1.5 hours, or until roughly doubled in size. While that’s happening, let’s make the heart of the operation.
Step 2: Prepare the Butter Block
Take your cold butter and cut it into tablespoons. Place them in a bowl with the 2 tablespoons of flour. Use a pastry cutter or your fingers (work quickly so the butter doesn’t melt!) to mix and smash the butter and flour together until it’s pliable but still cold.
Lay a large piece of plastic wrap on the counter. Scoop the butter mixture onto it and shape it into a rough 6×6 inch square. Fold the plastic wrap over the top and use your rolling pin to gently whack and roll the butter into a neat, flat square that’s about 7×7 inches. Place this butter block in the fridge to chill while your dough finishes rising.
Step 3: The First Lock-In and Fold
Once your dough has doubled, punch it down gently. On a lightly floured surface, roll it out into a square that’s about 10×10 inches.
Take your butter block out of the fridge. Unwrap it and place it in the center of your dough square at a 45-degree angle, so it looks like a diamond inside a square. Fold the corners of the dough square over the butter block, meeting in the middle like you’re wrapping a present. Pinch the seams together tightly to completely encase the butter. This is called the “lock-in” and it’s vital for keeping the butter from leaking out during rolling.
Now, with your rolling pin, start gently tapping the dough package to flatten it slightly. Then, roll it out into a long rectangle, about 8×20 inches. Be patient and use even pressure. If you see butter breaking through, dust a little flour over the spot.
Fold the dough like a business letter: Fold the bottom third up, and the top third down over it. This is your first single fold. Wrap it in plastic and chill in the fridge for 30-45 minutes.
Step 4: The Second and Third Folds
Take the dough out of the fridge (it should feel firm). Place it on the floured counter with the open seam facing to your right, like a book. Roll it out again into another 8×20 inch rectangle and perform the same business-letter fold. Wrap and chill for another 30-45 minutes.
Repeat this process one more time for a total of three single folds. Each fold is creating those hundreds of delicate, flaky layers. After the final fold, wrap the dough tightly and chill it for at least 4-6 hours, or ideally, overnight. This long rest allows the gluten to relax and the butter to get properly cold again, which is the secret to a great rise.
Step 5: Shaping Your Hybrids
The next day, take your dough out of the fridge. It’s showtime! Lightly grease your muffin tin.
Roll the dough out into a large rectangle, about 12×18 inches and 1/4-inch thick. Using a pizza cutter or sharp knife, cut the dough into long strips that are about 1.5 to 2 inches wide.
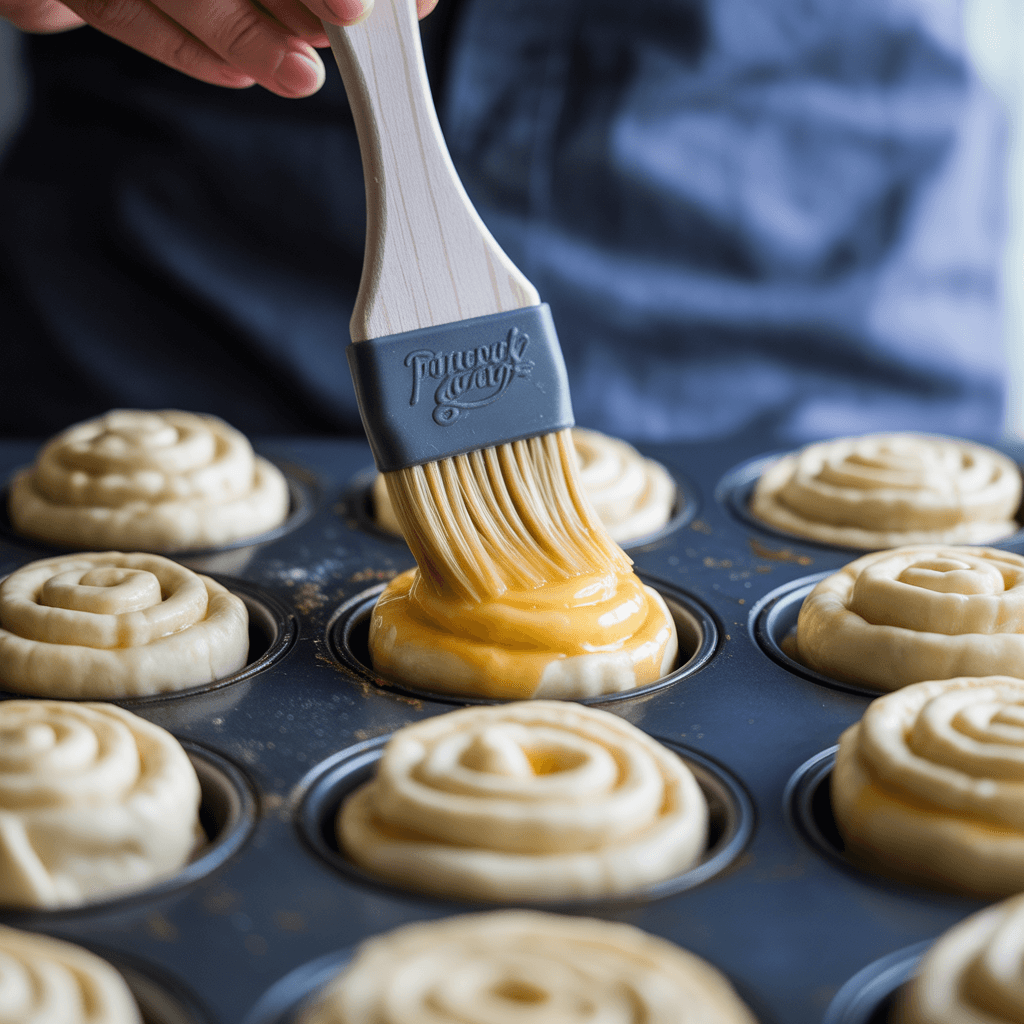
Now, here’s the fun part. Take one strip and gently stretch it a little. Then, starting at one end, begin rolling it up loosely into a spiral, like a snail shell. Tuck the end under and place the spiral, swirl-side-up, into a cup of the muffin tin. Repeat with the remaining strips.
Step 6: The Final Proof and Bake
Cover the muffin tin loosely with a clean kitchen towel and let the pastries rise in a warm place for 1-2 hours. They won’t double, but they will look noticeably puffy.
Preheat your oven to 375°F (190°C). Whisk the egg with a tablespoon of water or milk to make an egg wash. Gently brush the top of each pastry with the wash. This gives them that beautiful, professional shine. Sprinkle generously with pearl sugar.
Bake for 18-22 minutes, or until they are a deep, golden brown. Try to resist opening the oven door too early!
Step 7: The Hardest Part: Cooling
Once they’re beautifully golden, take them out of the oven. Let them cool in the tin for just 5 minutes, then carefully transfer them to a wire rack to cool completely.
I know, I know. You want to eat one immediately. But if you cut into a laminated pastry while it’s hot, the steam—which is responsible for creating those flaky layers—will escape, and the interior will become gummy. Letting them cool completely is non-negotiable for the perfect texture. It’s a cruel test of willpower, but you’ve come this far. You can do it.
And there you have it. You’ve just created something truly special. It might seem like a marathon, but most of it is waiting time. You’ve mastered the art of lamination, and your kitchen smells incredible. So, go on, pour yourself a coffee, bite into your creation, and savor the sound of a thousand buttery layers shattering. You’ve earned it.

