
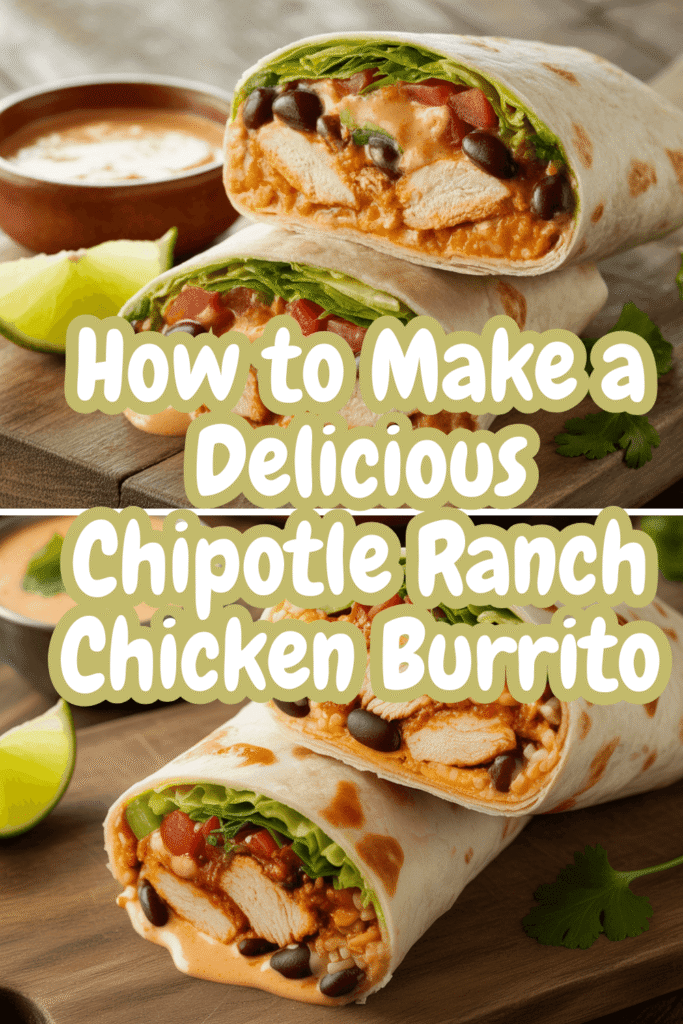
Let’s be real. You’re not just hungry. You’re on a mission. You’re craving that perfect, handheld feast—something bursting with flavor, satisfyingly filling, and just a little bit messy in the best way possible. You’ve thought about ordering takeout, but let’s be honest, that gets expensive and, frankly, a little sad after the third time this week.
What if I told you that you can create a burrito so good, it’ll ruin all other burritos for you? A burrito that combines the smoky heat of chipotle with the cool, creamy tang of ranch, all wrapped up with perfectly seasoned chicken? Welcome, my friend. You’ve come to the right place. Let’s make a Chipotle Ranch Chicken Burrito that will absolutely be your new favorite thing.
Why You Should Choose This Recipe (Besides the Obvious Deliciousness)
Okay, so why this burrito? Why should you spend your precious time assembling this instead of just, you know, pouring cereal into a bowl? IMO, the reasons are pretty compelling.
First, it’s a total crowd-pleaser. Are you cooking for a family with diverse tastes? Got roommates who are notoriously picky? The chipotle ranch combo is a magical peace treaty. The chipotle brings a smoky warmth that isn’t overwhelmingly spicy, and the ranch cools everything down. It’s a flavor balance that just works every single time.
Second, you are in complete control. When you make it yourself, you get to be the boss. Extra cheese? Go for it. Want to load it up with black beans and corn? You’re the CEO of this burrito. No more politely asking for “just a little more sauce” at a restaurant, only to be met with a miserly drizzle. Here, you can drench it. This is your kingdom.
And finally, it’s shockingly practical. This isn’t some fussy, restaurant-style dish that dirties every pan in your kitchen. We’re going to be smart about it. Plus, the components are fantastic for meal prep. Cook a big batch of the chicken on Sunday, and you’ve got the heart of an amazing lunch or dinner ready to go in minutes all week. See? You’re not just making a burrito; you’re making your life easier.
What You Will Need in the Kitchen (Your Burrito Command Center)
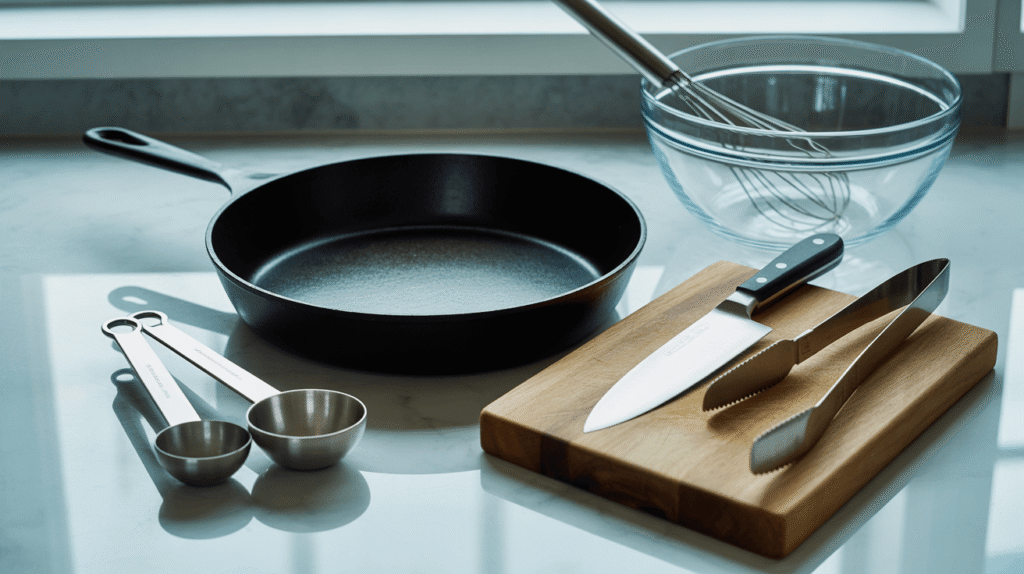
Before we get to the food, let’s talk gear. You don’t need anything crazy, but having the right tools makes the process smooth and, dare I say, fun. Ever tried to roll a burrito with a flimsy tortilla that tears immediately? Yeah, it’s a special kind of frustration. Let’s avoid that.
Here’s your non-negotiable equipment list:
A Good Skillet: A large, oven-safe skillet is my MVP here. You’ll use it to cook the chicken and, if you’re feeling fancy, you can use it to give the finished burrito a final crisp. Cast iron is perfect, but any sturdy skillet will do.
A Small Mixing Bowl: This is for whipping up our legendary chipotle ranch sauce. One bowl, one whisk (or even a fork), done.
Cutting Board & Sharp Knife: For dicing chicken and any fresh veggies you’re adding. A dull knife is more dangerous than a spicy pepper, FYI.
Tongs: For flipping that chicken like a pro.
A Microwave or Steamer (Optional but Helpful): This is the secret weapon for a pliable, un-tearable tortilla. We’ll get to that.
Got all that? Great. Now for the main event.
Ingredients You Are Going to Need (The Flavor Dream Team)
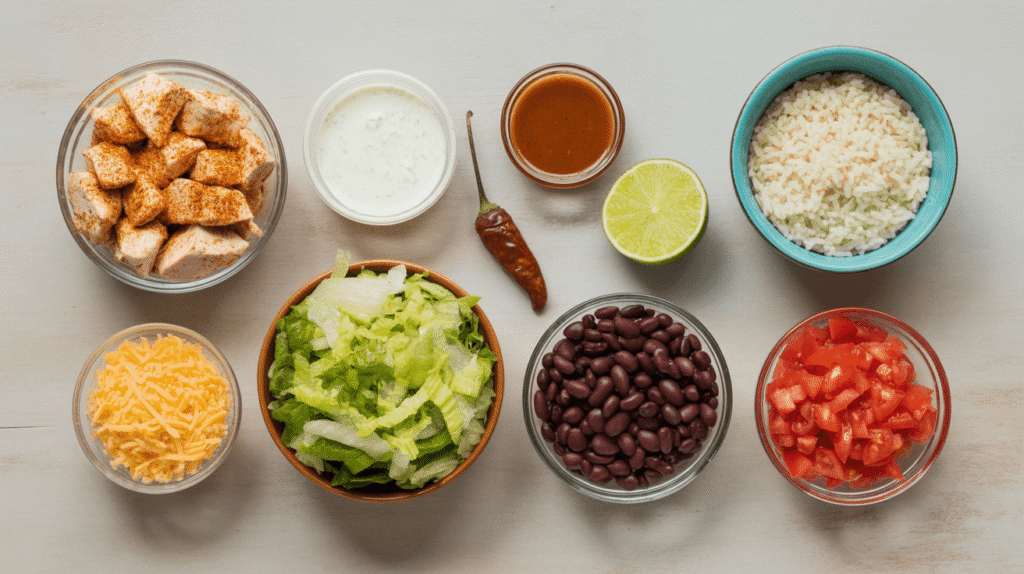
Here’s where the magic happens. I’m going to give you the core components, but remember, you’re the boss. This is your canvas.
For the Chipotle Ranch Chicken:
1 lb boneless, skinless chicken breasts or thighs (thighs stay juicier, IMO)
1 packet of taco seasoning (or 2 tbsp of your own blend: chili powder, cumin, paprika, garlic powder, onion powder, salt, and pepper)
1 tbsp olive oil
For the Legendary Chipotle Ranch Sauce:
1/2 cup of your favorite ranch dressing (store-bought is totally fine, no judgment here)
2 tbsp plain Greek yogurt or sour cream (this adds a great tang and thickens it up)
1-2 tbsp adobo sauce from a can of chipotle peppers (This is the key! Start with 1 tbsp and add more if you like more heat.)
1 tsp fresh lime juice
Pro-tip: Mince one of the actual chipotle peppers from the can and add it in if you’re feeling brave. It’s a game-changer.
For the Burrito Assembly:
4 large (10-inch) flour tortillas (the bigger, the better—this is no time for modesty)
1 cup cooked rice (I love cilantro-lime rice, but plain white or brown rice works perfectly)
1 cup shredded cheese (a Mexican blend or sharp cheddar is my go-to)
1 cup shredded lettuce (iceberg for crunch or romaine for substance)
1/2 cup diced tomatoes
Optional Add-ins: Canned black beans (rinsed), canned corn, sliced avocado, sautéed onions and bell peppers, fresh cilantro.
See? Nothing too crazy. You probably have half of this stuff already. Now, let’s build this beautiful behemoth.
Your Step-by-Step Guide to Burrito Bliss
Follow these steps, and you’ll be holding a masterpiece in under 30 minutes. I promise.
Step 1: Become the Chicken Whisperer
First, we tackle the chicken. Pat it dry with a paper towel and cut it into bite-sized chunks. Season it generously with that taco seasoning, making sure every piece gets a good coat.
Heat your olive oil in that skillet over medium-high heat. Add the chicken in a single layer and cook for 5-7 minutes, stirring occasionally, until it’s cooked through and has a beautiful sear on the outside. No one likes pale chicken, right? Once it’s done, transfer it to a plate and let it rest for a minute.
Step 2: Whip Up the Sauce of the Gods
While the chicken is cooking, let’s make the sauce that makes this whole thing sing. Grab your small mixing bowl.
Add the ranch, Greek yogurt (or sour cream), adobo sauce, and lime juice. Whisk it all together until it’s smooth and creamy. Give it a taste. Need more smokiness? Add another half tablespoon of adobo sauce. Want more tang? A squeeze more lime. This is your moment to customize the soul of the burrito.
Step 3: The All-Important Tortilla Warm-Up
This might be the most crucial step people skip. A cold tortilla is a brittle tortilla, and it will crack and spill your burrito guts all over the place. We are not letting that happen.
You have two easy options:
Microwave Method: Stack the tortillas on a plate, cover them with a damp paper towel, and microwave for 20-30 seconds. The steam makes them soft and pliable.
Stovetop Method: Heat a clean, dry skillet over medium heat and warm each tortilla for about 15-20 seconds per side.
See? Easy. Now you have soft, flexible tortillas ready for action.
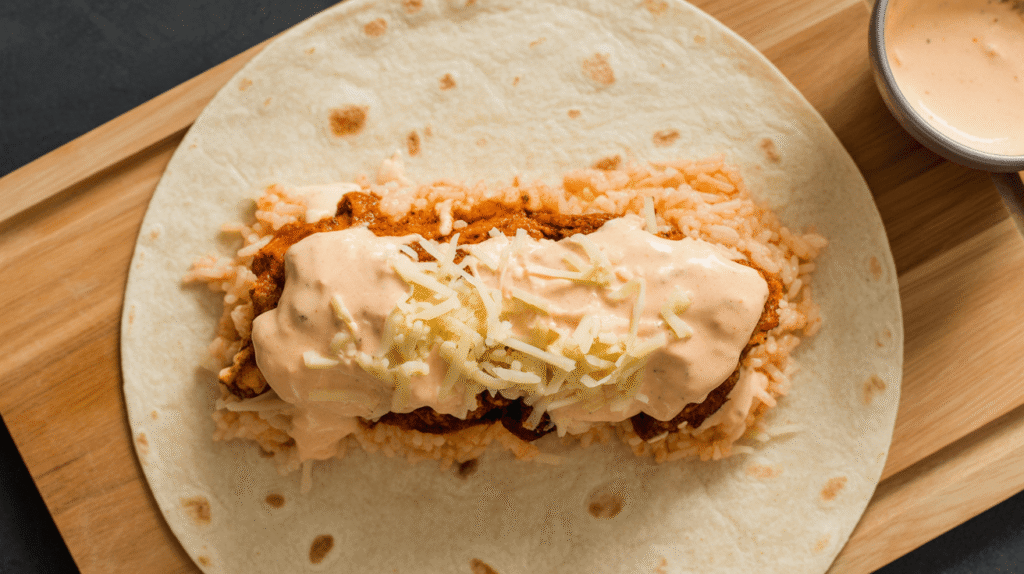
Step 4: The Art of the Assembly
Lay one of your warmed tortillas flat on a cutting board. Imagine a line running through the center. You’re going to pile your ingredients just below that line, leaving a good 2-inch border at the bottom and sides.
Here’s the ideal order of operations for a perfectly rolled burrito:
A thin layer of rice: This acts as a base and soaks up any extra sauce.
A generous scoop of your chipotle ranch chicken.
A drizzle (or a deluge) of that chipotle ranch sauce. Don’t be shy.
Your cheese: Sprinkle it on now so the heat from the chicken and rice starts to melt it.
The cold, crunchy stuff: Lettuce and tomatoes.
Any other add-ins like beans or avocado.
The key here is don’t overfill it. I know, it’s tempting. But an overstuffed burrito is a ticking time bomb. Show a little restraint now for a leak-free experience later.
Step 5: The Final Roll – Burrito Origami
This is where you earn your badge. It’s simpler than it looks:
Fold the Sides: Fold the left and right sides of the tortilla inward over the filling.
Fold the Bottom: Grab the bottom flap (the part closest to you) and pull it up and over the filling, tucking it tightly under the ingredients.
Roll It Up: Now, using your thumbs to keep the tuck tight, simply roll the burrito away from you until it’s a neat, sealed cylinder.
If you have a little filling poking out, just tuck it back in as you roll. You’ve got this.
Step 6: The Optional (But Highly Recommended) Crisp
You can absolutely eat it now. It will be delicious. But if you want to level up, place your burrito seam-side down back into your (now empty) skillet over medium heat. Toast it for 1-2 minutes per side, until it’s golden brown and slightly crispy. This melts the cheese into a cohesive glue and gives you that incredible texture contrast.
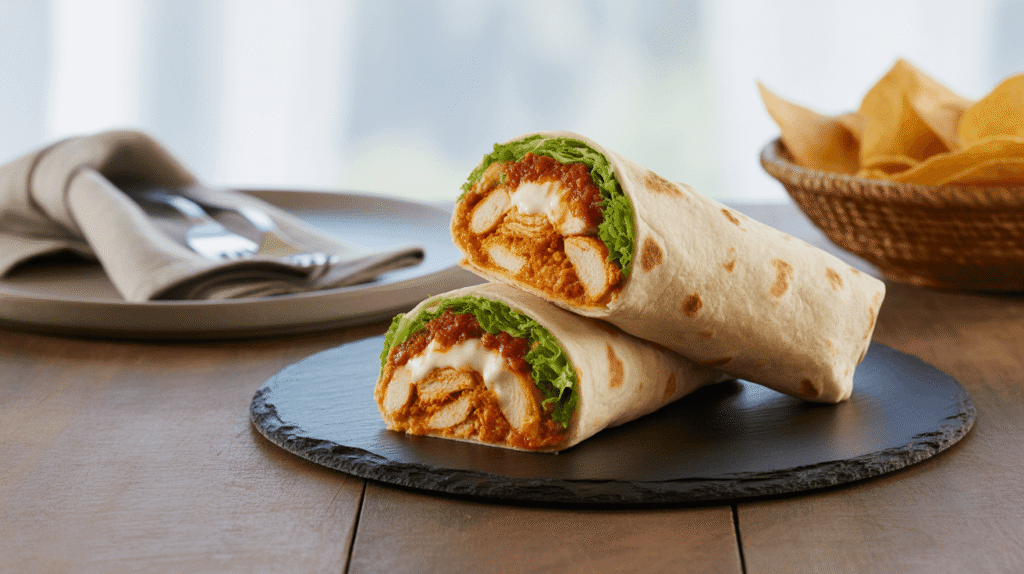
And there you have it. You did it. You’ve created a chipotle ranch chicken burrito that’s packed with more flavor and love than any takeout bag could ever hold.
Slice it in half diagonally (because it looks cooler), see that perfect cross-section of all your hard work, and take a massive bite. Seriously, what are you waiting for? Your next culinary victory is literally in your hands. Now go enjoy the fruits of your labor

