
You know that feeling when you want a cake that’s not just… cake? You’re not after a simple vanilla situation or a death-by-chocolate behemoth. You’re craving something with a bit of personality. Something that says, “I’m sophisticated,” but also, “I’m ridiculously comforting and you want a second slice.”
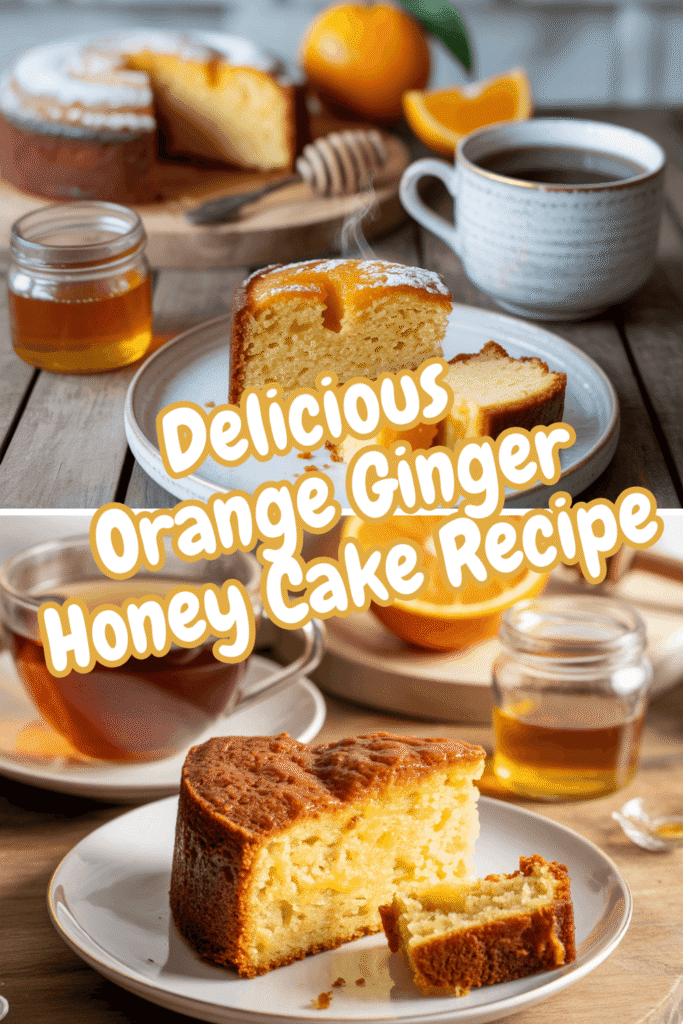
Well, pull up a chair, my friend, because I’m about to introduce you to your new baking bestie: the Orange Ginger Honey Cake.
This isn’t just a cake; it’s a hug in cake form. It’s bright, warmly spiced, moist, and has a flavor that makes you close your eyes and just savor it. I first made this for a grumpy friend who was having a terrible week. She took one bite, looked me dead in the eye, and said, “Okay, fine. Everything might not be terrible.” See? Magic.
So, are you ready to make some magic?
1. Why You Should Choose This Recipe (Spoiler: It's Awesome)
Let’s be real, there are a million cake recipes out there. Why should you commit your precious time and butter to this one? IMO, it boils down to a few killer points.
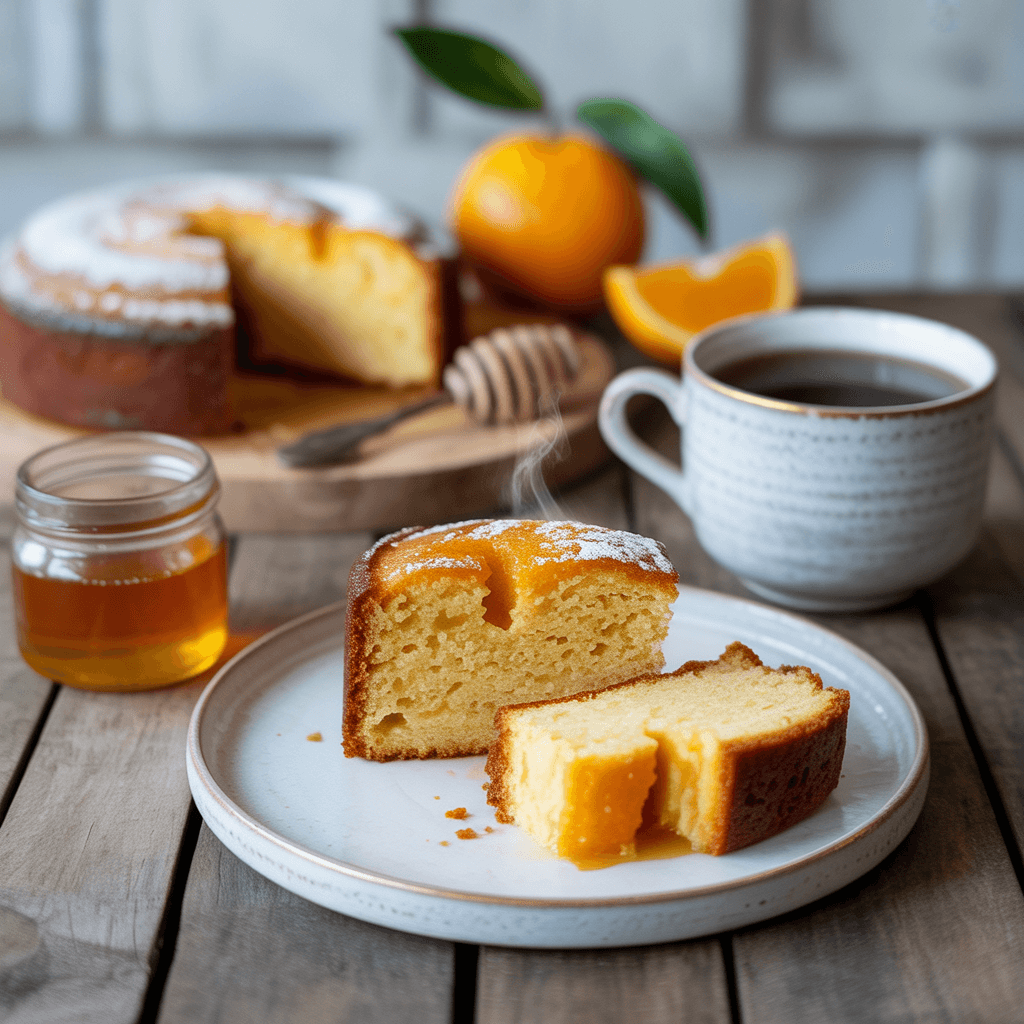
First off, this cake is a total mood-lifter. The combination of zesty orange and warm, spicy ginger is literally a sunshine-and-cozy-sweater duet for your taste buds. It’s the perfect cake for a grey afternoon, a morning pick-me-up with coffee, or to impress your in-laws at a dinner party.
Secondly, it’s deceptively easy. We’re not building a complicated architectural marvel here. This is a straightforward, one-bowl (okay, maybe two bowls) kind of recipe. You don’t need any fancy equipment or a pastry degree. If you can zest an orange and stir things together, you’ve got this.
And finally, it’s a crowd-pleaser with a twist. Everyone’s had carrot cake. Everyone’s had lemon drizzle. But an orange ginger honey cake? That makes people stop and ask, “Ooh, what is that?” It’s a conversation starter you can eat. What’s better than that?
2. What You Will Need in the Kitchen
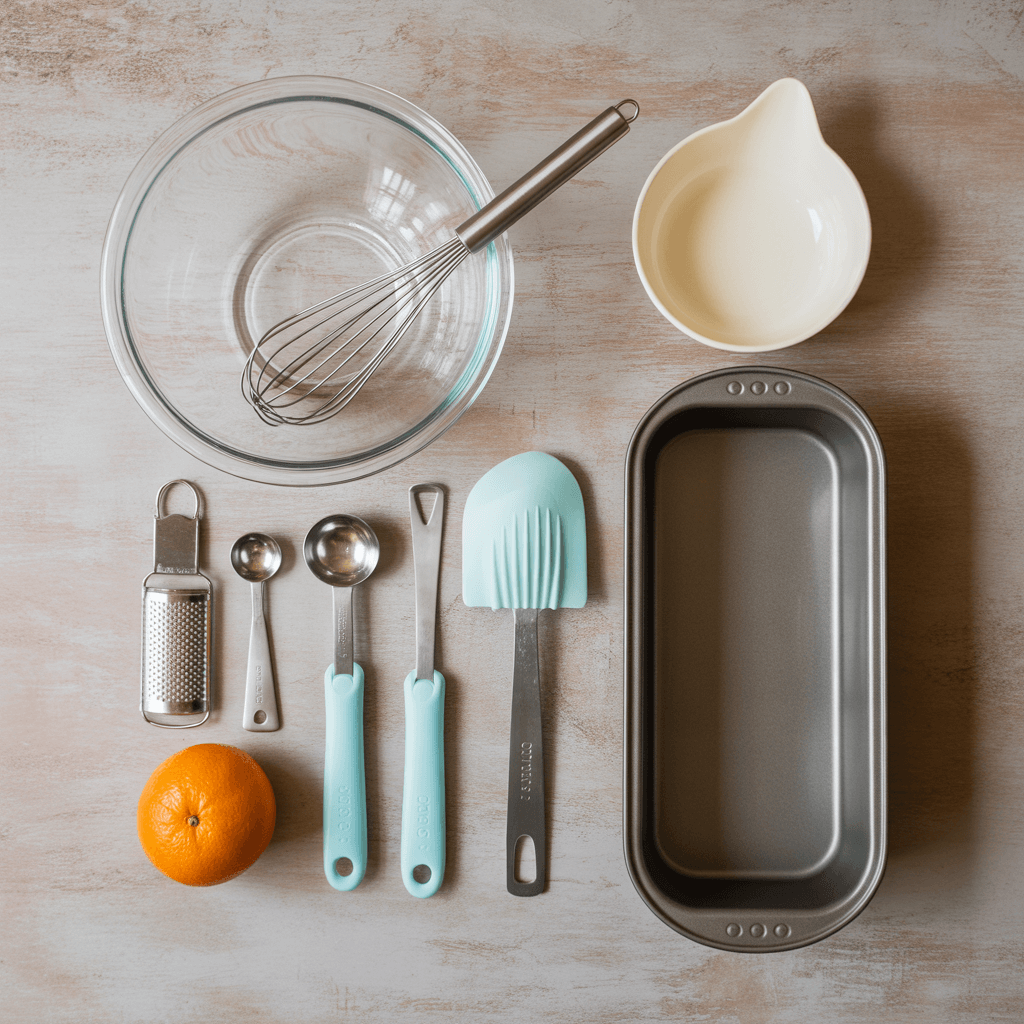
Before we get our hands dirty, let’s do a quick tool check. No one wants to be elbow-deep in flour only to realize they can’t find the whisk. Been there, cursed there.
The Non-Negotiable Basics:
A large mixing bowl (the bigger, the better – less chance of a flour explosion)
A smaller bowl for wet ingredients
A 9-inch loaf pan or an 8-inch round cake pan
A whisk (or a fork if you’re feeling primal)
A spatula (to get every last bit of batter, because waste not, want not)
A zester or the fine side of a box grater
Measuring cups and spoons
The “Nice-to-Have” Squad:
A stand mixer or hand mixer. You can absolutely do this by hand, but a mixer makes it quicker.
A citrus juicer. Again, you can just squeeze with your hands like a caveman, but a juicer is less messy.
A cooling rack. It’s crucial for getting the cake out of the pan without a steamy, soggy bottom.
Got all that? Great. Let’s talk about the stars of the show.
3. Ingredients You Are Going to Need

Here’s your shopping list. I’ve separated them into dry and wet to make your life easier. Pro tip: read through the whole recipe first and get everything measured out before you start. The French call it mise en place. I call it “not scrambling halfway through because you forgot the baking powder.” 🙂
Dry Ingredients:
2 cups (250g) All-Purpose Flour
1 ½ tsp Baking Powder
½ tsp Baking Soda
1 tbsp Freshly Grated Ginger (Trust me, fresh is best here. The jarred stuff just doesn’t have the same zing.)
1 tbsp Orange Zest (That’s about one large, juicy orange)
½ tsp Salt
Wet Ingredients:
½ cup (1 stick or 113g) Unsalted Butter, softened to room temperature
½ cup (120ml) Honey (Use a good, flavorful one! Wildflower or orange blossom honey is amazing here.)
2 large Eggs, room temperature
½ cup (120ml) Fresh Orange Juice (Squeeze it from the orange you just zested – no waste!)
½ cup (120g) Plain Yogurt or Sour Cream (This is the secret to an insanely moist crumb. Don’t skip it!)
For the Optional (But Highly Recommended) Soaky Glaze:
¼ cup (60ml) Fresh Orange Juice
2 tbsp Honey
See? Nothing too crazy. Simple, wholesome ingredients that work together like a dream team.
4. Your Step-by-Step Guide to Cake Glory

Alright, the moment of truth has arrived. Preheat your oven to 350°F (175°C). Go on, I’ll wait. Got it? Fantastic. Let’s do this.
Step 1: Prep Your Pan and Your Mindset
Grease your loaf or cake pan with a little butter or non-stick spray. For an extra insurance policy against sticking, line it with parchment paper. Now, take a deep breath. Baking is supposed to be fun, so don’t stress. You’ve got this.
Step 2: Combine the Dry Team
In your large bowl, whisk together the flour, baking powder, baking soda, and salt. Now, toss in the orange zest and freshly grated ginger. Wait, why are we adding wet things to the dry ingredients? Great rhetorical question! Coating the zest and ginger in flour helps distribute them evenly throughout the batter, so you don’t get a clump of ginger in one bite and none in the next. It’s a little pro-trick for you.
Step 3: Cream the Butter and Honey
In your other bowl, add the softened butter and honey. Now, cream them together until the mixture is light, pale, and fluffy. This is where a mixer comes in handy, but some good old-fashioned elbow grease works too. FYI, if your butter is still cold from the fridge, just zap it in the microwave for a few seconds. We’ve all been there, no judgment here :).
Step 4: Bring in the Wet Crew
Beat the eggs into the butter-honey mixture, one at a time, making sure each is fully incorporated before adding the next. Then, mix in the yogurt (or sour cream) and the fresh orange juice. It might look a little curdled at this point – that’s totally normal. The acid from the juice and yogurt is just saying hello to the dairy. Don’t panic.
Step 5: The Grand Union
Here’s the crucial part: add your mixed dry ingredients to the wet ingredients. Mix until just combined. I mean it! A few streaks of flour are fine. Overmixing is the enemy of a tender cake—it develops the gluten and makes it tough. So, fold gently with your spatula until you no longer see dry flour pockets.
Step 6: Bake to Perfection
Pour the beautiful, fragrant batter into your prepared pan and smooth the top. Pop it into the preheated oven.
For a loaf pan: Bake for 45-55 minutes.
For an 8-inch round pan: Bake for 35-45 minutes.
The cake is done when it’s golden brown on top, and a toothpick or skewer inserted into the center comes out clean or with a few moist crumbs attached. If it’s wet batter, it needs more time.
Step 7: The Glaze That Makes It Legendary
While the cake is baking, make the simple soak. Gently warm the ¼ cup of orange juice and 2 tablespoons of honey in a small saucepan (or the microwave) just until the honey dissolves. Set it aside.
As soon as the cake comes out of the oven, and I mean the second it’s out, poke little holes all over the top with a skewer. Then, slowly and evenly, pour the honey-orange glaze over the hot cake. This allows the syrup to seep deep into the cake, making it unbelievably moist and intensifying the orange flavor. It’s a game-changer.
Step 8: The Hardest Part – Waiting
Let the cake cool in the pan for about 15-20 minutes. Then, carefully run a knife around the edges and turn it out onto a cooling rack. You must let it cool completely before you slice it. I know, the aroma is torture. But slicing into a warm cake will make it gummy and it might fall apart. Your patience will be rewarded, I promise.
And there you have it. You’ve just created a masterpiece. A cake that’s perfectly sweet from the honey, tangy from the orange, and has that little kick of warmth from the ginger.
Slice yourself a generous piece, pour a cup of tea or coffee, and take a bow. You didn’t just bake a cake; you baked a mood, a conversation, and a little bit of joy. Now, go enjoy the fruits of your labor. You’ve earned it

