
Alright, let’s get this out of the way right now: you’re craving fries. Not just any fries. You want those crispy, golden, flavor-bomb fries you get at that cool gastropub, but the idea of dealing with a vat of bubbling oil at home makes you nervous. Been there, felt that. What if I told you we can make something even better—something so packed with savory, cheesy, garlicky goodness that you might just forget your own name—all in the comfort of your oven?
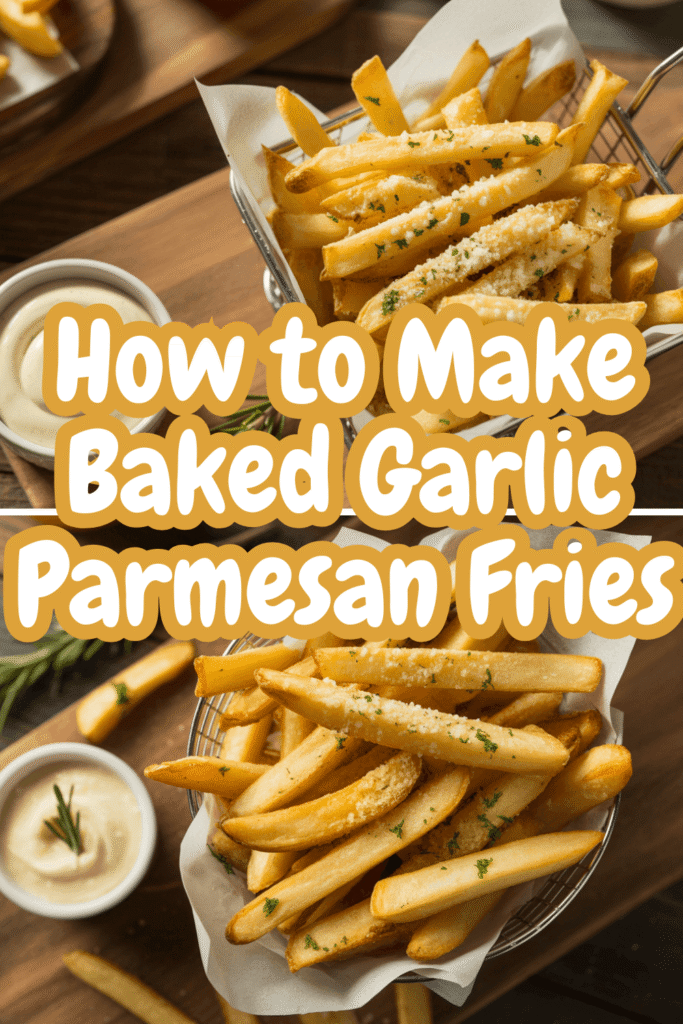
Welcome to your new obsession: Baked Garlic Parmesan Fries. This isn’t just a recipe; it’s a life upgrade for your snack game. So, tie your apron, and let’s turn some humble potatoes into a masterpiece.
Why You're Going to Worship This Recipe

Seriously, why would you even bother with another method once you’ve mastered this one? IMO, this recipe is the holy grail for a few rock-solid reasons.
First, we’re baking, not frying. I know, I know, fried food has its place. But baking means no greasy mess, no lingering smell of old oil in your kitchen, and let’s be honest, it just feels a bit kinder to our arteries, doesn’t it? You get all the satisfaction with none of the guilt. It’s a win-win.
Second, the flavor profile is just… chef’s kiss. We’re not just salting these spuds. We’re creating a symphony of savory garlic, nutty Parmesan, and fresh herbs that clings to every single fry. These aren’t a side dish; they’re the main event.
And finally, the texture. We’re going for that perfect contrast: a shatteringly crisp exterior that gives way to a fluffy, cloud-like interior. Ever wondered why your homemade baked fries sometimes turn out sad and soggy? We’re going to tackle that head-on with a couple of chef-approved secrets. Trust me, you’ll never look at a bag of frozen fries the same way again.
What You Will Need in the Kitchen
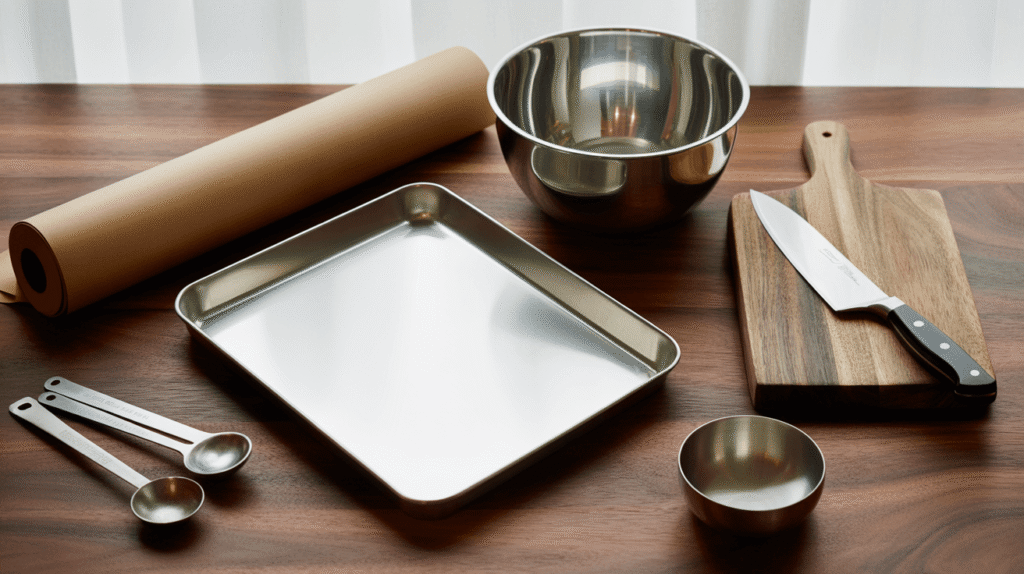
You don’t need any fancy, space-age equipment for this. If you have a standard kitchen, you’re already 99% of the way there. Let’s take a quick inventory.
The Absolute Non-Negotiables:
A good baking sheet. Don’t try to cram all your potatoes onto a small one—they’ll steam instead of roast. We need space for crispiness!
Parchment paper. This is my personal secret weapon. It prevents sticking and makes cleanup an absolute dream. You can use foil, but parchment is superior for this job, I promise.
The Trusty Helpers:
A large mixing bowl. Big enough to toss your potato sticks in oil without making a mess.
A sharp chef’s knife and a sturdy cutting board. Safety first, folks. No wobbly boards.
A set of measuring spoons. Eyeballing is for experts, and we’re keeping it precise today.
That’s really it. See? I told you you were ready.
The Ingredients You're Going to Need
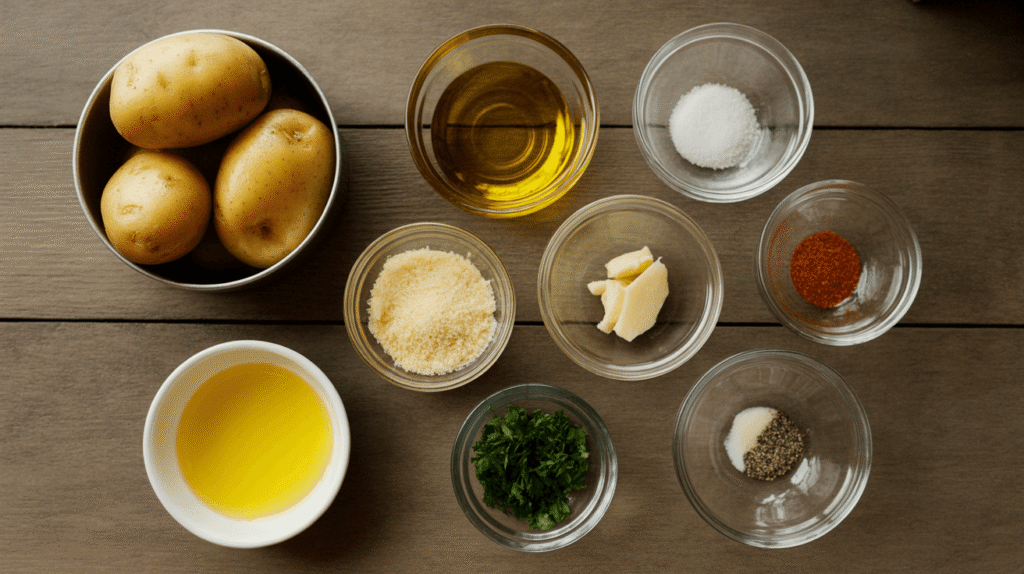
Gather ’round, here’s the cast of characters that will make magic happen. This is for a standard baking sheet’s worth of fries—enough for 2-4 people, depending on how selfish you’re feeling.
The Main Attraction:
2 large russet potatoes (about 1.5 to 2 pounds). Russets are the king of fluffy interiors. Don’t substitute them if you can help it!
2 tablespoons olive oil. Extra virgin is great, but any olive oil will do.
Salt. And I mean a good amount. We’re not seasoning a delicate sauce here; we’re seasoning potatoes. Be generous.
The Flavor Powerhouse (The Garlic-Parm Paste):
3 tablespoons grated Parmesan cheese. Use the real stuff from the refrigerated section, not the dusty canister. The flavor is worlds apart.
2 tablespoons butter, melted. This helps the topping cling and adds a rich, toasty flavor.
2 garlic cloves, minced as finely as you can. The finer the mince, the more it melds into the coating. (Pro-tip: a microplane is perfect for this, turning garlic into a paste.)
1 tablespoon fresh parsley, finely chopped. It adds a pop of color and a fresh, clean flavor that cuts the richness.
A pinch of black pepper and maybe a dash of paprika for a subtle, smoky warmth.
Your Step-by-Step Guide to Fry-vana
Okay, the prep is done. Now for the main event. Follow these steps, and you will be rewarded. I’m not messing around here.
Step 1: The Potato Prep (This is Crucial!)
First, preheat your oven to a roaring 425°F (220°C). Don’t put the potatoes in a cold oven; we need that instant heat.
Now, scrub those potatoes clean. We’re leaving the skin on because a) it’s delicious, and b) it adds to that great texture. The big question: to soak or not to soak? You absolutely must soak them.
Here’s the science in plain English: potatoes have a lot of surface starch. That starch makes them gummy and prevents crisping. So, we’re going to cut them into even ¼ to ½-inch sticks (try to get them as uniform as possible so they cook at the same rate) and then submerge them in a bowl of cold water for at least 30 minutes.
See? This is the secret I was talking about. This simple step washes away the excess starch, guaranteeing a crispier final product. Swirl them around in the water, and you’ll see the water get cloudy. That’s the starch leaving the chat. 🙂
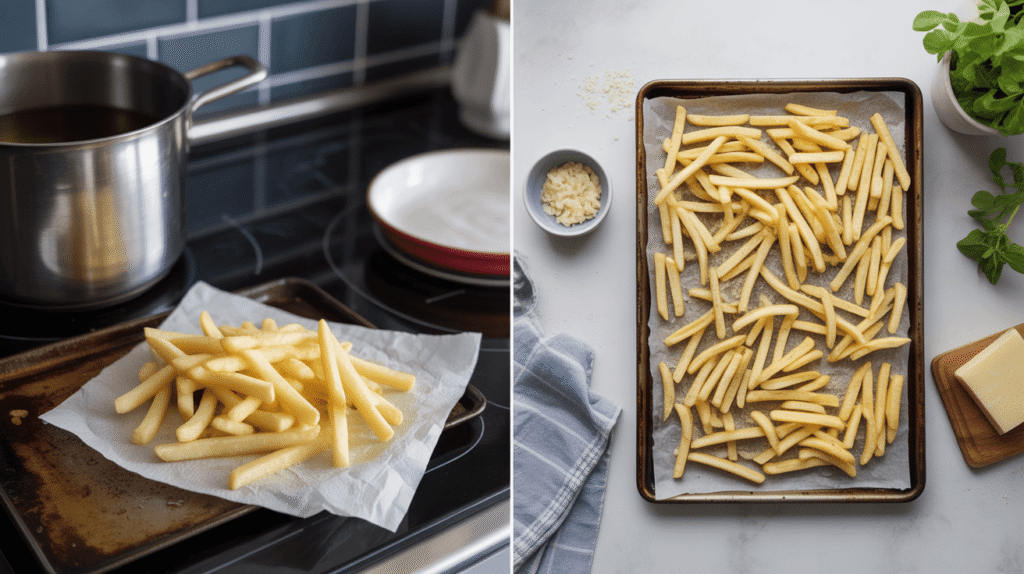
Step 2: The Secret to the Perfect Bake
After their bath, drain the potatoes and then dry them thoroughly. I mean it. Lay them out on a clean kitchen towel and pat them until they are bone-dry. Water is the enemy of crispiness. Wet potatoes will steam, and we are not making steamed potatoes today.
Now, toss those dry potato sticks in your large bowl with the 2 tablespoons of olive oil and a good, hefty pinch of salt. Make sure every surface is lightly coated. This is where the magic starts.
Line your baking sheet with parchment paper and spread the fries out in a single layer. Give them some personal space! If they’re all crowded and cozy, they’ll steam each other. We want hot air to circulate around every single fry.
Step 3: The First Bake & The Flavor Mix
Pop that baking sheet into your preheated oven and bake for about 20-25 minutes.
While they’re doing their thing, mix up your flavor bomb. In a small bowl, combine the melted butter, finely minced garlic, grated Parmesan, chopped parsley, pepper, and paprika. Stir it until it forms a glorious, fragrant paste.
After the first 20-25 minutes, pull the fries out. They should be starting to get tender and maybe have a few golden spots. This is where we perform the great flip. Carefully turn over as many fries as you can. This ensures even browning on all sides.
Step 4: The Flavor Blitz and Final Crisp
Now, crank your oven up to 450°F (230°C). We’re blasting them with heat for the final crisping.
While the oven heats up a bit more, drizzle or brush that incredible garlic-Parmesan paste all over the semi-cooked fries. Try to get it on as many surfaces as possible. Be generous!
Return the fries to the now-hotter oven for another 5-10 minutes. Watch them closely! You want the cheese and butter to melt, bubble, and fuse with the fries, creating a beautifully golden and crisp coating. The edges should be delightfully brown and crunchy.
Step 5: The (Hardest) Part: Serving
Take them out of the oven. Let them rest on the pan for just a minute or two. This lets them set and become even crispier.
Then, transfer them to a plate, maybe give them one last tiny sprinkle of salt and fresh parsley, and serve immediately. FYI, these are best friends with a cool, creamy dipping sauce like ranch or garlic aioli.
And there you have it. You’ve just created a plate of baked fries that can go toe-to-toe with any fried version. They’re crispy, they’re packed with flavor, and you made them with your own two hands. So, go on, take that first bite. You’ve earned it. Now, wasn’t that better than waiting in a drive-thru?

