

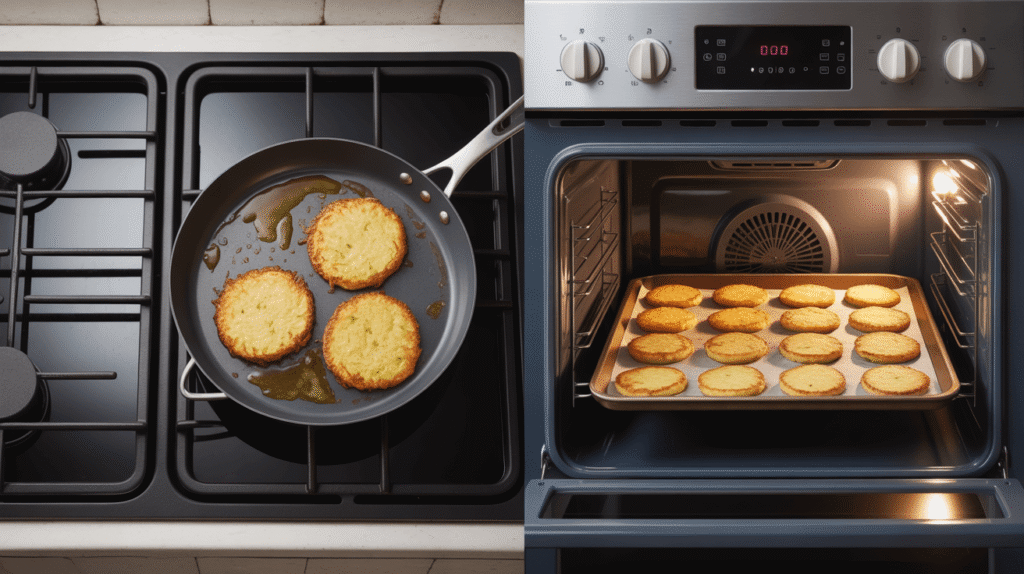
So, you want to make German potato pancakes, but the thought of standing over a sputtering pan of oil, getting splattered and managing batches until the end of time has you feeling a bit… meh. I get it. I’ve been there. My kitchen walls have the faint, artistic splatter marks to prove it.
What if I told you there’s a way to get all that glorious, crispy-on-the-outside, tender-on-the-inside potato goodness without the babysitting and the greasy mess? Welcome to the game-changing world of baked German potato pancakes. We’re taking a classic and making it simpler, healthier, and, honestly, way more convenient. Trust me, your stovetop (and your sanity) will thank you.
Why You Should Choose This Baked Recipe
Let’s be real for a second. Traditional fried potato pancakes are divine. But they are a labor of love that often turns into a labor of “I-need-to-clean-my-entire-kitchen-again.” This baked method isn’t about replacing a classic; it’s about giving you a brilliant, modern shortcut that delivers on every single promise of flavor and texture.
The Freedom of Hands-Off Baking
The biggest win here? You get your life back. Instead of hovering over a skillet, you’ll spend about 15 minutes prepping, pop a tray into the oven, and set a timer. That’s it. While they’re baking, you can actually make the rest of your dinner, set the table, or, I don’t know, just relax with a glass of wine for a change. This method is a weeknight dinner hero.
A Lighter Take on a Comfort Food Classic
Because we’re using the oven’s steady, enveloping heat with just a slick of oil, these pancakes are significantly less greasy. They achieve their crispiness through roasting, not frying. Don’t get me wrong—they are not “diet food.” They are just a smarter, more balanced way to enjoy a beloved comfort food. Your stomach will feel fantastic afterward, not weighed down.
The “Feed a Crowd” Miracle
Trying to make potato pancakes for more than two people on the stovetop is a logistical nightmare. The first ones are cold by the time the last ones are done. Baking solves this beautifully. You can cook two dozen golden pucks of joy all at once, and they’ll all be ready to serve at the same time, hot and crispy. Game changer for family breakfasts or holiday brunches, right?
What You Will Need in the Kitchen
You don’t need any fancy, single-use gadgets for this. In fact, you probably have everything already. But let’s do a quick inventory so there are no surprises mid-recipe.
The Essential Tools
A Box Grater or Food Processor: This is the big decision. You can grate your potatoes and onion by hand on a box grater. It’s a great arm workout and gives you a perfect, rustic texture. But IMO, if you have a food processor with a shredding disk, this is the time to break it out. It takes the process from a 10-minute arm-numbing chore to a 60-second pulse. Your choice!
A Large Mixing Bowl: You’ll need a decent-sized one to hold all those shredded potatoes and mix everything together.
A Kitchen Towel or Cheesecloth: This is our secret weapon for non-soggy pancakes. We need to wring out every last drop of moisture from the shredded potatoes. Seriously, get the good, absorbent towels ready.
A Half-Sheet Baking Pan: Your standard baking sheet. Nothing special needed.
Parchment Paper: Do not skip this. It prevents sticking and makes cleanup an absolute dream. Foil can work in a pinch, but parchment is the undisputed champion here.
A Brush or Spoons: For evenly coating the pancakes with oil. A silicone pastry brush is perfect, but two spoons can do the job.
Ingredients You Are Going to Need
This is the beautiful part. The ingredient list is short, simple, and humble. This is peasant food at its finest, and it doesn’t need a lot of fuss.
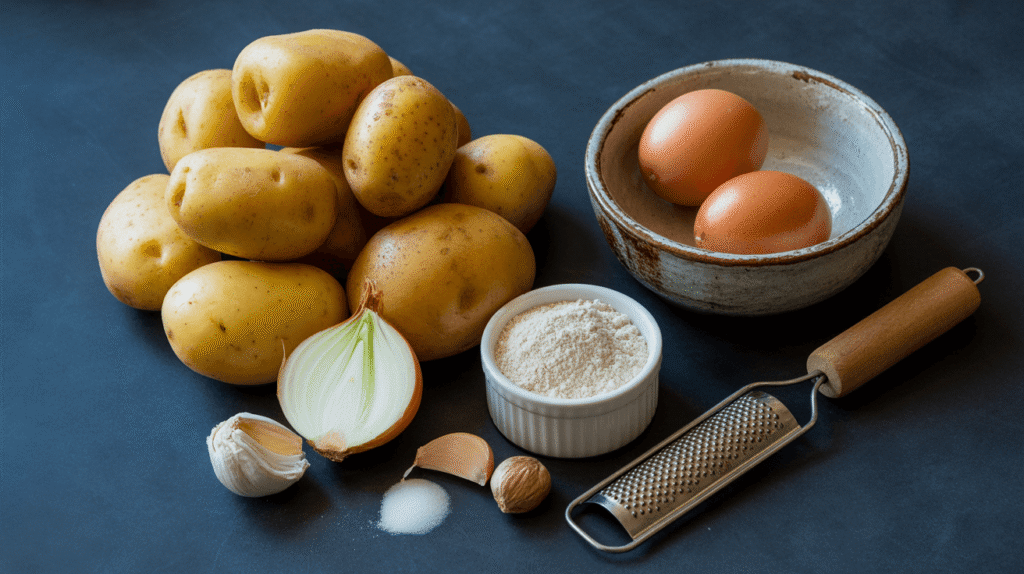
The Main Cast
2 pounds of Russet Potatoes: This is non-negotiable. Russets (also called baking potatoes) are high in starch, which is what gives the pancakes their signature cohesive texture and crispy exterior. Waxy potatoes like red or Yukon Gold will not work the same way—they’ll be gummy and sad. Let’s just trust the science on this one.
1 Small Yellow Onion: This adds a subtle sweetness and depth that is essential to the flavor profile.
2 Large Eggs: Our binder. They hold the shredded potato mixture together.
3 Tablespoons All-Purpose Flour: Just a little bit to soak up any remaining moisture and help with structure.
1 Teaspoon Salt (plus more to taste): Potatoes need salt. Don’t be shy.
¼ Teaspoon Black Pepper: For a little background warmth.
A Pinch of Nutmeg (Optional, but Highly Recommended): This is my personal pro-tip. A tiny grating of fresh nutmeg adds an incredible, warm, and authentic flavor that makes these taste truly special. Don’t tell anyone your secret 😉
4-5 Tablespoons of Neutral Oil: Avocado, grapeseed, or a light olive oil are my go-tos. You’ll brush this on the pancakes, so they sizzle and crisp up in the oven.
For Serving (The Fun Part)
Applesauce: The classic, non-negotiable pairing. The cool, sweet contrast is everything.
Sour Cream or Crème Fraîche: A dollop of cool, tangy cream is just perfection.
Chives or Green Onions: For a fresh, colorful pop.
Step-by-Step Guide to Potato Pancake Perfection
Okay, friend. Here we go. The main event. Follow these steps, and you are golden. Literally.
Step 1: Prep Your Station
First things first, preheat your oven to a nice, hot 425°F (220°C). This high heat is crucial for getting that crispy edge we crave. Line your baking sheet with parchment paper and set it aside.
Step 2: The Great Grate (and Squeeze!)
Peel your russet potatoes. Then, using your box grater or food processor, shred them along with the peeled onion.
Now, dump all those shreds into the center of a clean kitchen towel. Gather the corners and, over the sink, twist the living daylights out of that bundle. You will be shocked at how much liquid comes out. Keep twisting until no more water drips. This is the single most important step for achieving crispiness. A wet potato mixture will steam, not bake. So, channel your frustration and squeeze!
Step 3: Mix It Up, But Don’t Mess It Up
Transfer your dry, squeezed-out potato and onion mixture to the large mixing bowl. Add the eggs, flour, salt, pepper, and that sneaky pinch of nutmeg. Use a fork to mix it all together until everything is evenly combined. You’ll have a slightly sticky, shredded mixture.
A Quick, Important Detour
See that bowl of cloudy, starchy liquid you squeezed out? Yeah, just pour it down the drain. We’ve already extracted its starchy power for the pancakes. No need to save it, despite what some very intense chefs might tell you. We’re keeping it simple today.
Step 4: Shape and Tray ‘Em Up
Using your hands, grab small handfuls of the mixture (about 2-3 tablespoons each) and form them into rough patties, about ½-inch thick. Don’t compact them too hard—just enough so they hold together. Place them on your parchment-lined baking sheet, leaving a little space between each one so the hot air can circulate.
Step 5: The Oil Gloss and the Oven Plunge
Now, take your oil and either brush it generously on the top of each pancake or carefully spoon a little over each one. You want a good coating—this is what will make them brown and crisp, so don’t be stingy.
Slide the entire tray into your preheated oven. Now, set a timer for 15 minutes.
Step 6: The Big Flip
After 15 minutes, pull the tray out. You should see the edges starting to turn a beautiful golden brown. This is your moment. Carefully flip each pancake over. They should hold together nicely. FYI, the underside will be a bit paler, but that’s about to change.
Pop them back in the oven for another 10-15 minutes. Keep an eye on them—you want them deeply golden brown and crisp all over.
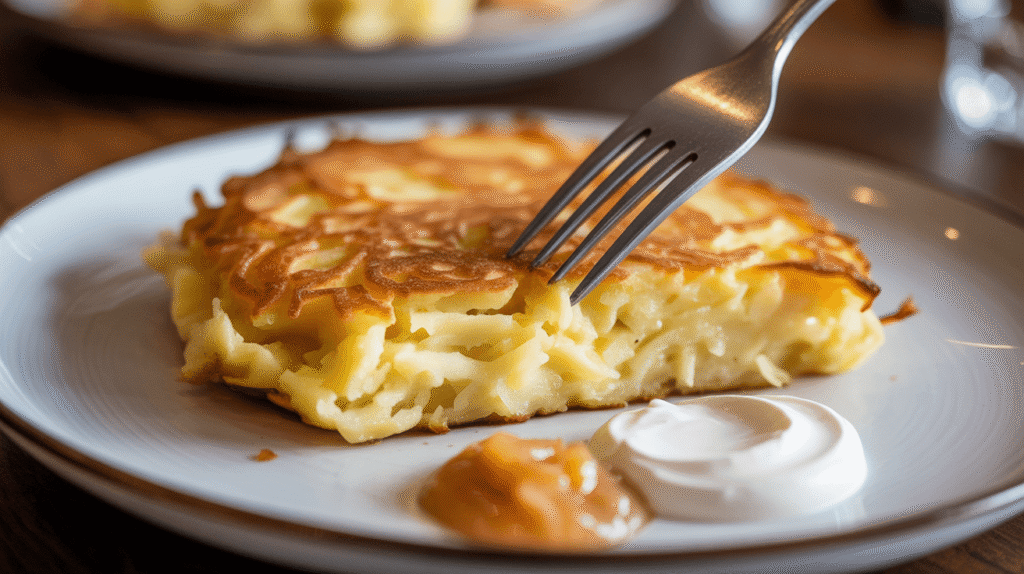
How Do You Know They’re Done?
They should feel firm to the touch on the outside, and the shredded edges will look irresistibly crispy. If one looks a little dark, it’s probably just perfect.
The Grand Finale
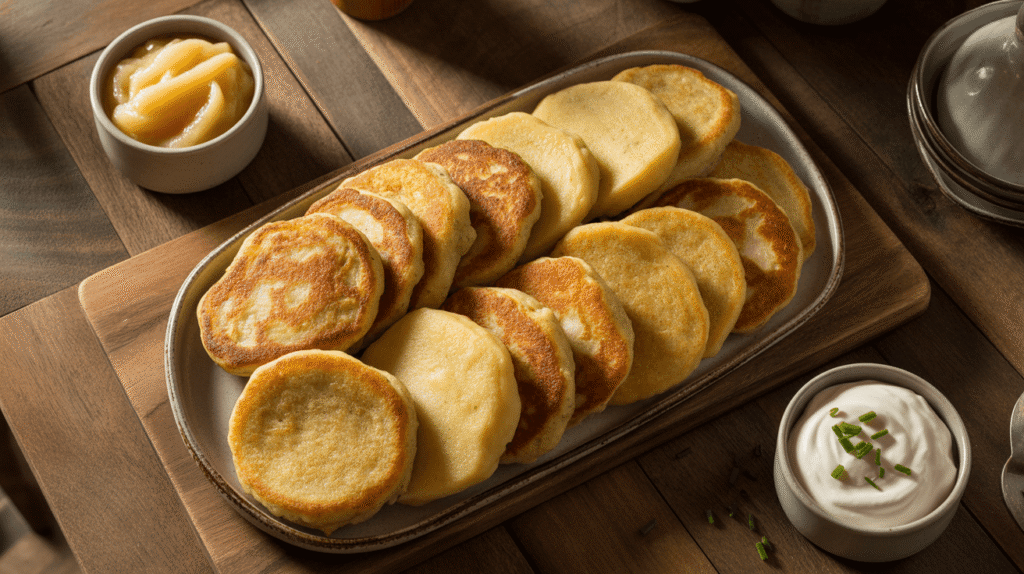
And that’s it! You did it. Use a spatula to transfer your gorgeous, golden-brown baked German potato pancakes to a plate.
Serve them immediately while they’re piping hot. I mean, is there any other way? Plop on a big spoonful of cool applesauce and a dollop of sour cream. Take that first bite and experience the crunch, the tender interior, the savory onion, and that hint of warm nutmeg.
You just mastered a simpler, smarter way to make a classic. So, what are you waiting for? Your new favorite kitchen hack is ready and waiting. Now, go forth and bake!

