

Ah, the humble croissant. Flaky, buttery, and perfect all on its own. But have you ever looked at one and thought, “You know what you need? A warm, cheesy, hammy hug.” No? Just me?
Well, prepare to have your mind blown. We’re about to take that elegant French pastry and give it a deliciously indulgent upgrade. I’m talking about baked ham and cheese croissants. This is the kind of food that solves problems. Bad morning? Solved. Impromptu guests? Handled. Craving something ridiculously tasty with minimal effort? You’ve come to the right place.
I’ve made these more times than I can count, and I can promise you, they’re a total game-changer. So, tie on your apron, and let’s get to it.
Why You Should Choose This Recipe (Besides the Obvious)

Let’s be real, the phrase “baked ham and cheese” is already doing most of the persuading here. But in case you need a little more convincing, let me break it down for you.
They’re Stupidly Easy.
I’m not kidding. If you can use a baking sheet and operate an oven, you’re 90% of the way there. This isn’t some fussy, technical patisserie project. This is a “throw some awesome stuff into a pre-made masterpiece and let the oven do the magic” kind of situation. It’s the culinary equivalent of a cheat code.
They Make You Look Like a Rock Star.
The transformation from a simple croissant to a golden, puffed, cheesy masterpiece feels nothing short of miraculous. People will think you slaved away for hours. Your secret? You were actually just scrolling on your phone for 15 of the 20 minutes it bakes. I won’t tell if you don’t.
They’re Infinitely Customizable.
Don’t like ham? Use turkey. Want a little kick? Add some jalapeños. Feeling fancy? A smear of Dijon mustard inside is a revelation. This recipe is less of a rigid rulebook and more of a delicious suggestion. It’s your croissant—stuff it with your dreams!
Seriously, what’s not to love? You get maximum reward for minimal effort. It’s a win-win.
What You Will Need in the Kitchen
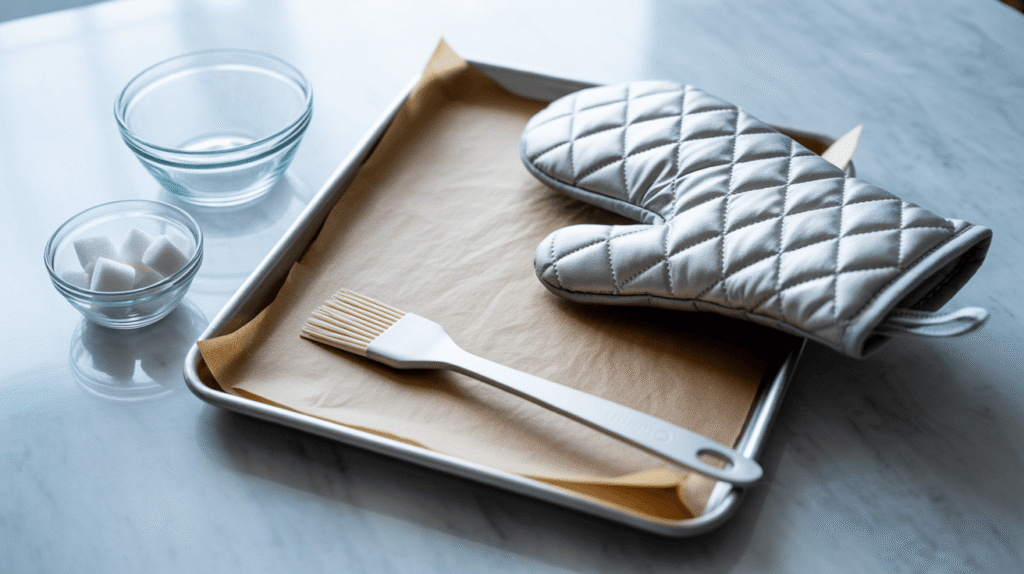
Before we get to the ingredients, let’s talk gear. You don’t need anything fancy, I promise. Just a few basics.
A Baking Sheet: This is your stage.
Parchment Paper: This is non-negotiable. It prevents sticking and makes cleanup an absolute breeze. No one wants to scrub melted cheese off a pan. Trust me on this.
A Pastry Brush (optional but helpful): For that gorgeous, golden-brown sheen.
A Small Bowl: For beating an egg, if you’re going for the glossy finish.
Oven Mitts: For handling your hot, beautiful creations. Safety first, people.
See? Nothing weird. If you’ve baked cookies before, you’re already over-qualified.
Ingredients You Are Going to Need
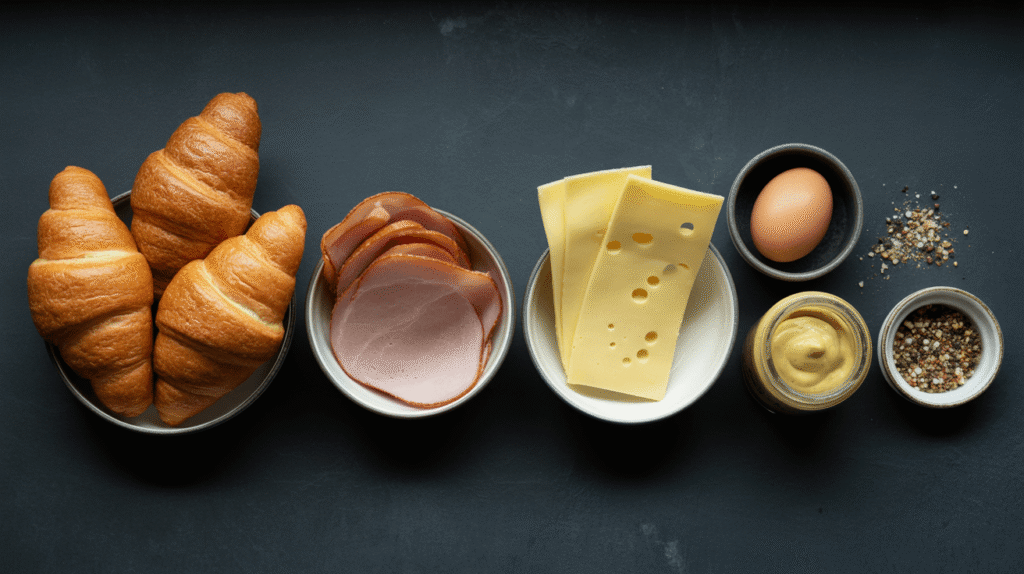
Alright, the main event. The shopping list is short and sweet. Here’s what you’ll need for the most classic, crowd-pleasing version:
The Foundation:
4 large, all-butter croissants: IMO, the “all-butter” part is key. It just tastes better and gives you a flakier result. You can find decent ones at most bakeries or even in the bakery section of your grocery store.
The Star Players:
8 slices of good-quality ham: Don’t go for the super-thin, watery stuff. Get a nice, thick-sliced honey ham or Black Forest ham from the deli counter. It makes a world of difference.
8 slices of cheese: This is where you can have some fun.
Gruyère: My personal favorite. It’s nutty, it melts like a dream, and it’s what they often use in France. It’s the classy choice.
Swiss: A very close second. Classic deli flavor.
Cheddar: Sharp cheddar gives you that fantastic, tangy pull.
Pro Tip: Buy it in blocks and slice it yourself. Pre-sliced cheese often has a coating that prevents it from melting as beautifully. A little extra work for a lava-like cheese flow is worth it, right?
The Supporting Cast (Optional but Recommended):
1 egg: For an egg wash. This is what gives the croissants that professional, glossy, deep golden-brown color.
1 tablespoon of water or milk: To mix with the egg for the wash.
Dijon mustard: Just a little smear inside each croissant adds a wonderful tangy depth.
Everything Bagel Seasoning or Poppy Seeds: For a little sprinkle on top for extra flavor and crunch.
Got everything? Fantastic. Let’s get our hands dirty. Well, not really. It’s not that kind of recipe.
Your Step-by-Step Guide to Croissant Heaven

This is where the magic happens. I’ll walk you through it, step by simple step.
Step 1: Preheating and Prepping
First things first, get your oven preheated to 375°F (190°C). Ovens are notoriously lazy and take their sweet time to warm up, so let’s get that party started early.
While it’s heating, line your baking sheet with that life-saving parchment paper I mentioned.
Step 2: The Delicate Art of Croissant Surgery
Take your croissants and, with a sharp serrated knife, carefully slice them horizontally—like you’re butterflying them, but all the way through. You want to create a top and a bottom half.
Proceed with caution! Those flaky layers are fragile. The goal is to create a stable “boat” for your fillings, not a pile of pastry rubble. You’ve got this.
Step 3: The Assembly Line of Deliciousness
Now, for the fun part: building your flavor bomb.
The Base Layer (The Optional Secret Weapon): If you’re using Dijon, now’s the time. Take a tiny amount—we’re talking half a teaspoon max—and smear it on the inside of the bottom half of each croissant. It’s a flavor booster that cuts through the richness perfectly.
The Ham: Fold your ham slices and tuck them neatly into the bottom half of the croissant. You want a good amount in there, but don’t overstuff it so much that you can’t close it.
The Cheese: Place your cheese slices on top of the ham. Again, be generous but reasonable. You want the cheese to melt and hold everything together, not erupt out the sides like a dairy volcano (okay, a little eruption is fine).
Step 4: The Grand Finale (and the Egg Wash)
Place the top half of the croissant back on, like a little hat. It might look a bit overstuffed and precarious. This is normal and correct.
Now, for that gorgeous color. In a small bowl, beat your single egg with a tablespoon of water or milk until it’s uniform. Using your pastry brush (your finger works in a pinch, but it’s messier), gently brush this egg wash over the top of each assembled croissant.
Want that extra crunch and flavor? This is the moment to sprinkle on a pinch of everything bagel seasoning or poppy seeds.
Step 5: Into the Fire!
Place your beautiful, assembled croissants on the prepared baking sheet, giving them a little room to breathe.
Slide them into your preheated oven and bake for 15-20 minutes. You’re looking for a deep, golden-brown exterior and, the true tell-tale sign, cheese oozing seductively out the sides.
Your kitchen will start to smell like a Parisian bakery that also makes the world’s best grilled cheese. It’s a divine experience.
Step 6: The Hardest Part: Waiting
Once they’re gloriously golden and cheesy, take them out of the oven. I know, I know, you want to dive in immediately.
Resist the urge!
Let them rest on the baking sheet for about 5 minutes. Why? Two reasons:
The filling is approximately the temperature of the sun and will scorch your tongue.
This resting period allows the cheese to set just slightly, so when you do bite into it, you get a perfect, gooey pull instead of a messy spill.
And there you have it. You’ve just created pure, unadulterated joy in pastry form. It’s that simple.
So, what are you waiting for? Go forth and bake! And when you pull that first perfect, flaky, cheesy bite apart, you’ll thank past you for making such a brilliant decision. Enjoy

