
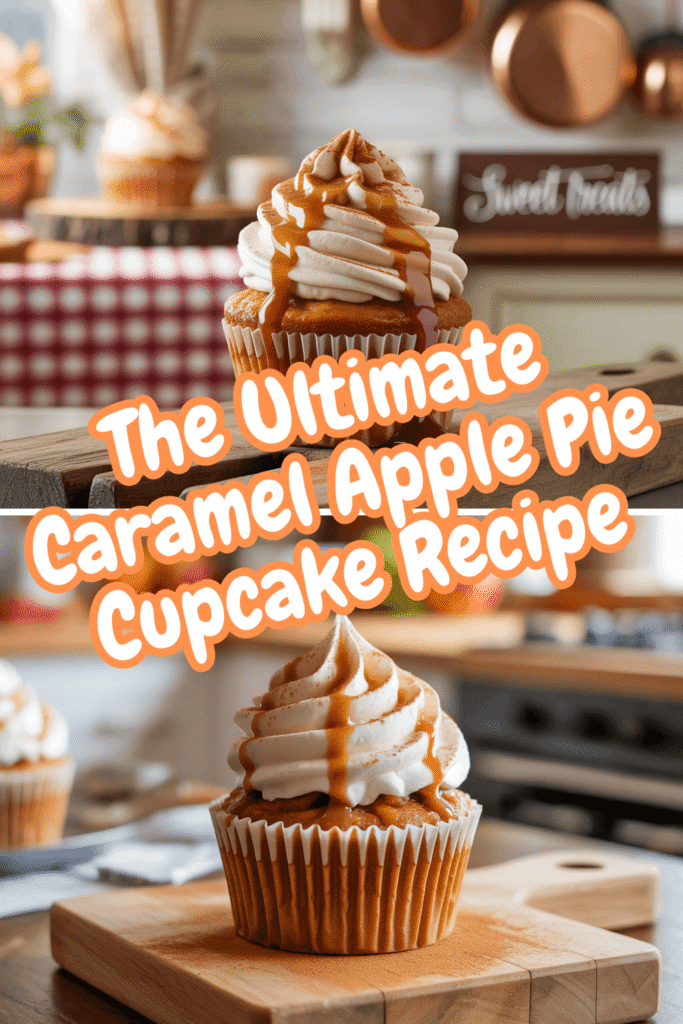
Okay, let’s be real for a second. You see a recipe for “caramel apple pie cupcakes” and your brain does a little happy dance, right? It’s like someone took the best parts of autumn and baked them into a single, handheld masterpiece. But then that sneaky thought creeps in: “That looks way too complicated. I’ll just buy something from the store.”
Nope. Not today. I’m here to tell you, with the enthusiasm of a kid in a leaf pile, that you can absolutely make these. And they will be legendary. This isn’t just a dessert; it’s a conversation starter, a cozy sweater in food form, and your new secret weapon for basically any gathering from here until, well, forever.
I’ve tweaked and tested this recipe more times than I’d like to admit (my coworkers have never been happier to be taste-testers), and I’ve landed on the perfect, foolproof method. So, tie on your apron, and let’s get to the good stuff.
1 Why You Should Choose This Recipe (Besides the Obvious Deliciousness)
Seriously, why would you not want to make a dessert that combines the spiced, comforting goodness of apple pie with the sweet, gooey joy of caramel, all in the perfectly portable form of a cupcake? But if you need more convincing, I’ve got you covered.
It’s Easier Than a Full-Blown Pie
Let’s be honest. Making a beautiful, lattice-topped apple pie from scratch is a whole-day project that can end in a soggy bottom and a tearful baker. These cupcakes? They give you all the flavor with a fraction of the stress. No wrestling with a full crust, no worrying about the filling making the bottom soggy. It’s basically a hack for getting pie-flavored praise without the pie-level anxiety.
The “Wow” Factor is Off the Charts
Bring these to a party and just watch people’s faces. The moment they bite into that soft, spiced cake, hit the chunky apple center, and get a drizzle of caramel? Game over. You’ll be declared the baking champion. I’ve seen it happen. They look fancy, but the process is straightforward. That’s my favorite kind of baking magic.
They Are Stupidly Versatile
These aren’t just for Thanksgiving. They’re perfect for a Halloween party, a cozy weekend treat, a bake sale that will have people fighting over the last one, or just because it’s Tuesday. They satisfy that baking itch without requiring a massive commitment.
2 What You Will Need in the Kitchen
Before we get to the ingredients, let’s talk gear. You don’t need any fancy-schmancy equipment, but a few key tools will make your life a whole lot easier.
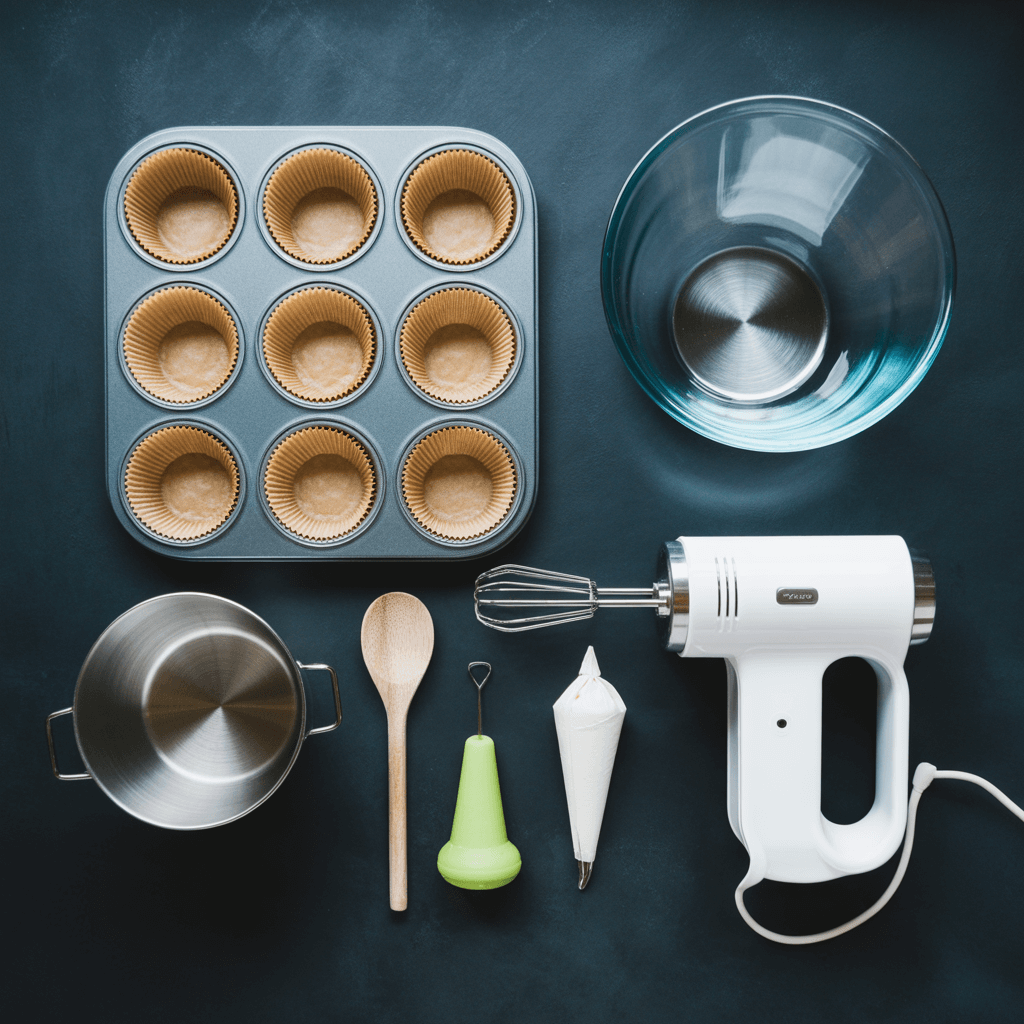
The Essential Arsenal
A Standard Muffin Tin: Obviously. A 12-cup pan is perfect for this recipe.
Cupcake Liners: I’m a big fan of the grease-proof parchment paper liners. They peel away beautifully and look rustic and cute.
A Large Mixing Bowl & Electric Mixer: You can do this by hand with a whisk, but an electric hand mixer or stand mixer will make the cupcake batter light and fluffy with minimal effort. Your arm will thank you.
A Medium Saucepan: For cooking down our apple pie filling. This is where the magic starts.
A Melon Baller or a Small Teaspoon: This is my secret weapon for coring the cupcakes. A small, sharp paring knife works too, but the melon baller is just so neat and efficient.
A Piping Bag or a Ziploc Bag: For injecting the cupcakes with caramel. No piping tip needed! We’ll just snip the corner.
The “Nice-to-Haves”
An Apple Peeler-Corer: If you’re making a big batch, this little gadget is a lifesaver. For one batch, a simple peeler and a sharp knife are just fine.
A Cooling Rack: Essential for getting your cupcakes to room temperature without getting sweaty bottoms.
See? Nothing too wild. Now, onto the main event.
3 Ingredients You Are Going to Need
Gather ’round, friends. This is our shopping list for happiness. I’ve broken it down into the three components: the cupcake, the filling, and the topping. It looks like a lot, but it’s mostly pantry staples.
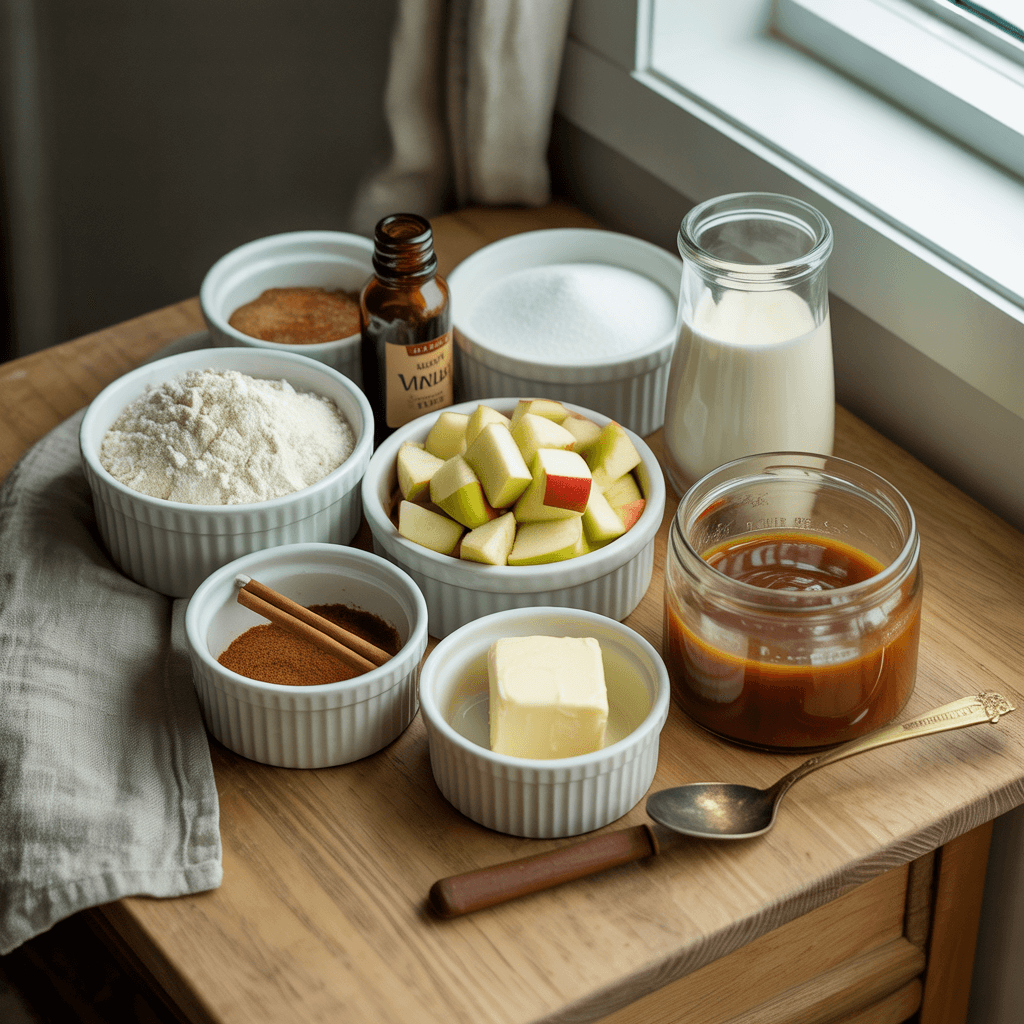
For the Spiced Cupcake Base
1 ½ cups all-purpose flour
1 cup granulated sugar
1 tsp baking soda
1 tsp ground cinnamon
½ tsp ground nutmeg (freshly grated if you have it, but the jar is fine!)
½ tsp salt
1 cup water (trust me on this)
⅓ cup vegetable oil (or canola oil)
1 tbsp white vinegar
1 tsp vanilla extract
For the “Pie” Filling
2 medium apples (I prefer Granny Smith for tartness or Honeycrisp for sweetness), peeled and finely chopped
2 tbsp unsalted butter
2 tbsp brown sugar
½ tsp cinnamon
A tiny pinch of salt
For the Topping & Glory
1 cup heavy whipping cream
2 tbsp granulated sugar
½ tsp vanilla extract
½ cup of your favorite store-bought caramel sauce (or homemade if you’re feeling extra fancy), plus more for drizzling
A pinch of cinnamon for dusting
FYI, the cupcake base is actually a vegan “wacky cake” recipe. No eggs, no dairy! It creates an incredibly moist and tender crumb that’s the perfect vehicle for our rich toppings. You’d never know it, I promise.
4 Your Step-by-Step Guide to Caramel Apple Pie Heaven
Alright, the prep is done. This is where the fun begins. Put on some music, and let’s bake.
Step 1: Conquer the Apple Filling
We’re doing this first so it has time to cool down. You don’t want to put hot apple goo into your cupcake batter. That’s a recipe for disaster (and deflated cupcakes).
Melt the 2 tablespoons of butter in your saucepan over medium heat.
Toss in the chopped apples, brown sugar, cinnamon, and that tiny pinch of salt.
Cook, stirring occasionally, for about 8-10 minutes, until the apples have softened but still have a little bite. You don’t want applesauce!
Take the pan off the heat and let it cool completely. I sometimes spread it on a plate to speed up the process.
Step 2: Whip Up the Cupcake Batter
Preheat your oven to 350°F (175°C). Line your muffin tin with those cute liners.
Now, here’s the easiest part. Are you ready?
In your large mixing bowl, whisk together all the dry ingredients: the flour, granulated sugar, baking soda, cinnamon, nutmeg, and salt. Just give it a good whisk to combine.
Make three little wells in the dry ingredients. Pour the vegetable oil into one, the vinegar into another, and the vanilla into the third.
Now, pour the 1 cup of water over everything.
Using your electric mixer (or a vigorous whisking arm), beat everything together on medium speed until it’s just combined and smooth. Don’t overmix! A few small lumps are totally fine. See? I told you it was easy.
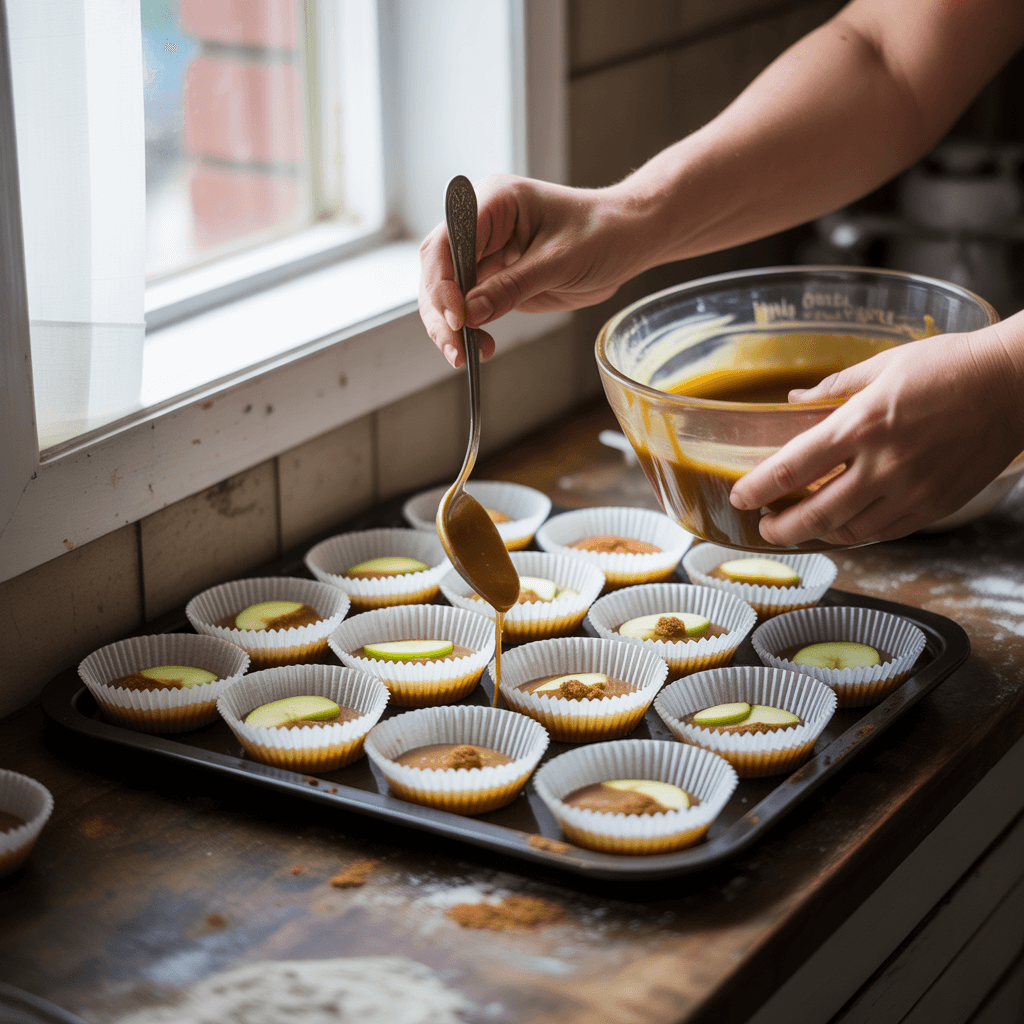
Step 3: The Assembly Line
Scoop the batter into your prepared liners, filling them about ⅔ of the way full.
Now, grab your cooled apple filling. Spoon a small teaspoonful right into the center of each cupcake batter portion. Just plop it on top; it will sink a little as it bakes, creating a hidden core of appley goodness.
Step 4: Bake to Perfection
Pop the pan into your preheated oven and bake for 18-22 minutes. You’ll know they’re done when a toothpick inserted into the cakey part (not directly into an apple chunk) comes out clean.
Let them cool in the pan for about 5 minutes, then transfer them to a wire rack to cool completely. I know it’s tempting, but you must let them cool all the way. Otherwise, your beautiful whipped cream will melt into a sad puddle. And we are not in the business of sad puddles.
Step 5: The Core & Caramel Injection
This is the pro-move that makes these “pie cupcakes.”
Once the cupcakes are completely cool, take your melon baller or small teaspoon. Press it into the top center of a cupcake and twist to remove a small core of cake. Don’t go all the way to the bottom!
Spoon your caramel sauce into a piping bag or a Ziploc bag with a small corner snipped off.
Gently pipe caramel directly into the hole you just created. You’ll see the cupcake plump up a little as it fills. Stop when it almost reaches the top. Repeat with all cupcakes. 🙂
Step 6: The Whipped Cream Cloud & Finale
We’re almost there!
In a chilled bowl, combine the heavy whipping cream, 2 tablespoons of sugar, and ½ tsp vanilla.
Whip it using your electric mixer on high speed until stiff peaks form. That means when you lift the beaters out, the cream stands up straight.
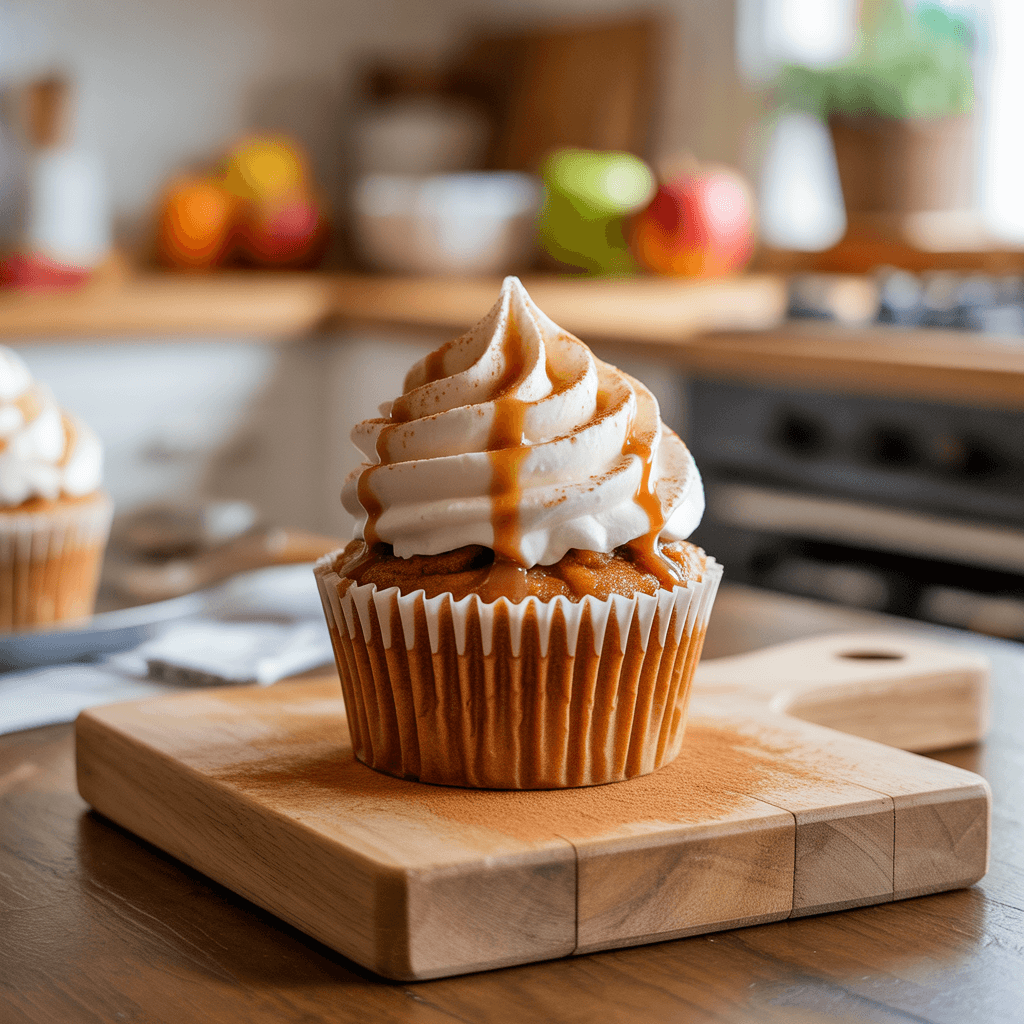
Pipe or generously dollop the whipped cream onto the top of each cupcake.
Give each one a final, dramatic drizzle of caramel sauce and a light dusting of cinnamon for that perfect bakery-style finish.
And there you have it. You’ve just created pure magic.
So, what are you waiting for? You’ve got the recipe, the know-how, and a very good reason to turn your kitchen into a fall-scented bakery. IMO, the best part is watching someone take that first, unexpected bite into the caramel-filled center. Their look of surprise and delight is worth every single second.
Now go forth and bake! And be sure to tell me all about your triumphs.

