
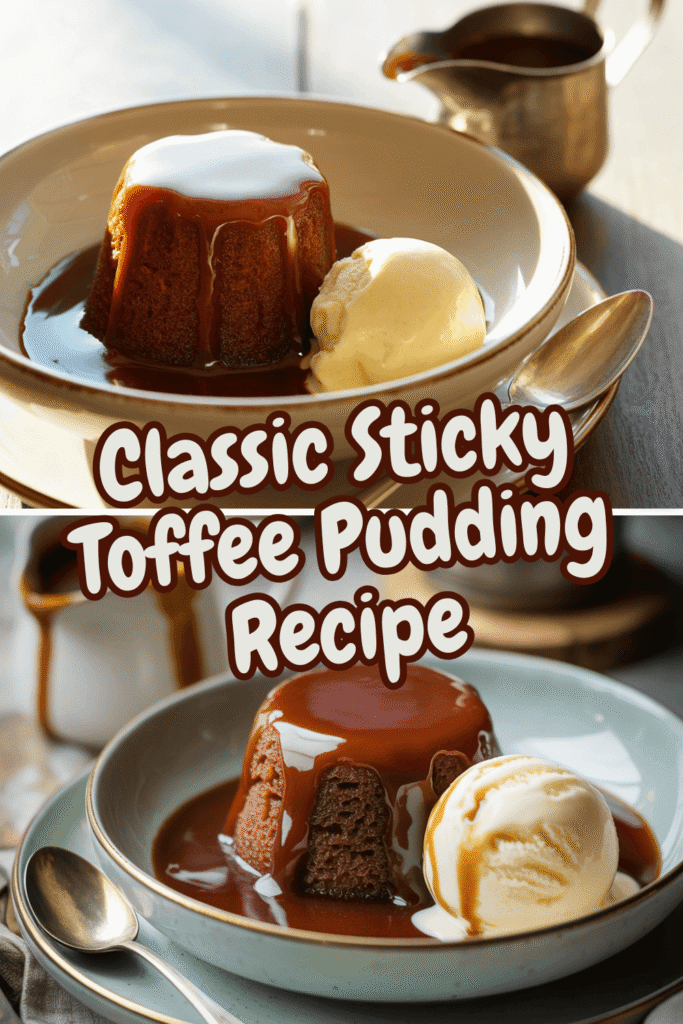
Alright, let’s talk about one of the greatest desserts to ever come out of Britain. We’re not just talking about a “pudding” in the American sense. Oh no. This is a glorious, moist, date-filled sponge cake, absolutely drenched in a rich, buttery toffee sauce. It’s the kind of dessert that doesn’t just satisfy a sweet tooth; it sends it into a state of pure, unadulterated bliss.
I know the name might sound a bit intimidating. “Sticky Toffee Pudding” sounds like something only a professional pastry chef with a towering white hat should attempt, right? Wrong. I’m here to tell you that this is, IMO, one of the most forgiving and rewarding bakes you can master. If you can stir ingredients together, you can make this. And trust me, the look on people’s faces when you present a homemade one is absolutely worth every second of effort. So, preheat your oven, grab your favourite mixing bowl, and let’s get stuck in (pun absolutely intended).
1. Why You Should Choose This Recipe
Why wouldn’t you choose this recipe? Okay, maybe if you have a deep, personal vendetta against happiness. But for the rest of us, here’s the deal.
First off, this isn’t some fussy, delicate dessert that demands perfection. This is a hearty, rustic, and deeply comforting dish. It’s built on a foundation of dates, which naturally keep the sponge incredibly moist. This means that even if you accidentally overbake it by a minute or two (we’ve all been there), it’s still going to be delicious. It’s practically foolproof.
Ever been to a fancy pub or restaurant, seen sticky toffee pudding on the menu, and ordered it without a second thought? There’s a reason for that. It’s a classic for a reason. But making it at home? That’s a whole new level of satisfaction. You control the quality of the ingredients, and you get to pour on as much of that insanely good toffee sauce as your heart desires. And let’s be honest, the answer is always “a lot.”
Finally, it’s a crowd-pleaser. Taking a baking dish straight from the oven, the sauce bubbling around the edges, filling your kitchen with that incredible caramelized sugar smell… it’s a showstopper. It feels special, like you’ve put in a huge amount of work, when in reality, the process is surprisingly straightforward. You’ll get all the credit for a fraction of the stress. Sounds like a good deal, doesn’t it?
2. What You Will Need in the Kitchen
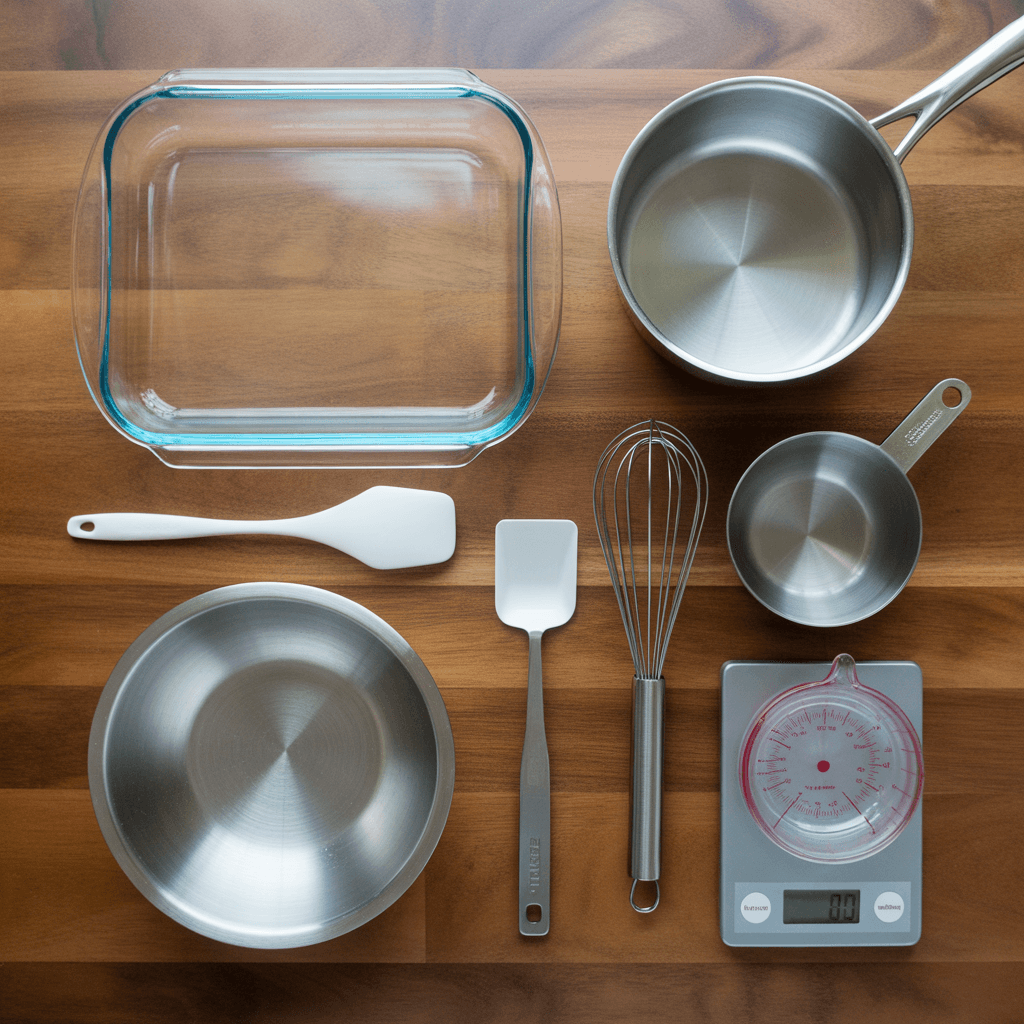
You don’t need any fancy equipment for this, I promise. We’re keeping it old-school. But having the right tools makes the process smooth and enjoyable. Here’s your kitchen gear checklist:
The Essential Basics
An 8×8 Inch Square Baking Dish: This is the perfect size. A ceramic or glass dish is ideal. If you only have a metal pan, that’s fine, but keep a closer eye on the baking time as it might cook a little faster.
A Medium Saucepan: You’ll use this for two things: soaking the dates and making the glorious toffee sauce.
Two Mixing Bowls: One large bowl for the cake batter, and a smaller one for combining the dry ingredients.
A Whisk or Electric Hand Mixer: A simple balloon whisk will do the job perfectly for the batter. If you have a hand mixer, you can use it to cream the butter and sugar, but it’s not strictly necessary. A bit of elbow grease works just fine!
A Fine-Mesh Sieve: For sifting the flour. This is one step I wouldn’t skip—it keeps the cake lovely and light.
The Nice-to-Haves
A Kitchen Scale: Baking is a science, and weighing your ingredients (especially the flour) is the most accurate way to ensure perfect results every time. It’s a game-changer, FYI.
A Piping Hot Water Jug: For the fabled water bath. Don’t panic! It sounds more technical than it is. You just need a jug to pour hot water into the roasting pan.
3. Ingredients You Are Going to Need

Gather these ingredients, and you’re 90% of the way there. I’ve separated them into what you need for the pudding itself and what you’ll need for the sauce that makes it legendary.
For the Pudding Sponge:
200g (7oz) Medjool Dates, pitted and chopped: Medjool dates are the king here. They’re softer, stickier, and more flavorful than other varieties. Just make sure you remove the pits!
175ml (¾ cup) Boiling Water: This is for rehydrating the dates and creating a flavour base.
1 tsp Bicarbonate of Soda (Baking Soda): This is our rising agent. The soda reacts with the acidic dates and helps give the sponge its signature light-yet-dense texture.
85g (6 Tbsp) Unsalted Butter, softened: Leave this out on the counter for an hour before you start. Room-temperature butter is non-negotiable for creaming properly.
140g (¾ cup) Dark Brown Soft Sugar: This gives a deeper, almost molasses-like flavour compared to light brown sugar. It’s key for that classic taste.
2 Large Eggs, at room temperature: Room temp eggs incorporate into the batter much more easily.
1 tsp Vanilla Extract: The flavour booster. Use the real stuff if you can!
175g (1 ½ cups) Self-Raising Flour: If you don’t have self-raising flour, you can make your own. For every 150g of plain flour, add 2 tsp of baking powder and a pinch of salt.
A good pinch of Salt: This balances the sweetness and makes all the other flavours pop.
For the Sticky Toffee Sauce:
150g (⅔ cup) Dark Brown Soft Sugar: Yes, more! This is a sauce, after all.
85g (6 Tbsp) Unsalted Butter: Because butter makes everything better. It’s a scientific fact.
150ml (⅔ cup) Double Cream (Heavy Cream): This creates the luxurious, silky texture. Don’t be tempted to use a lower-fat alternative here. This is a treat!
1 Tbsp Black Treacle or Molasses: This is the secret weapon. It adds a deep, slightly bitter, complex flavour that cuts through the sweetness. If you can’t find it, you can leave it out, but it really does make a difference.
4. Step-by-Step Guide to How to Do It
Okay, the fun part. Let’s walk through this together. Read the whole thing once before you start, just so you know the plan. You’ve got this!
Step 1: Get Your Dates Ready for Their Close-Up
First, preheat your oven to 180°C (350°F). Then, grab your dates and chop them up. They don’t need to be super fine; a rough chop is perfect.
Place the chopped dates in your medium saucepan and pour the 175ml of boiling water over them. Sprinkle the bicarbonate of soda over the top. It will fizz a little—that’s exactly what you want to see! Let this mixture sit off the heat for about 10-15 minutes. This allows the dates to soften beautifully and absorb the water. See? We’re already building flavour.
Step 2: Create the Cake Batter Base
While the dates are soaking, take your large mixing bowl and cream together the softened butter and dark brown sugar. You want to beat it until it’s pale, fluffy, and well-combined. This step is crucial for incorporating air into the batter. If you’re using a whisk, it might take a couple of minutes. Consider it your arm workout for the day.
Next, beat in the eggs, one at a time, followed by the vanilla extract. If the mixture looks a little curdled at this point, don’t panic. It will all come together once you add the flour.
Step 3: Bring It All Together
Now, take your flour and that pinch of salt and sift it straight into the butter and egg mixture. Use a spatula or a wooden spoon to fold it in gently until just combined. The key here is not to overmix. A few streaks of flour are better than a tough, overworked batter.
By now, your dates should be lovely and soft. You have two options: you can mash them roughly with a fork right in the pan for a more textured pudding, or you can blitz them with a hand blender for a smoother consistency. I’m a mashing person—I like the little pockets of date flavour. Pour the entire date mixture (water and all) into your batter and fold everything together until it’s a uniform, if somewhat questionable-looking, brown batter.
Step 4: Bake to Perfection
Pour the batter into your greased 8×8 inch baking dish and smooth out the top. Place this dish inside a larger roasting tin. Now, here’s the slightly dramatic part: open the oven, carefully slide the rack out, place the roasting tin on it, and then pour hot water from the kettle into the roasting tin until it comes about halfway up the sides of the baking dish.
This water bath (or bain-marie if you want to be fancy) does two things: it ensures the pudding cooks evenly and it keeps the environment steamy, resulting in an unbelievably moist sponge. Bake for 35-40 minutes, or until the top is springy to the touch and a skewer inserted into the centre comes out clean.
Step 5: The Main Event – The Toffee Sauce
While the pudding is baking, make the sauce. It’s embarrassingly easy. Put the brown sugar, butter, and double cream into the same saucepan you used for the dates (why wash more pans than you need to?). Heat it gently, stirring continuously, until the butter has melted and the sugar has dissolved.
Then, turn up the heat a little and let it bubble for 2-3 minutes until it thickens slightly. Stir in the black treacle. Be careful, it’s hotter than the sun! You should now have a glossy, divine-smelling toffee sauce.
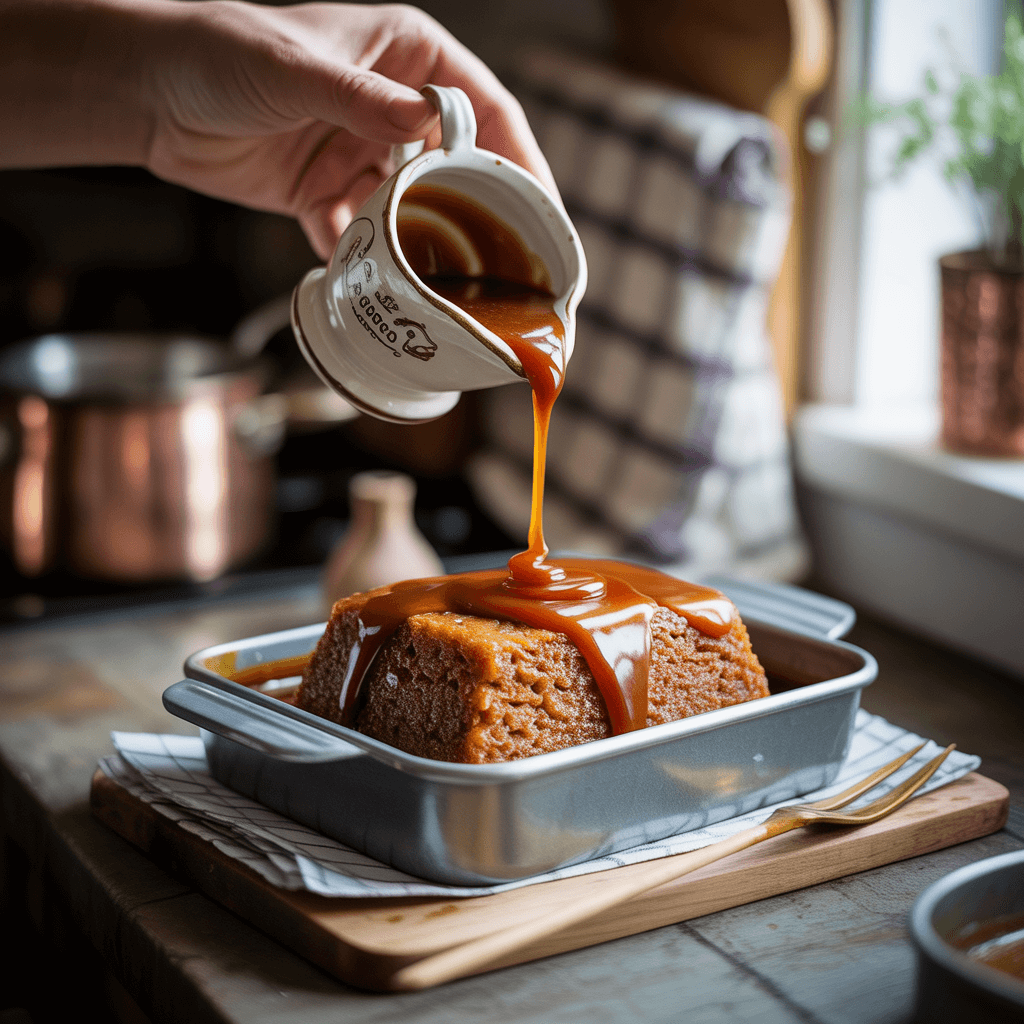
Step 6: The Grand Finale
When the pudding comes out of the oven, don’t wait! Poke holes all over the warm pudding with a skewer and immediately pour over about a third of the toffee sauce. Let the sauce seep down into the holes, infusing every single bite with sticky sweetness.
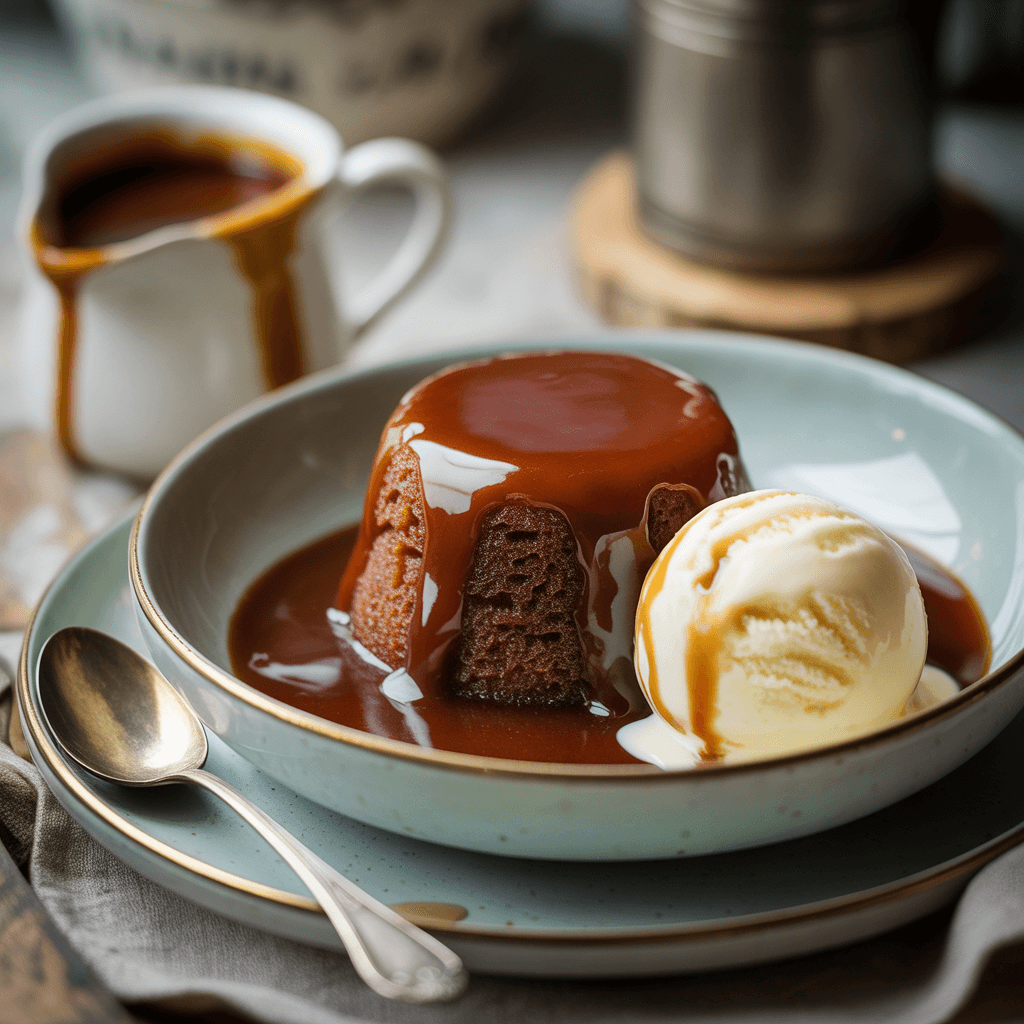
Serve the pudding warm, in generous squares, with a scoop of good vanilla ice cream or a pouring of cold custard. And don’t you dare forget to put the remaining toffee sauce in a jug on the table for everyone to add extra. Because let’s be real, the sauce is the real star of the show.
And there you have it. You’ve just made a classic sticky toffee pudding that would make any British granny proud. It’s warm, comforting, and ridiculously delicious. So, go on, dig in. You’ve earned it

