
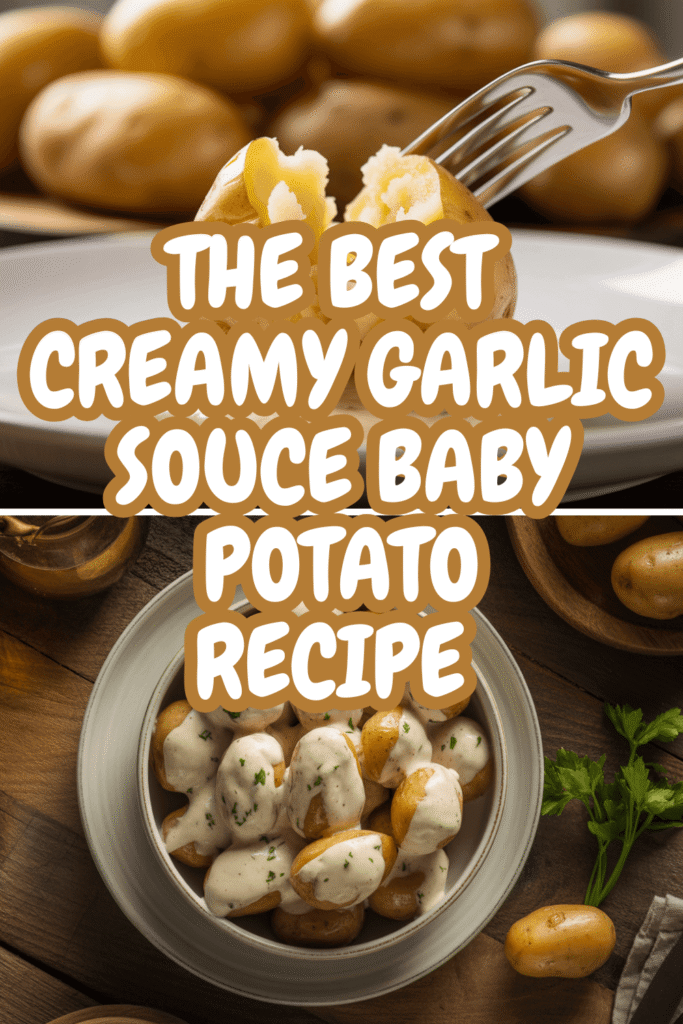
Alright, let’s get this show on the road. You’re here because you’re hungry, right? Not just “I-could-eat” hungry, but properly, deeply craving something that is both stupidly comforting and a little bit elegant. You want those little potato nuggets, crispy on the outside, smothered in a sauce so creamy, so garlicky, so downright luxurious that you might just consider eating it with a spoon.
Well, my friend, you’ve hit the jackpot. Forget whatever sad, steamed potato side dish you’ve been tolerating. We’re about to elevate the humble baby potato to a main character status. This isn’t just a recipe; it’s a lifestyle upgrade. So, tie your apron, and let’s make some magic happen.
Why This Recipe is Your New Best Friend
Seriously, why would you even make anything else? I’m only half joking. This dish is the culinary equivalent of that one friend who is always fun, reliable, and makes you look good. Let me break down why this recipe deserves a permanent spot in your rotation.
It’s Deceptively Impressive
You know those dishes that look and taste like you slaved away for hours, but secretly only took about 30 minutes? This is one of those. Serve these creamy garlic sauce baby potatoes at a dinner party, and I promise you, people will ask for the recipe. They’ll assume you have some secret chef training. Just smile mysteriously and take the compliment.
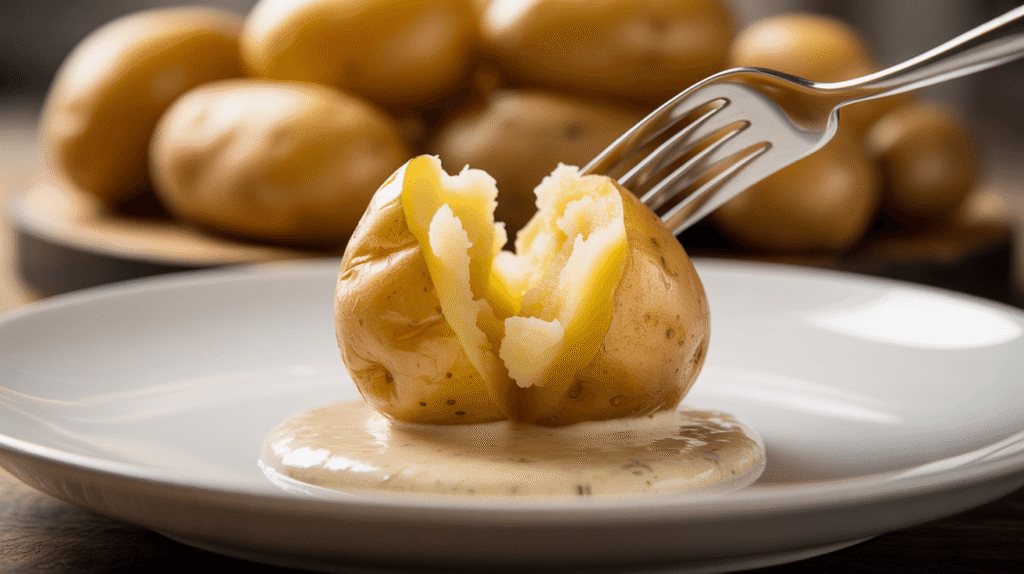
The Textural Dream Team
We’re achieving peak texture here. By parboiling and then smashing the potatoes, we create an incredible landscape of crispy, golden-brown edges and craggy bits that are just begging to soak up all that creamy garlic sauce. The contrast between the crispy potato shell and the velvety, rich sauce is nothing short of a masterpiece. Your mouth will throw a party.
It’s Ridiculously Versatile
What can’t you serve this with?
A Simple Protein: Plop these next to a roasted chicken, a seared steak, or some baked fish. Instant fabulous meal.
A Veggie Feast: They are the star of any vegetarian spread. IMO, they’re even hearty enough to be the main event with a big green salad on the side.
The Ultimate Brunch: Swap out your home fries. Trust me on this one. Your brunch guests will never leave.
Ever wondered why restaurant potatoes taste so much better? It’s all in the technique, and the good news is, it’s not hard to replicate at home.
Raid Your Kitchen: The Gear You’ll Need
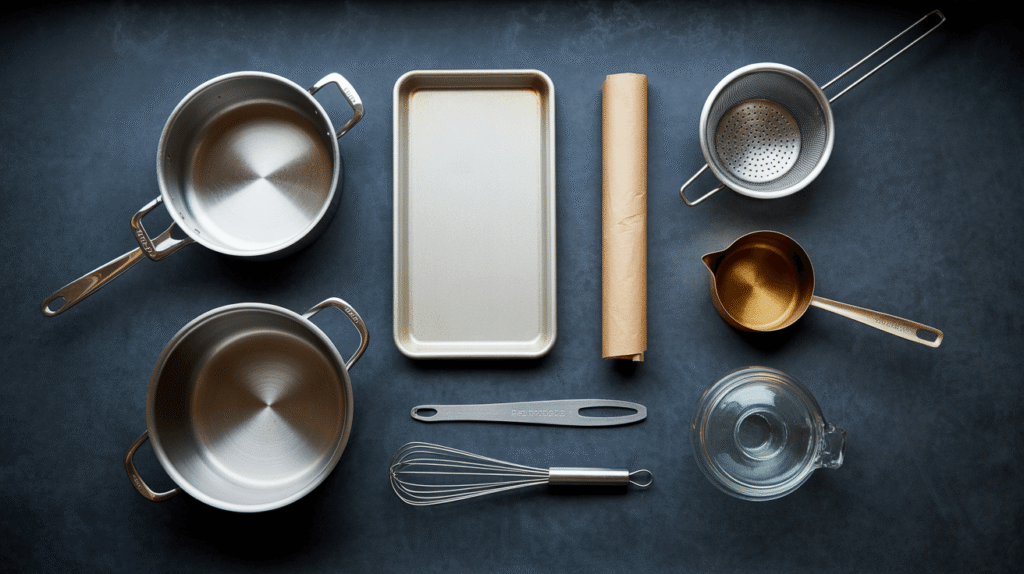
You don’t need any fancy-pants equipment for this. Just the basics. Let’s make sure you have these tools ready to go before we start, so you’re not running around like a headless chicken mid-recipe.
A large pot for boiling the potatoes. Nothing too crazy, just something that gives them room to swim.
A large baking sheet. This is non-negotiable. Crowding the potatoes is the enemy of crispiness. We want them in a single, respectful layer.
Parchment paper. This isn’t just for easy cleanup (though, what a blessing). It also prevents sticking and helps with browning. Foil can sometimes make things steam, and we want crisp!
A good colander for draining our boiled spuds.
A small saucepan for whipping up that heavenly garlic sauce.
A glass measuring cup or a small bowl for your milk and broth mixture. FYI, using glass makes it easier to see if your broth is truly hot.
A whisk for creating a smooth, lump-free sauce.
Something to smash with! A heavy-bottomed glass, a mason jar, or even the bottom of a sturdy mug works perfectly. We’re going for gentle, strategic smashing, not potato annihilation.
The Cast of Characters: Your Ingredient List
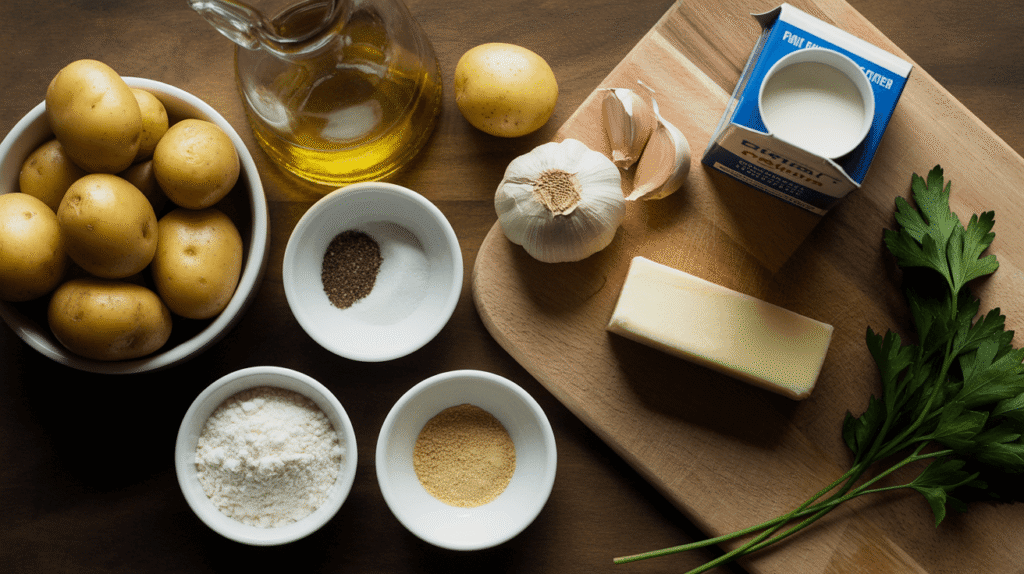
This is where the magic begins. Simple, high-quality ingredients are key here. You’ll notice there’s no canned “cream of something” soup. We’re making a real sauce, and it’s easier than you think.
For the Smashed Baby Potatoes:
2 lbs baby potatoes (I’m a sucker for Yukon Golds for their buttery texture, but red-skinned work great too!)
2 tablespoons olive oil
1 teaspoon salt (plus more for the boiling water)
½ teaspoon black pepper
1 teaspoon garlic powder (this adds an extra layer of garlicky goodness to the potatoes themselves)
For the Creamy Garlic Sauce:
3 tablespoons unsalted butter
4-5 large cloves of garlic, minced (This is not the time for timidness. Use fresh garlic, please! The jarred stuff just won’t give you the same punch.)
3 tablespoons all-purpose flour
1 cup chicken or vegetable broth
1 cup whole milk or half-and-half (For maximum creaminess, go for the half-and-half. You’ve come this far, don’t hold back now.)
½ cup freshly grated Parmesan cheese
Salt and white pepper to taste (Black pepper works, but white pepper keeps the sauce a beautiful, pristine color. No biggie if you don’t have it!)
Fresh chopped parsley or chives for garnish (This adds a lovely fresh color and flavor. Highly recommended!)
See? No weird, hard-to-find items. Just good, honest food that’s about to become legendary.
Let’s Get Cooking: Your Step-by-Step Guide to Glory
Okay, the prep is done. Now for the main event. Follow these steps, and you simply cannot fail. I believe in you.
Step 1: The Potato Pre-Game
First, preheat your oven to a roaring 425°F (220°C). This high heat is the secret to getting those crispy edges we’re dreaming of.
While that’s heating up, put your baby potatoes in the large pot and cover them with cold, well-salted water. Bring the water to a boil and let them cook for about 15-20 minutes. You want them to be just tender enough that a fork can pierce them without much resistance, but not so soft that they’re falling apart. Think “al dente,” but for potatoes.
Step 2: The Great Smash
Drain the potatoes in your colander and let them steam dry for a minute. Now, carefully place them on your parchment-lined baking sheet. Give them a little room—they need their personal space.
Take your smashing tool of choice (that heavy glass or jar) and gently press down on each potato until it flattens to about ½-inch thick. You’re not making potato paste; you’re just creating more surface area for crispiness. Some might break apart a little—that’s totally fine! Those will be the extra-crispy bits you fight over.
Drizzle the smashed potatoes with the 2 tablespoons of olive oil and sprinkle them evenly with the 1 teaspoon of salt, ½ teaspoon of black pepper, and the teaspoon of garlic powder.
Step 3: Crispify Those Spuds
Slide that baking sheet into your hot oven and roast for 25-30 minutes. You’re looking for a deep, golden-brown color and edges that look irresistibly crunchy. Don’t you dare open the oven door every five minutes! Let the heat work its magic.
Step 4: The Creamy Garlic Sauce of Your Dreams
While the potatoes are roasting, it’s sauce time! In your small saucepan, melt the 3 tablespoons of butter over medium heat. Once it’s foaming slightly, add your minced garlic. Cook this for just about 60 seconds until it’s fragrant. You want to wake the garlic up, not burn it. Burnt garlic is bitter, and we’re not about that life.
Now, sprinkle in the 3 tablespoons of flour. Whisk this constantly for about a minute. You’re cooking out the raw flour taste, and you’ve just made a “roux.” Congrats, you’re a fancy chef now!
Here’s the key part: Slowly, and I mean slowly, pour in the broth and the milk while you whisk like your dinner depends on it (because it does). This prevents lumps. Keep whisking until the mixture is smooth and begins to thicken. This should take 3-5 minutes.
Once it’s nicely thickened, turn the heat down to low and stir in your ½ cup of grated Parmesan cheese. Keep stirring until it’s melted and glorious. Season with salt and white pepper to taste. Give it a taste. Is it amazing? I told you so.
Step 5: The Grand Finale
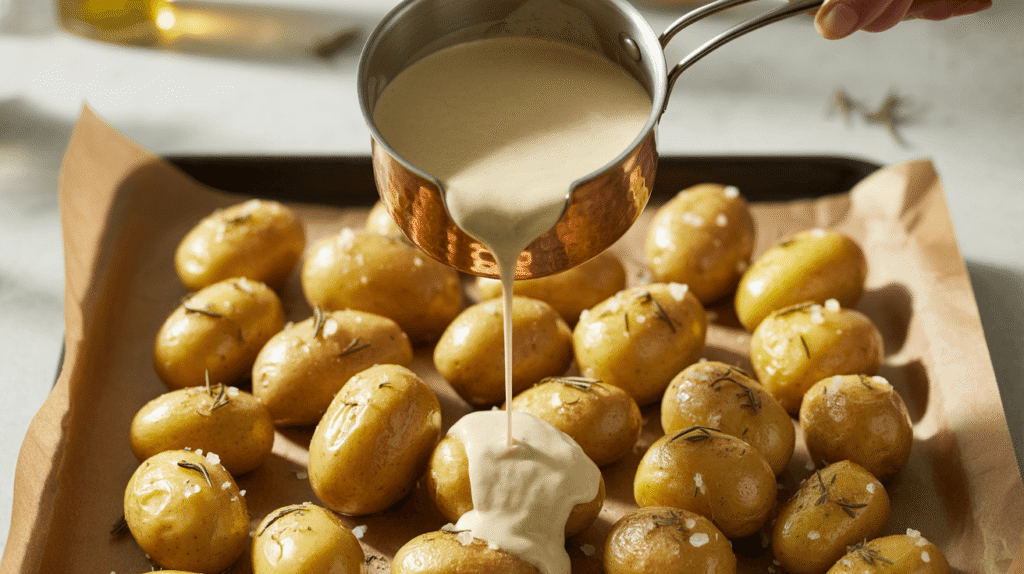
Your potatoes should be perfectly crispy by now. Pull them out of the oven. You can either pour that beautiful sauce right over the entire tray of potatoes, or you can plate the potatoes and drizzle the sauce over individual servings. I’m a “drench the whole tray” kind of person, but you do you.
Garnish with a generous sprinkle of fresh parsley or chives for that pop of color and freshness.
And there you have it. You just made a restaurant-quality dish in your own kitchen. So, go on, grab a fork. You’ve earned it. Now, who’s coming over for dinner?

