
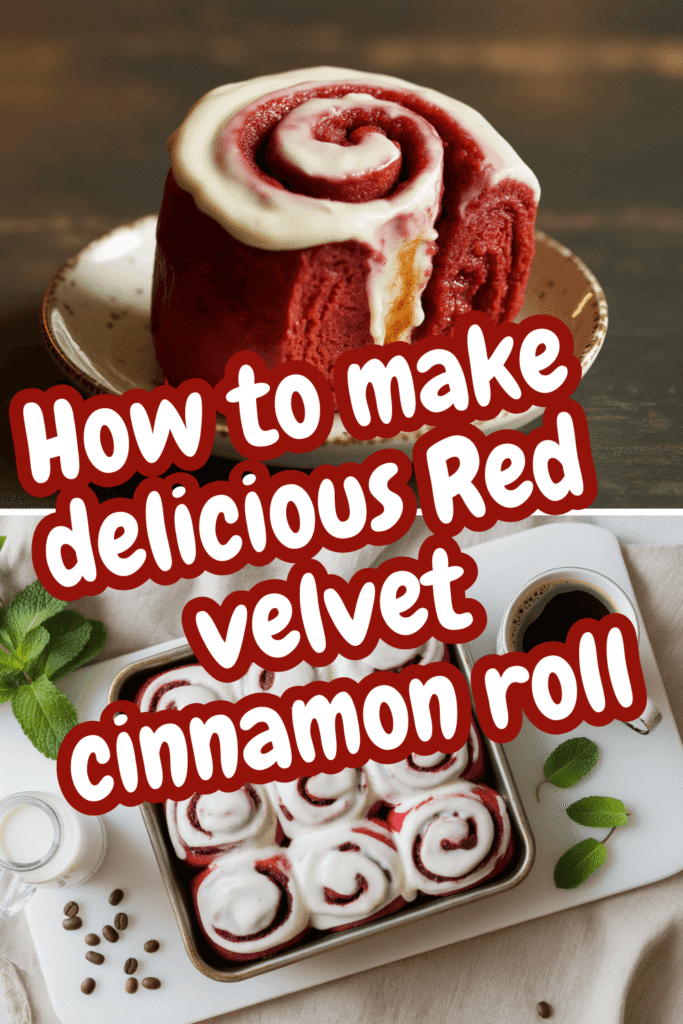
You know that feeling when you can’t decide if you want a rich, chocolatey red velvet cake or a gooey, spicy cinnamon roll? Yeah, me too. It’s a genuine breakfast-time dilemma. But what if I told you that you don’t have to choose? What if I told you there’s a universe—a beautiful, swirly, cream-cheese-frosted universe—where these two legends collide?
Welcome, my friend, to the glorious world of Red Velvet Cinnamon Rolls. This isn’t just a recipe; it’s a statement. It’s your weekend project, your brunch centerpiece, and your answer to the question, “Can baking be an act of pure joy?” Spoiler alert: it absolutely can.
I’ve been through the trials, from dough that refused to rise to cinnamon fillings that decided to stage a great escape in the oven. I’ve learned from the mess, and I’ve perfected the method so you don’t have to make my mistakes. So, tie on your apron, and let’s make some magic happen.
Why you should choose this recipe
Let’s be real, you could make a lot of things. Why should this be the one?
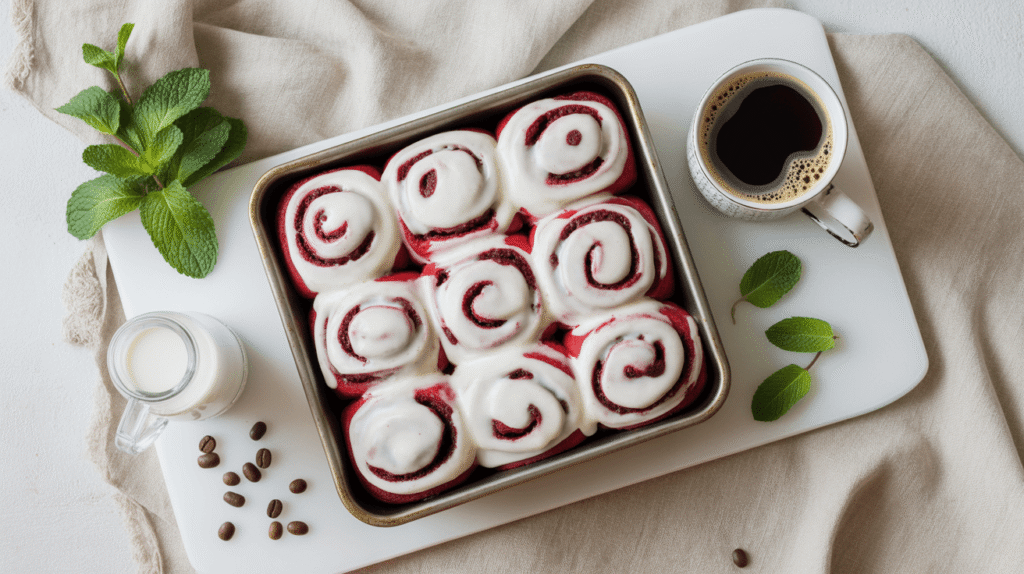
Well, for starters, these rolls are a total showstopper. That deep crimson dough peeking through a blanket of white frosting is just… chef’s kiss. Bringing these to a holiday gathering or a friends-and-family brunch practically guarantees you instant legend status. They look fancy and complicated, but the secret is, they’re just as straightforward as any other yeast bread. We’re just making it a little more fabulous.
But beyond the looks, the flavor is something else. It’s not just a cinnamon roll dyed red. The red velvet aspect brings a subtle cocoa flavor and a touch of tang from buttermilk, which cuts through the sweetness perfectly. It creates a complex, grown-up taste that makes a standard cinnamon roll seem, well, a little basic. No offense to the classics.
And finally, there’s the sheer satisfaction. There’s something incredibly therapeutic about working with your hands, watching the dough puff up, and filling your home with that warm, spicy, sweet aroma. It’s self-care, but with a delicious, edible reward at the end. IMO, it beats a meditation app any day.
What you will need in the kitchen
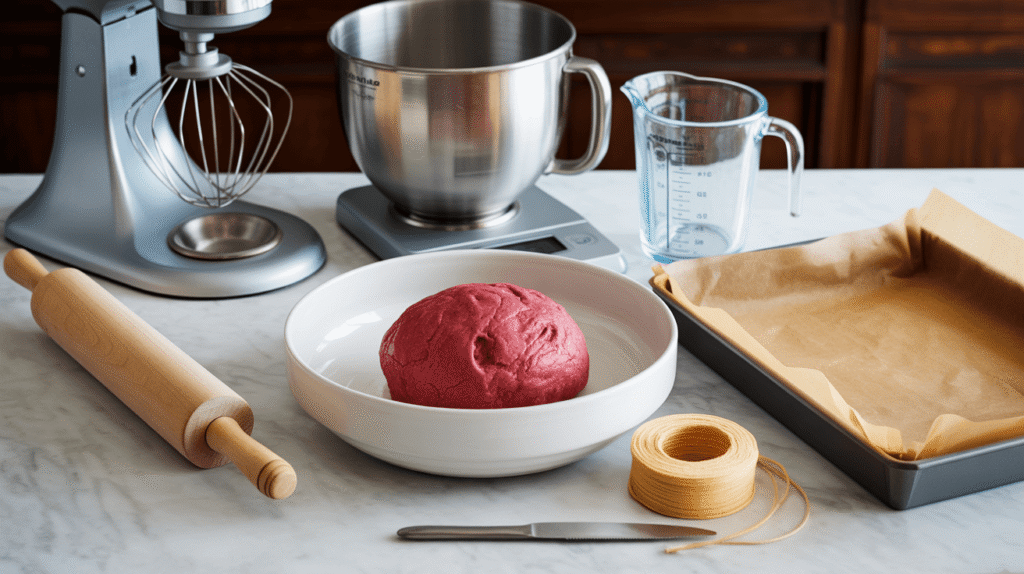
Before we get our hands dirty, let’s do a quick tool check. You don’t need any crazy, single-use gadgets, I promise. Just the usual baking suspects.
The Essential Equipment
A Stand Mixer: Okay, you can do this by hand, and I have when I was feeling particularly ambitious. But a stand mixer with a dough hook attachment is a game-changer. It does the hard work of kneading for you, saving you time and arm fatigue. If you’re going the hand-kneading route, just channel your inner artisan baker and prepare for a 8-10 minute arm workout.
A Large Bowl: For the dough to rise in. Glass or ceramic is great.
A Rolling Pin: To create your canvas for all that cinnamon-sugar goodness.
A 9×13 Inch Baking Pan: This is the perfect size to snugly fit your rolls so they rise up, not out.
Parchment Paper: To line your pan. This isn’t just for easy cleanup; it guarantees your beautiful rolls won’t stick and tear when you’re trying to get them out. Trust me on this one.
A Sharp Knife or Unflavored Dental Floss: For slicing the rolls cleanly. The dental floss trick (sliding it under the roll and crossing the ends over the top to pull tight) gives you perfectly clean cuts without squishing the dough. It’s a legit pro-move.
A Kitchen Scale: This is my personal, slightly-nerdy hill to die on. Measuring flour by weight in grams is the single best way to ensure consistent, perfect results every single time. Scooping flour can compact it, leading to dry, dense rolls. But if you only have cups, no worries—I’ll give you those measurements too. We’re not monsters here.
Ingredients you are going to need
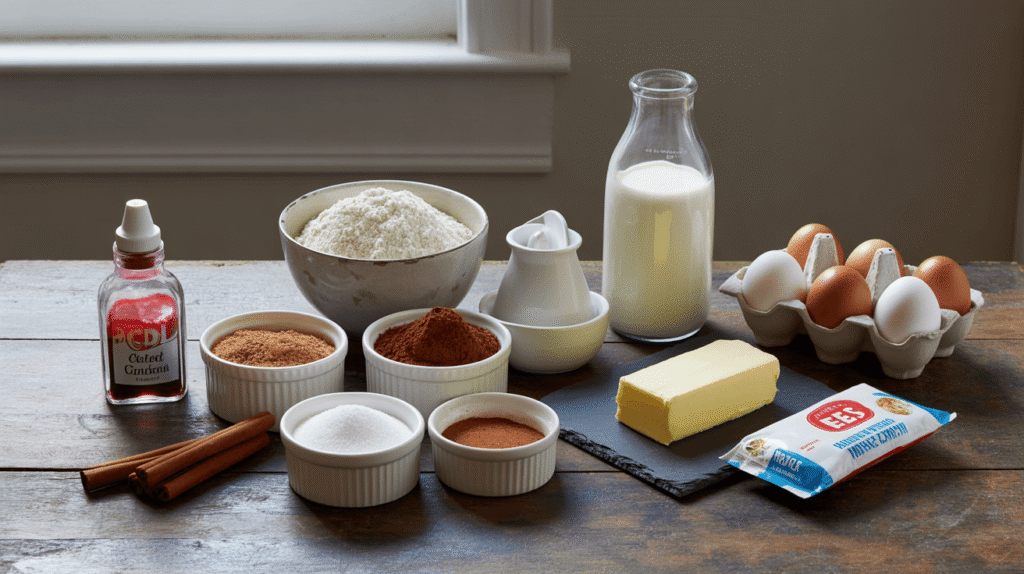
Alright, let’s talk ingredients. Using high-quality stuff here really does make a difference, especially with the key players.
For the Red Velvet Dough:
480g (4 cups) Bread Flour – The high protein content gives you a chewier, softer texture. All-purpose works, but bread flour is better.
7g (2 ¼ tsp) Instant Yeast – Make sure it’s not expired! Your dough’s life depends on it.
50g (¼ cup) Granulated Sugar
5g (1 tsp) Fine Sea Salt
170 ml (¾ cup) Whole Milk, warmed to about 110°F (43°C) – Think warm bath temperature, not hot.
2 Large Eggs, at room temperature
1 tsp Vanilla Extract
2 tbsp Unsweetened Cocoa Powder – Use natural, not Dutch-processed, for that classic red velvet flavor.
1 oz Red Gel Food Coloring – Liquid food coloring just won’t cut it here. You need a gel or paste to get that vibrant, signature red without throwing off the liquid balance.
85g (6 tbsp) Unsalted Butter, softened
For the Cinnamon Filling:
113g (1 stick / ½ cup) Unsalted Butter, VERY soft – Almost melted is fine. This makes it easy to spread.
200g (1 cup) Light Brown Sugar, packed
2 tbsp Ground Cinnamon – Don’t be shy. This is the main event.
For the Cream Cheese Frosting:
113g (4 oz) Cream Cheese, softened
56g (4 tbsp) Unsalted Butter, softened
1 tsp Vanilla Extract
A tiny pinch of Salt – This balances the sweetness beautifully.
240g (2 cups) Powdered Sugar
1-2 tbsp Milk or Cream, if needed, to reach your desired consistency
See? Nothing too wild. Just a symphony of beautiful, simple ingredients waiting to become something greater.
Step to step guide of how to do it
Here we go! The main event. Read through all the steps once before you start. It’s like reading the manual before building IKEA furniture—it prevents a minor emotional crisis later.
Step 1: Wake Up the Yeast & Make the Dough
First, in the bowl of your stand mixer, whisk together the warm milk, a pinch of the sugar, and the yeast. Let it sit for about 5-10 minutes. You should see it get a little foamy. This is how you know your yeast is alive and ready to party. If nothing happens, your yeast might be dead, and it’s better to find out now than after an hour of waiting for a rise that’s never coming. :/
Once it’s foamy, add the eggs, vanilla, the rest of the sugar, cocoa powder, and that glorious red gel food coloring. Use the paddle attachment to mix it on low until it’s a homogenous, frighteningly red liquid.
Now, switch to the dough hook. Add the flour and salt and mix on low until a shaggy dough forms. With the mixer still running on low, begin adding the softened butter, one tablespoon at a time, letting each piece incorporate fully before adding the next. This takes a little patience, but it creates an incredibly tender crumb.
Once all the butter is in, turn the mixer up to medium and let it knead for 5-8 minutes. The dough will be sticky, but it should start to pull away from the sides of the bowl and slap around the hook. If it’s sticking like glue, add a tablespoon of flour at a time until it just clears the sides.
Step 2: The First Rise (Let it Nap)
Lightly oil a large bowl. Form your red dough into a smooth ball, place it in the bowl, and turn it over to coat it lightly in oil. Cover the bowl with plastic wrap or a damp kitchen towel.
Now, find a warm, draft-free spot for it to rise. I like to turn my oven on for one minute, then turn it OFF and place the bowl inside. Let it rise for 1-2 hours, or until it has doubled in size.
Ever wondered why we do this? The yeast is munching on the sugars, producing little bubbles of CO2 that get trapped in the gluten network. That’s what makes your rolls light and airy, not hockey pucks.
Step 3: Roll, Fill, and Create the Swirl
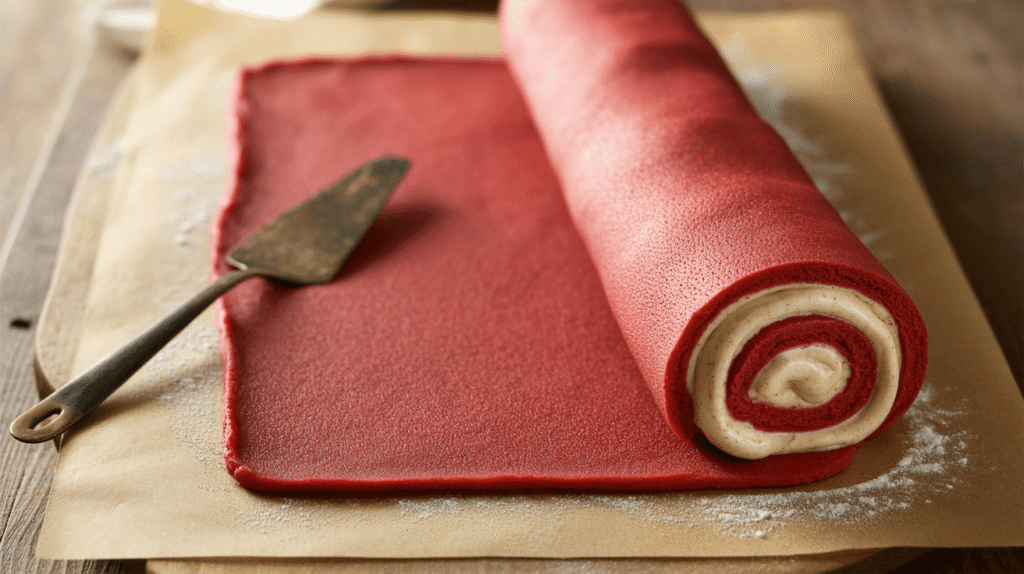
Punch the dough down. I know, it feels violent, but it’s necessary. Turn it out onto a lightly floured surface and roll it into a roughly 10×15 inch rectangle.
Spread the super-soft butter evenly over the entire surface, leaving a half-inch border along one of the long edges. This clean border will help you seal the roll later.
In a small bowl, mix the brown sugar and cinnamon. Sprinkle this mixture evenly over the buttered dough, again leaving that one long edge clear.
Now, here’s the fun part. Starting from the long side opposite the clean edge, tightly roll the dough into a log. Pinch the clean edge firmly to seal the seam. You should have a gorgeous, deep-red log filled with cinnamony promise.
Step 4: Slice and Arrange
Take your log and place it seam-side down. Using a sharp serrated knife, or my favorite, unflavored dental floss, cut the log into 12 equal pieces.
Pro-tip: Mark the log with toothpicks first to ensure even slices. Place the rolls cut-side up in your parchment-lined 9×13 inch pan. They should be cozy but not crammed. Cover the pan with plastic wrap and let them rise again for 30-45 minutes. They should look puffy and have snuggled up against each other.
Meanwhile, preheat your oven to 350°F (175°C).
Step 5: Bake to Golden-Red Perfection
Once the rolls have puffed up, bake them for 20-25 minutes. You’re looking for the tops to be set and they should sound hollow if you tap them lightly. The filling will be bubbly around the edges. FYI, the red color will darken a bit in the oven, which is totally normal.
Step 6: The Frosting Glory
While the rolls are baking, make the frosting. In a medium bowl, beat the softened cream cheese and butter together until completely smooth and lump-free. Beat in the vanilla and salt. Gradually add the powdered sugar on low speed until combined, then beat on medium-high for a minute until fluffy. If it’s too thick, add a splash of milk.
Let the rolls cool in the pan for at least 15-20 minutes before you frost them. I know, the wait is torture. But if you slather that frosting on piping-hot rolls, it will just melt into a sad, runny puddle. Giving them a brief cool-down lets the frosting sit on top in all its glorious, fluffy majesty.
And there you have it. You’ve just created a masterpiece.
Pull one apart, watch the steam rise, and admire your perfect swirl. That first bite—the tangy, creamy frosting with the soft, subtly chocolatey, cinnamony bread—is your reward for a job brilliantly done. You didn’t just bake; you created an experience. Now, go forth and enjoy the fruits of your labor. You’ve earned it

