
You know that age-old, totally unfair question: “If you could only eat one dessert for the rest of your life, what would it be?” Well, I’ve found a deliciously sneaky way to cheat. Instead of choosing between a fudgy brownie, a chewy chocolate chip cookie, and a rich peanut butter cookie, you can have all three. At once. In a single, mind-blowing bite.
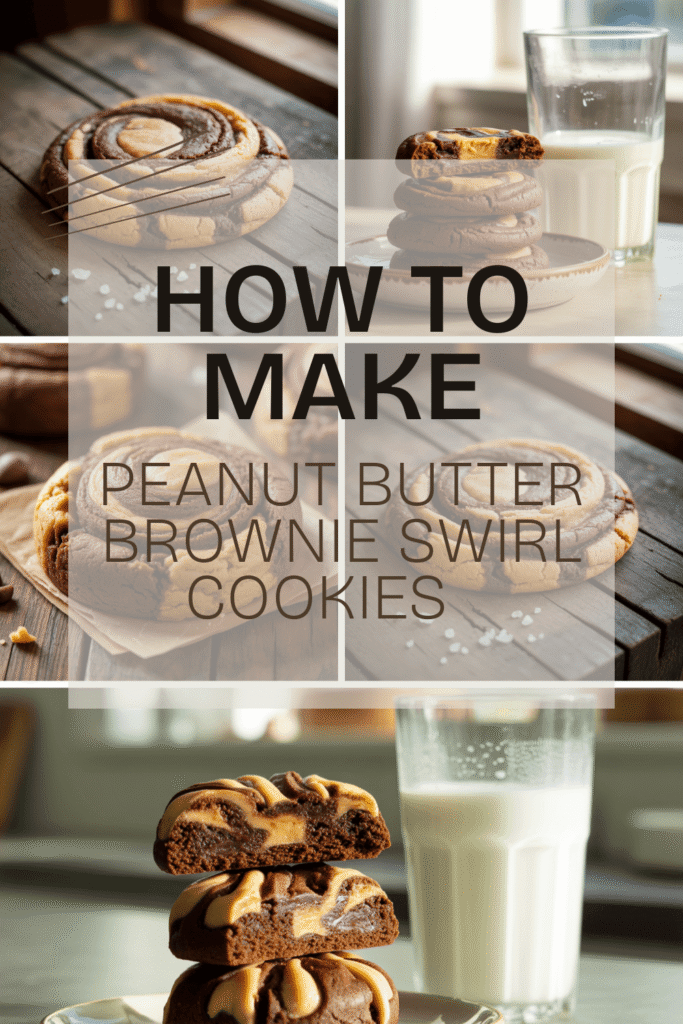
I’m talking about Peanut Butter Brownie Swirl Cookies. And let me tell you, these aren’t just cookies; they’re an event. They look impressively fancy, like you slaved away for hours in a fancy patisserie, but the secret is that they’re deceptively simple to make. If you can scoop dough and make a few swirls with a knife, you are 100% qualified for this mission.
So, are you ready to create the ultimate dessert hybrid that will make you the hero of every bake sale, potluck, and late-night snack session? Let’s get to it.
1. Why You Should Choose This Recipe (Spoiler: It's Basically Magic)
et’s be real, there are a million cookie recipes out there. Why should this one be your next baking project? IMO, it boils down to three irresistible points.
The Ultimate Texture Combo
Imagine the best parts of your favorite desserts: the crackly top of a brownie, the soft and chewy center of a cookie, and the dense, salty-sweet satisfaction of a peanut butter treat. This recipe somehow captures all of that. The brownie batter bakes up with a slight crust, while the cookie dough ensures a delightfully chewy underbelly. It’s a textural symphony, and you’re the conductor.
Maximum “Wow” Factor, Minimal Effort
These cookies look like you’re a professional baker who spent years perfecting the art of the swirl. The beautiful marbling is honestly just fun to do—it’s like being a kid again, but with edible, delicious results. People will see them and assume you have serious skills. We’ll just let them assume, okay?
It Solves Decision Fatigue
Can’t decide what to bake? Problem solved. Craving chocolate and peanut butter? Look no further. This recipe is the ultimate crowd-pleaser because it covers all the bases. It’s the dessert equivalent of a Swiss Army knife—unbelievably versatile and always the right tool for the job.
2. What You Will Need in the Kitchen (No Fancy Gear Required!)
Before we get to the ingredients, let’s talk tools. The good news is you probably have everything you need already. No stand mixer? No problem! A couple of bowls and a sturdy wooden spoon will work just fine.
Here’s your equipment checklist:
-
Two Mixing Bowls: One for the brownie batter, one for the peanut butter cookie dough. Keep them separate until it’s time to swirl!
-
Electric Hand Mixer or Stand Mixer: You can do this by hand, but creaming the butter and sugars for the cookie dough is much easier with a mixer. Your arm will thank you.
-
Measuring Cups and Spoons: For accuracy, please use proper measuring cups for dry ingredients and a liquid measuring cup for, well, liquids. It makes a difference!
-
Whisk and Spatula: A whisk for the dry brownie ingredients, and a spatula to scrape every last bit of glorious batter out of the bowls. Don’t leave any goodness behind.
-
Baking Sheets: Standard half-sheet pans are perfect.
-
Parchment Paper or Silicone Baking Mats: This is non-negotiable for me. They prevent sticking and make cleanup an absolute dream. Seriously, don’t skip this.
-
Cookie Scoop (or Ice Cream Scoop): This is a game-changer for getting uniformly sized cookies that bake evenly. A 2-tablespoon scoop is the ideal size.
-
A Knife or Toothpick: For creating the iconic swirls!
See? Nothing crazy. Now, onto the main event: the ingredients.
3. Ingredients You Are Going to Need
Gather these components, and you’re well on your way to cookie nirvana. I’ve separated them by the two doughs to make it super clear.
For the Quick Brownie Batter:
-
4 ounces Semi-Sweet Chocolate, chopped: Or you can use high-quality chocolate chips. I prefer chopping a bar because it melts more evenly, but use what you have!
-
2 tablespoons Unsalted Butter: This adds richness and helps the chocolate melt smoothly.
-
3 tablespoons All-Purpose Flour: Yes, only three tablespoons! This keeps the brownie part fudgy and dense, not cakey.
-
1 tablespoon Unsweetened Cocoa Powder: For an extra deep chocolate flavor.
-
2 tablespoons Granulated Sugar: Just a bit to sweeten the deal.
-
1 large Egg: This binds everything together and gives the brownie its structure.
-
¼ teaspoon Vanilla Extract: The flavor enhancer we all know and love.
For the Peanut Butter Cookie Dough:
-
½ cup (1 stick) Unsalted Butter, at room temperature: This is key! Your butter should be soft to the touch but not melted. Leave it on the counter for an hour before you start.
-
½ cup Creamy Peanut Butter: Don’t use the natural kind that separates here; the stabilized stuff like Jif or Skippy works best for texture and consistency.
-
½ cup Granulated Sugar: For sweetness and that classic cookie chew.
-
½ cup Light Brown Sugar, packed: The molasses in the brown sugar adds moisture and a deeper, caramel-like flavor.
-
1 large Egg: The binder for the cookie dough.
-
1 teaspoon Vanilla Extract: Because vanilla makes everything better.
-
1 ¼ cups All-Purpose Flour: The foundation of our cookie dough.
-
½ teaspoon Baking Soda: Our leavening agent for a little lift.
-
¼ teaspoon Baking Powder: A touch more lift to balance the density.
-
½ teaspoon Salt: Crucial for balancing the sweetness. If you use salted butter, you can reduce this to a pinch.
4. Your Step-by-Step Guide to Cookie Glory
Okay, friends. This is where the magic happens. Put on some music, clear off your counter, and let’s make some art.
Step 1: Conquer the Brownie Batter
First things first, we need to tackle the brownie component because it needs a few minutes to cool down.
-
Melt the Chocolate and Butter: In a microwave-safe bowl, combine the chopped semi-sweet chocolate and the 2 tablespoons of butter. Heat in the microwave in 20-second bursts, stirring well after each burst, until it’s completely smooth and melted. (You can also do this in a heatproof bowl set over a pot of simmering water if you’re feeling fancy).
-
Whisk the Wet Ingredients: To the slightly cooled chocolate mixture, whisk in the 2 tablespoons of granulated sugar, the 1 egg, and the ¼ teaspoon of vanilla extract. Keep whisking until it’s all one homogenous, shiny, chocolatey pool.
-
Add the Dry Ingredients: In a small separate bowl, whisk together the 3 tablespoons of flour, 1 tablespoon of cocoa powder, and a tiny pinch of salt. Dump this into the wet chocolate mixture and stir until just combined. Don’t overmix! Set this bowl aside while you work on the cookie dough.
Step 2: Master the Peanut Butter Cookie Dough
Now, for the other half of our dynamic duo.
-
Cream the Butter and Sugars: In your second, larger mixing bowl, beat the softened ½ cup of butter, ½ cup of peanut butter, ½ cup of granulated sugar, and ½ cup of packed brown sugar together with your mixer on medium speed. Beat it for a good 2-3 minutes until it’s light, fluffy, and pale in color. This step incorporates air, which is key for texture.
-
Add the Egg and Vanilla: Beat in the 1 egg and 1 teaspoon of vanilla extract until everything is well combined. Scrape down the sides of the bowl with your spatula to make sure nothing is hiding.
-
Combine the Dry Ingredients: In another bowl, whisk together the 1 ¼ cups of flour, ½ teaspoon of baking soda, ¼ teaspoon of baking powder, and ½ teaspoon of salt.
-
Bring It All Together: With your mixer on low speed, gradually add the dry ingredients to the wet ingredients. Mix until the flour just disappears. Seriously, the second you don’t see any more dry flour, STOP MIXING. Overmixing is the enemy of a tender cookie.
Step 3: The Grand Swirl Assembly
This is the fun part! Preheat your oven to 350°F (175°C) and line your baking sheets with parchment paper.
-
Scoop the Bases: Using your cookie scoop, portion out the peanut butter cookie dough. Each scoop should be about 2 tablespoons. Place the dough balls about 2 inches apart on your prepared baking sheets. These guys need room to spread.
-
Add the Brownie Blob: Now, take a teaspoonful of the thickened brownie batter and place it right on top of each peanut butter dough ball. Don’t press it down too hard.
-
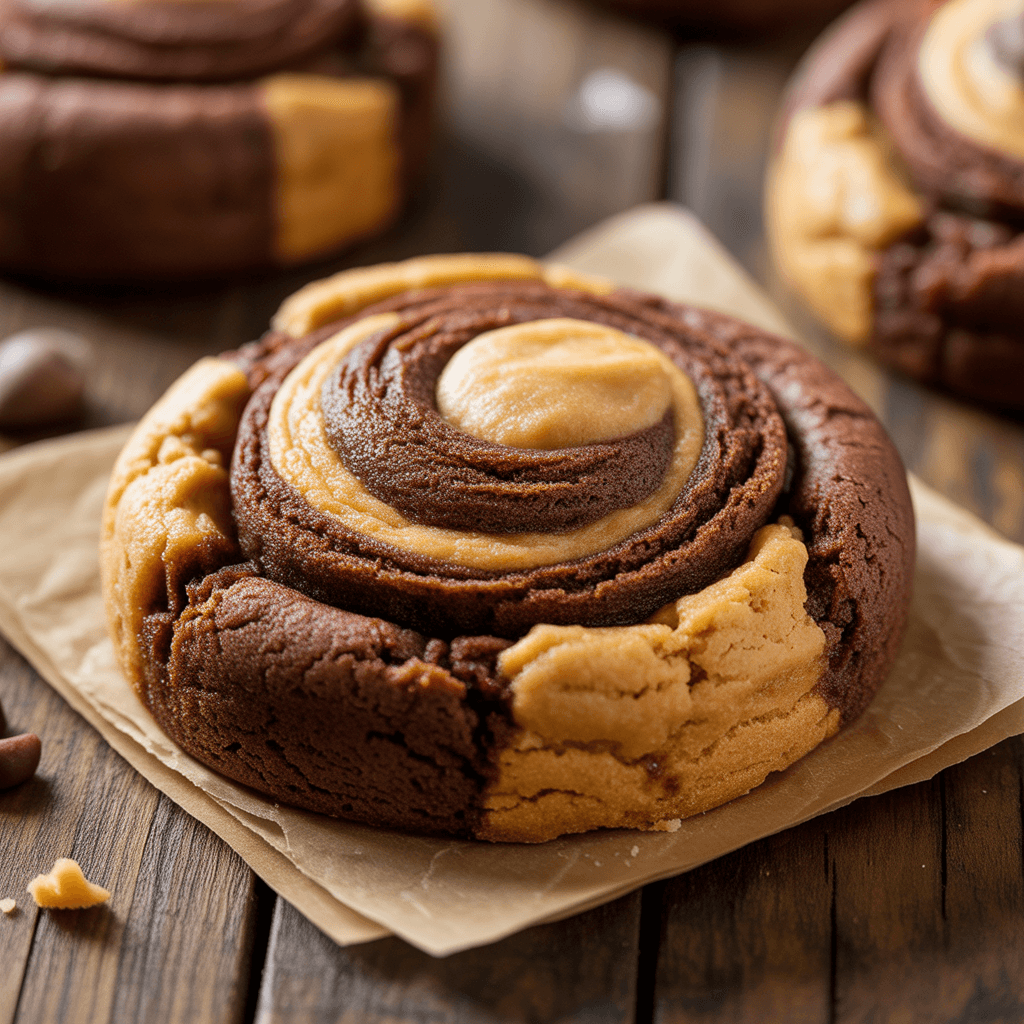
Create the Swirl: Here’s the artistic bit. Take a knife or a toothpick and gently drag it through the two doughs. Make a few figure-eight motions or just swirl it around randomly. You want to marble them, not fully combine them. The goal is to have distinct ribbons of chocolate and peanut butter. Don’t overthink it; every cookie will be uniquely beautiful.
Step 4: Bake to Perfection
-
Chill Time (Optional but Recommended): For a thicker, chewier cookie, pop the entire baking sheet into the fridge for 15-20 minutes before baking. This prevents them from spreading too much.
-
Bake: Slide those beautiful creations into your preheated oven. Bake for 10-12 minutes. The edges should be set and just starting to turn golden brown, but the centers will still look a little soft. This is exactly what you want!
-
The Cool Down: This is the hardest part. Remove the baking sheets from the oven and let the cookies cool on the sheet for at least 10 minutes. They are still setting up! After that, you can transfer them to a wire rack to cool completely. Or, you know, grab a glass of milk and eat one warm. I won’t tell.
And there you have it. You’ve just created a masterpiece. These cookies are best enjoyed the day they’re made, but they’ll keep in an airtight container for a few days (if they last that long). FYI, they also freeze amazingly well.
So, what are you waiting for? Go preheat that oven and get ready to receive your well-deserved compliments. Happy baking

