
You know that feeling when you walk into a diner, and the air is thick with the smell of sizzling butter and coffee, and you just know the pancakes are going to be epic? They’re tall, they’re golden, and they’re so fluffy they practically need their own pillow. Then you go home and try to recreate the magic, and you end up with… well, a sad, flat disc that’s somehow both gummy and dense. Been there, burned that.
What if I told you the diner-style, cloud-like pancake of your dreams is absolutely within your reach? And no, you don’t need a secret ingredient shipped from the Himalayas. You just need to understand a few simple, non-negotiable rules. I’ve had more than my share of pancake failures (let’s not talk about the “hockey puck incident” of 2017), but that’s how I learned what truly works.
So, grab your favorite mixing bowl. We’re about to ban flat pancakes forever.
1. Why You Should Choose This Recipe (Trust Me on This)
Look, you could grab a box of mix. I’m not here to judge. Sometimes you just need a carb fix, stat. But if you’re after that truly unforgettable, “can I have your recipe?” level of pancake, then from-scratch is the only way to go. Why does this particular recipe deserve a spot in your weekend rotation?
First off, it’s ridiculously reliable. This isn’t some fussy, temperamental formula that requires you to whisper sweet nothings to your batter. It’s built on solid, kitchen-science principles that deliver consistent, fluffy results every single time. We’re talking about a perfect, tender crumb that soaks up syrup without falling apart.
Secondly, it’s faster than you think. Seriously, the time it takes to find a measuring cup and boil the kettle is about the same amount of time it takes to whisk these ingredients together. The active work is maybe five minutes. Your future self, happily chewing, will thank your past self for the minimal effort.
Finally, and this is a big one, you control everything. No unpronounceable preservatives, no mystery ingredients. Want to add a handful of blueberries or a dash of cinnamon? Go for it. You’re the boss of your breakfast. This recipe is your flawless canvas.
2. What You Will Need in the Kitchen
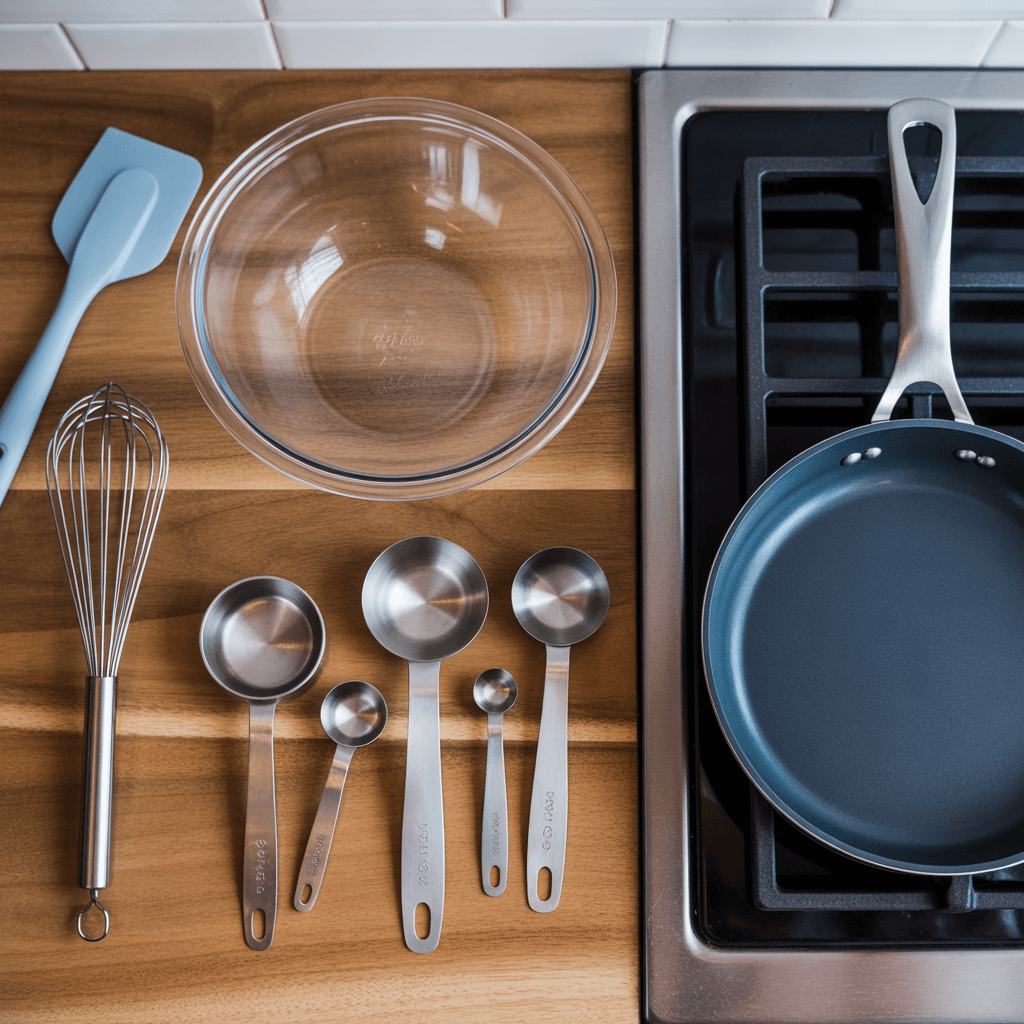
Before we get to the what, let’s talk about the with what. You don’t need any fancy equipment, but having the right tools makes the process smoother than a pat of melted butter.
A Large Mixing Bowl: Go for one that’s bigger than you think you need. This gives you plenty of room to whisk without flour flying everywhere.
A Whisk: Your number one weapon against lumps. A good old-fashioned wire whisk is perfect for incorporating the dry ingredients without overmixing.
A Rubber Spatula: Essential for gently folding the wet and dry ingredients together and for getting every last drop of batter out of the bowl. No waste!
Measuring Cups and Spoons: For accuracy. Baking is a science, even when it’s a delicious, buttery one.
A Griddle or Large Non-Stick Skillet: This is key. A griddle is ideal because of the large, flat surface, but a good non-stick skillet works beautifully. IMO, cast iron is great if it’s well-seasoned, but for foolproof flipping, a reliable non-stick is my go-to.
A Ladle or a ¼ Cup Measuring Cup: This is our secret weapon for uniformly sized pancakes. No more weird, misshapen cakes! Using a ladle or measuring cup ensures they all cook at the same rate.
See? Nothing crazy. Just the standard arsenal of a breakfast champion.
3. Ingredients You Are Going to Need
Here’s where the magic happens. These are simple pantry staples, but the specific choices matter. I’ll tell you why as we go. Gather this A-team of ingredients:
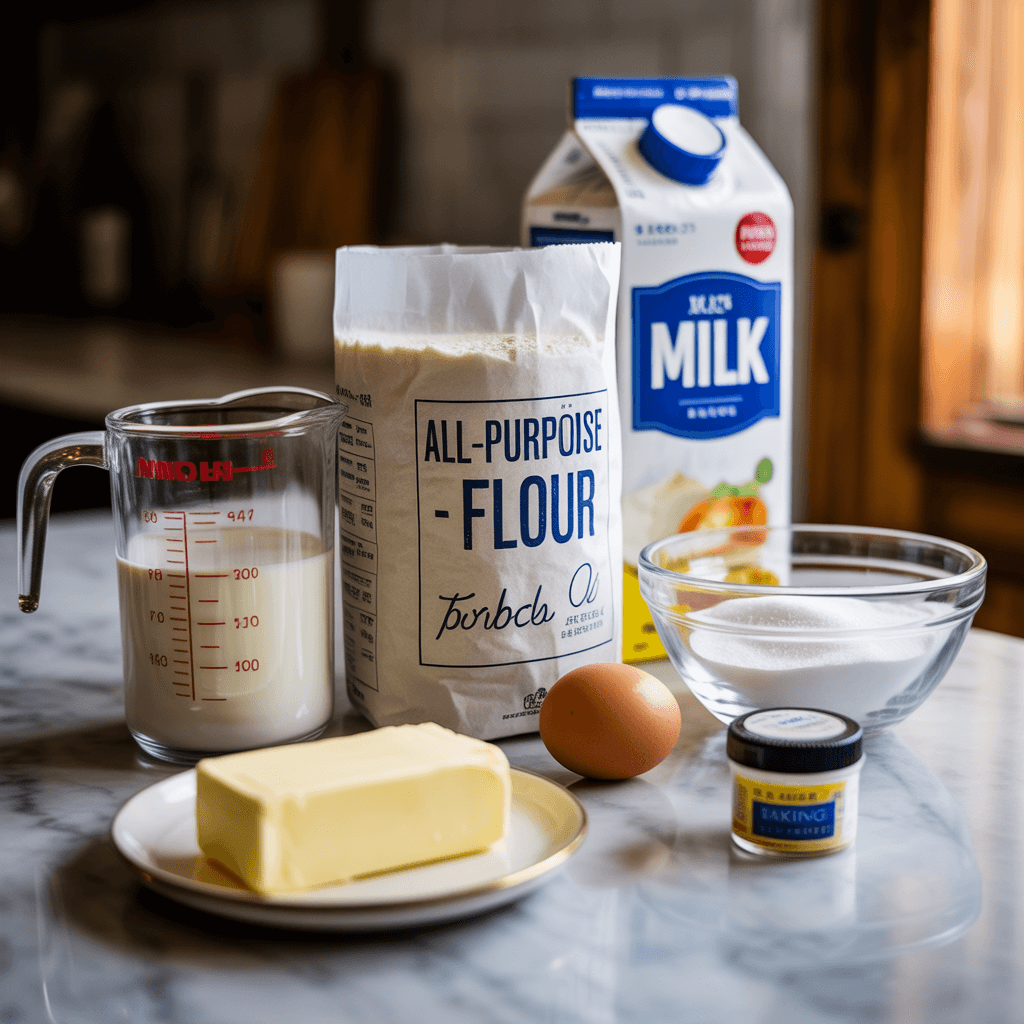
1 ½ cups All-Purpose Flour: The foundation. Don’t pack it into the cup! Spoon it in and level it off for the perfect measure.
2 tablespoons Granulated Sugar: Just enough for a hint of sweetness and to help with that beautiful golden-brown color.
1 tablespoon Baking Powder: This is the LEAVENING AGENT. It’s the chemical reaction that creates those lovely air bubbles. Please check the expiration date on yours. Old baking powder is the number one culprit for flat pancakes. Seriously, it’s public enemy number one.
½ teaspoon Salt: Crucial for balancing the flavors. It makes the pancakes taste more, well, pancake-y.
1 ¼ cups Milk: Whole milk will give you the richest flavor and tenderness, but 2% works just fine. I’ve even used buttermilk for a fantastic tang—FYI, if you use buttermilk, you’d add ½ tsp of baking soda too to neutralize the acid.
1 large Egg: It adds structure and richness.
3 tablespoons Unsalted Butter, melted (and slightly cooled), plus more for the pan: The butter gives us flavor and a tender texture. Using unsalted lets us control the salt level.
1 teaspoon Vanilla Extract (optional but highly recommended): It adds a warm, bakery-style depth. Don’t skip it!
4. Your Step-by-Step Guide to Fluffy Pancake Glory

Okay, folks. This is it. The main event. Follow these steps, and you are guaranteed success. Read through everything once before you start—it’s like reading the map before a road trip.
Step 1: The Dry Team Assemble!
Grab that large mixing bowl. Whisk together the flour, sugar, baking powder, and salt. Whisk it really well. You want to make sure the baking powder is evenly distributed throughout the flour. This isn’t a gentle stir; give it a good 10-15 second whisk. This ensures every bite gets its fair share of lift.
Step 2: The Wet Team Joins the Party
In a separate bowl or a large measuring jug, whisk together the milk, egg, and vanilla extract (if using). Now, take your melted butter. Is it still piping hot? Let it cool for a minute. If you add scorching hot butter to the cold milk and egg, you might end up with little cooked egg bits. Not ideal. Once it’s warm but not hot, whisk it into the milk mixture.
Step 3: The Critical Merge (This is Where Most People Go Wrong)
You see that bowl of dry ingredients? Make a well in the center. Pour the wet ingredients into that well. Now, take your whisk and start combining. Mix until the flour is just moistened. I mean it. There should still be lumps. Lumps are good! Lumps are your friends!
Are you fighting the urge to keep mixing? Walk away from the bowl. Overmixing develops the gluten in the flour, which leads to tough, chewy pancakes. We want tender and fluffy, not bread-like. A few streaks of flour are totally fine. The batter will look a little thick and lumpy—that’s exactly what we want.
Step 4: Let the Batter Rest (The Secret Weapon)
This might be the hardest step because you’re ready to cook! But trust me, let the batter sit on the counter for about 5-10 minutes. Why? This allows the baking powder to start activating (creating bubbles) and gives the flour particles time to fully hydrate. You’ll see the batter puff up slightly. This rest period is what gives you that incredible, airy texture.
Step 5: Heat Things Up Properly
While the batter is resting, place your griddle or skillet over medium heat. Not high, medium. This is another common mistake. If the heat is too high, the outside of the pancake will burn before the inside has a chance to cook through. To test if it’s ready, flick a few drops of water onto the surface. If they dance and sizzle away, you’re good to go.
Add a small pat of butter or a light drizzle of neutral oil (like canola or vegetable) and spread it around.
Step 6: Ladle and Watch for Bubbles
Use your ¼ cup measure or ladle to pour the batter onto the hot griddle. Now, the most satisfying part: watch for the bubbles. You’ll see little bubbles start to form on the surface and the edges will look set and maybe even a little dry. This is your signal. Once the bubbles pop and leave little holes that don’t immediately fill back in, it’s time to flip. This usually takes about 2-3 minutes.
Step 7: The Flip and the Finish
Slide your spatula underneath with confidence and flip those pancakes in one smooth motion. Don’t hesitate! The second side will cook much faster, usually in about 1-2 minutes. It should be a beautiful golden brown.
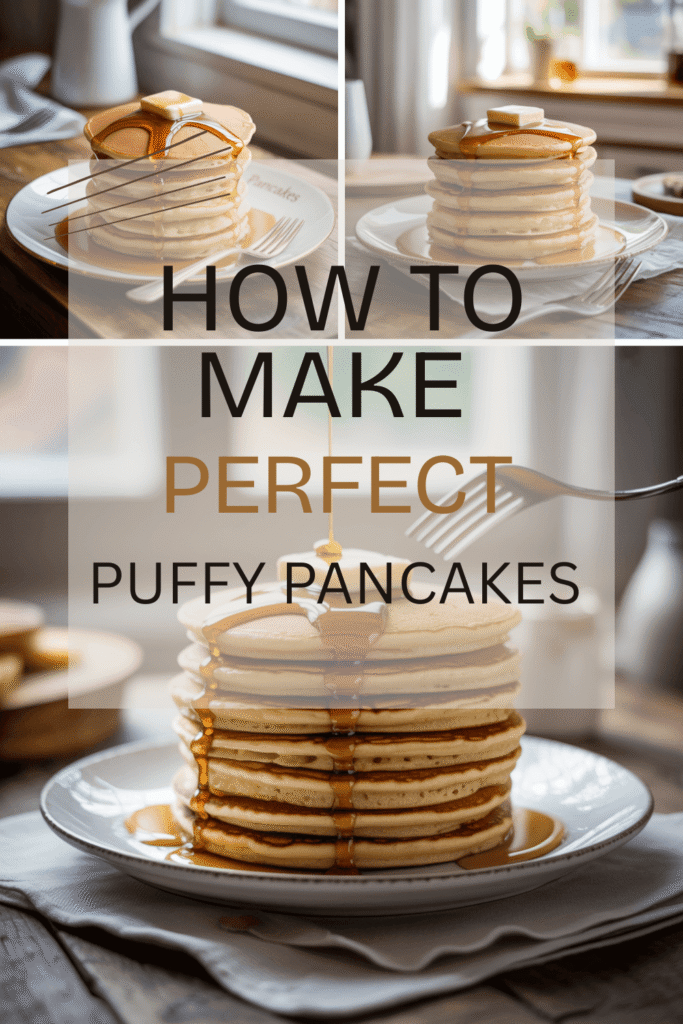
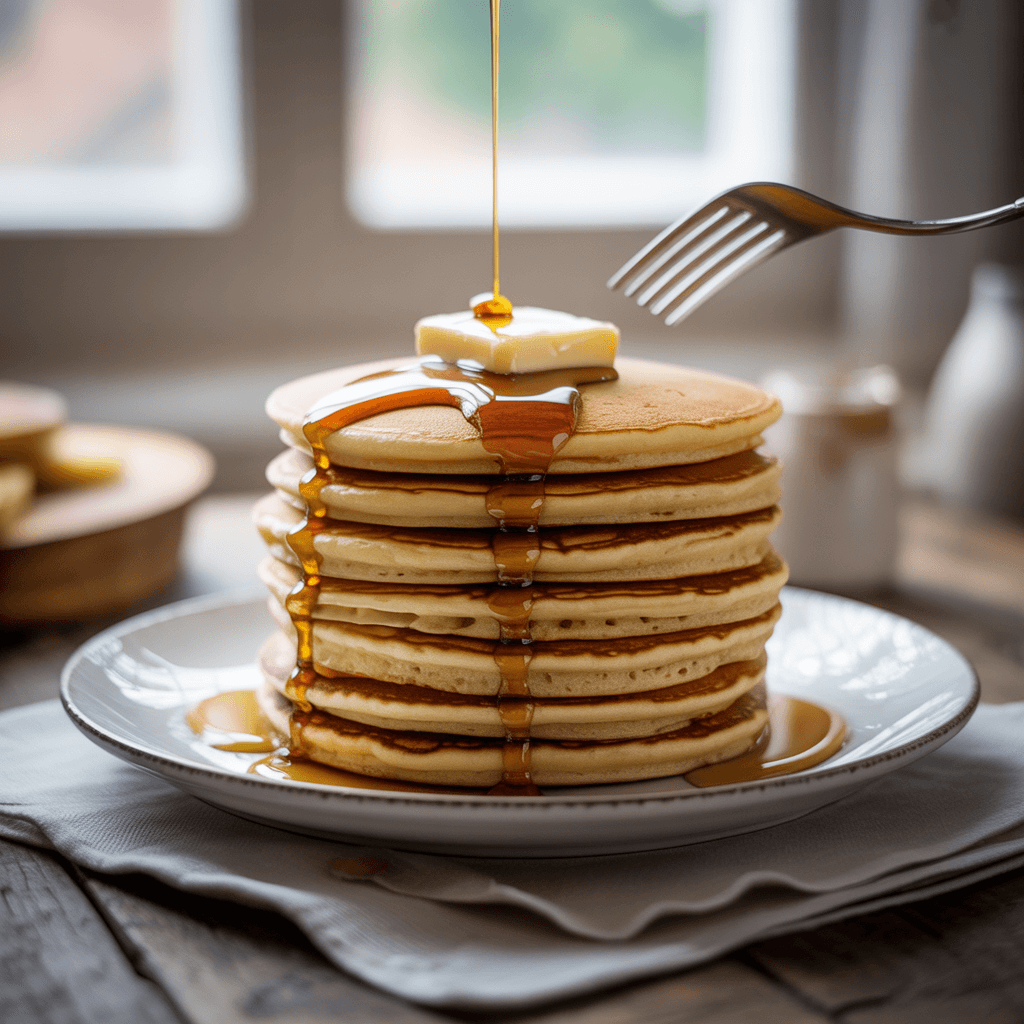
Step 8: Serve Immediately!
Pancakes are best served straight from the griddle. Stack ’em high on a warm plate and add your favorite toppings. They wait for no one. :/
And there you have it. You’ve just created a stack of pure, unadulterated breakfast bliss. They’ll be light, fluffy, and everything you ever wanted from a pancake.
So, was that so hard? You’ve now got the knowledge to banish flat, sad pancakes for good. The next time that pancake craving hits, you know exactly what to do. Go forth and create something delicious. I’d love to hear about your fluffy successes!

