
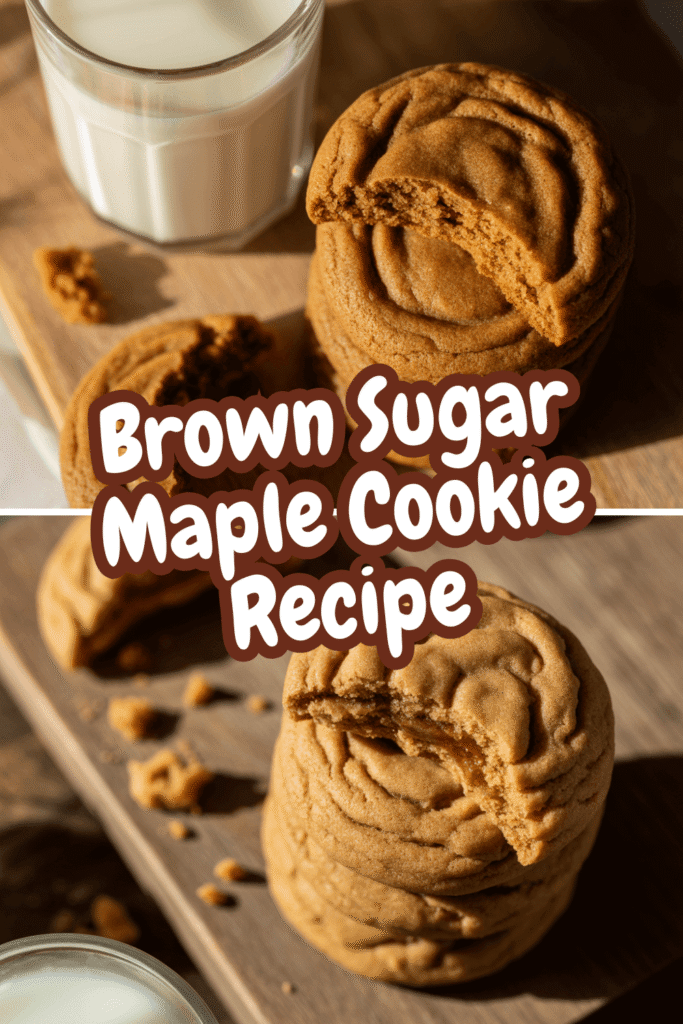
You know that feeling when you crave a cookie that’s more than just… a cookie? You’re not after a simple sugar fix. You want something with depth, with character. Something that tastes like a cozy sweater feels. You want a cookie that has a story to tell, and that story involves brown sugar and maple syrup.
Well, my friend, you’ve landed in the right place. I’ve been on a quest for the perfect chewy, flavorful cookie for years, and let me tell you, this brown sugar maple cookie is the holy grail. It’s the one recipe I get requests for every holiday, the one I’ve perfected through (very delicious) trial and error. So, grab a cup of coffee, and let’s get baking.
1. Why You Should Choose This Recipe (Spoiler: It's Amazing)
Let’s be real, there are a million cookie recipes out there. Why should you commit to this one? IMO, it boils down to a few simple, glorious things.
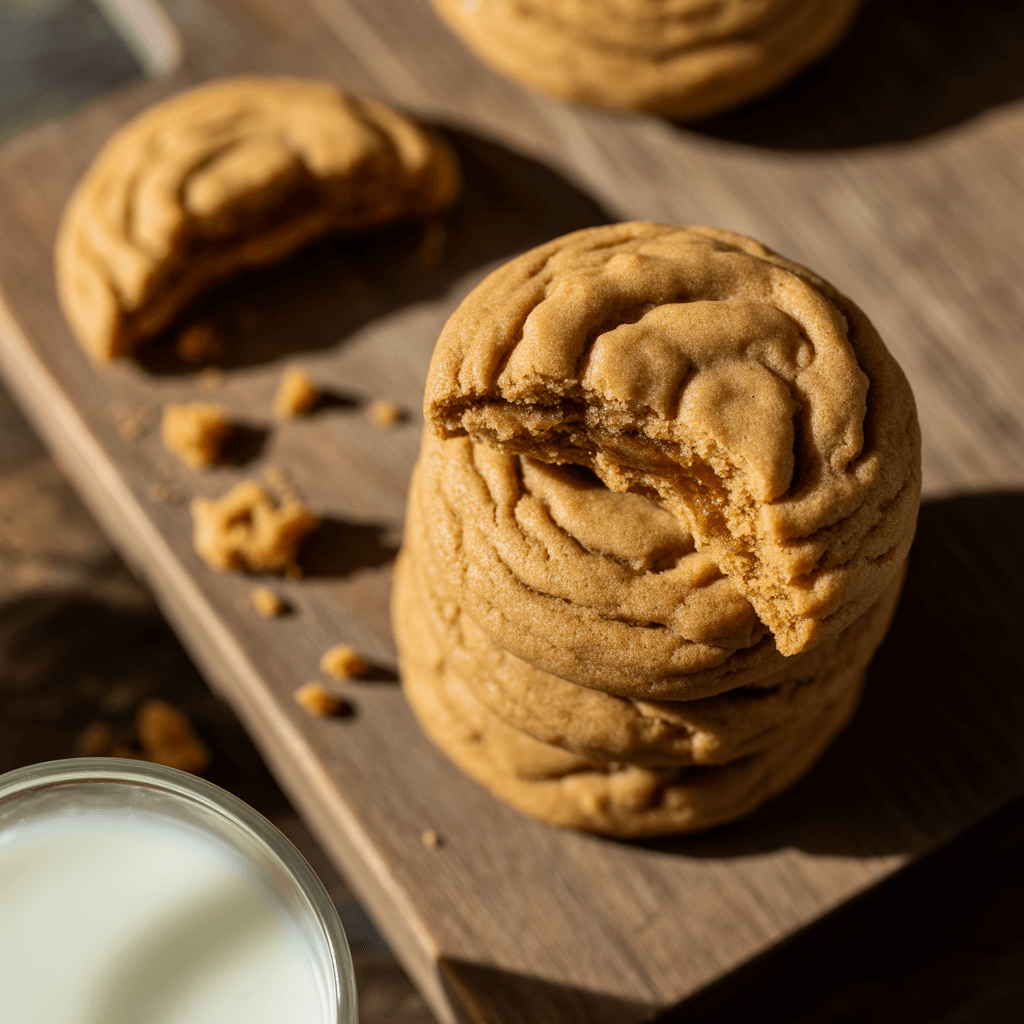
First off, the flavor profile is a knockout. This isn’t a one-note cookie. The deep, almost toffee-like notes of the dark brown sugar partner perfectly with the rich, earthy sweetness of real maple syrup. It’s a complex flavor that makes people go, “Wow, what is that?” in the best way possible.
Secondly, we’re chasing texture perfection here. This recipe is engineered for a cookie that is crisp at the very edges and gloriously, decadently chewy in the center. We’re not making cakey cookies, and we’re definitely not making thin, crispy lace. This is the chewy cookie of your dreams.
And finally, it’s surprisingly simple. You don’t need any fancy equipment or hard-to-find ingredients. The magic is in the method and the powerful combo of our two star players. It’s a low-fuss, high-reward situation. What’s not to love?
2. What You Will Need in the Kitchen
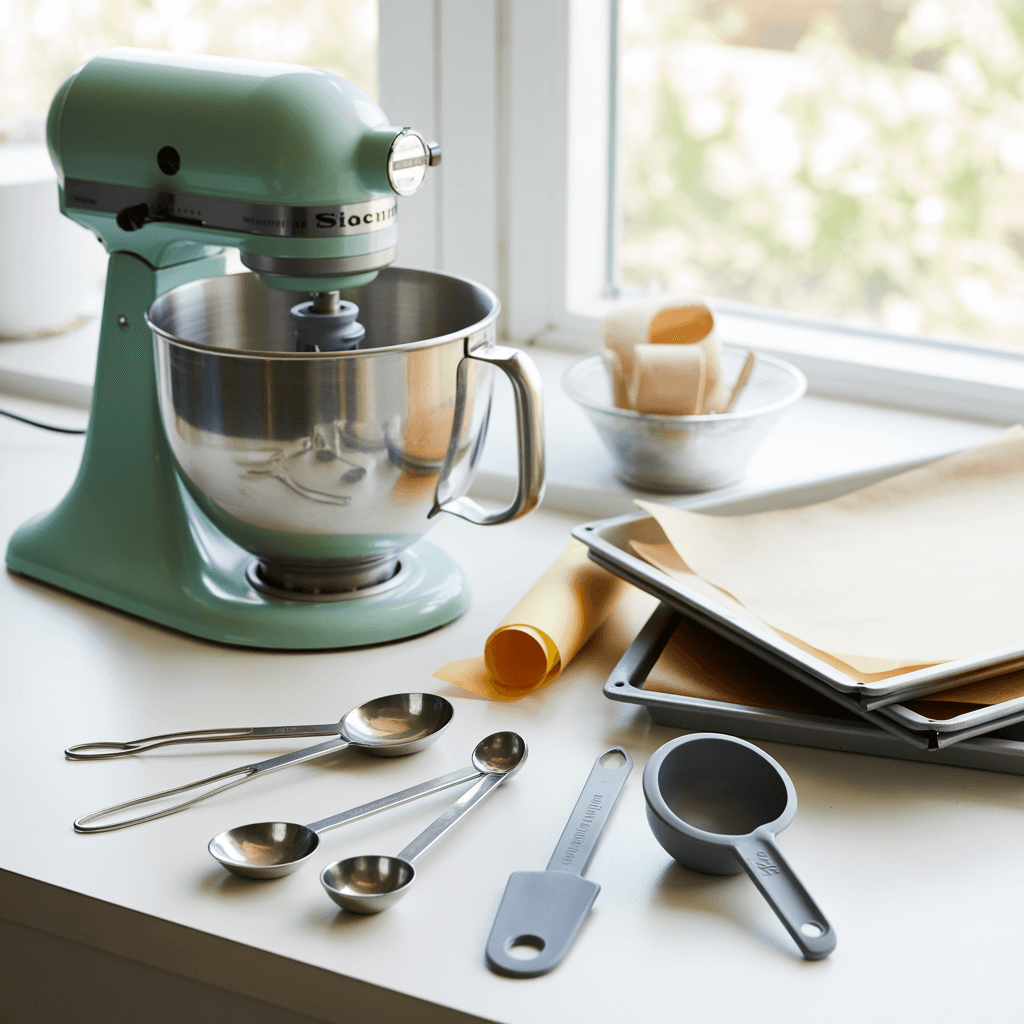
Before we get our hands dirty, let’s do a quick gear check. No need for anything too fancy, I promise.
A Stand Mixer or Electric Hand Mixer: You can do this by hand with a wooden spoon and sheer willpower, but creaming the butter and sugars to the right consistency is way easier with mechanical help. Your arm will thank you.
Two Baking Sheets: Because batch baking is the name of the game.
Parchment Paper or Silicone Baking Mats: This is non-negotiable for me. It prevents sticking and ensures your cookies don’t get a scandalously dark bottom. Seriously, don’t skip this.
A Medium Bowl and a Small Bowl: For your dry ingredients and your maple syrup mixture.
A Whisk and a Spatula: For combining and for making sure you get every last bit of delicious dough out of the bowl.
A Cookie Scoop (Optional but Highly Recommended): This is the secret to uniformly sized, perfectly round cookies. No more one cookie being a giant and its neighbor being a sad, under-baked puck.
See? Nothing crazy. Just the usual suspects.
3. Ingredients You Are Going to Need
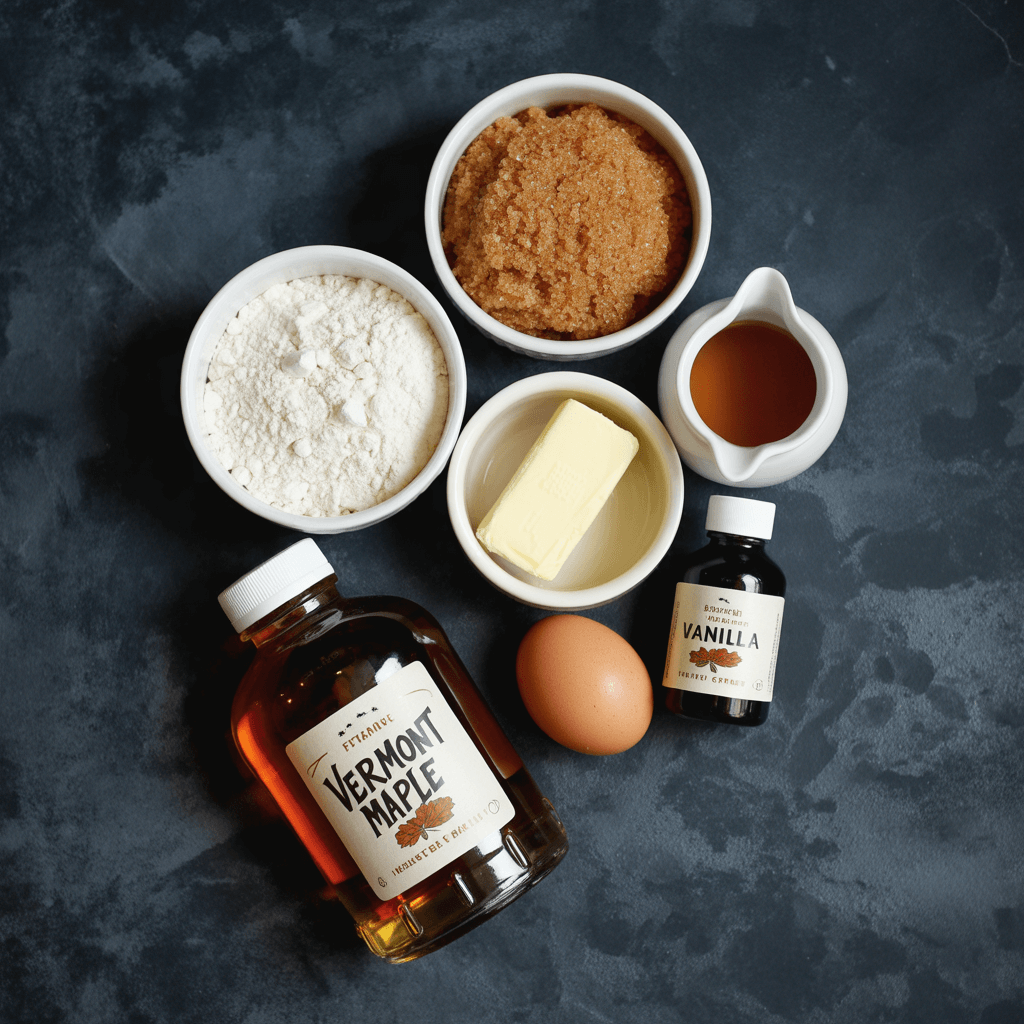
Alright, here’s the cast of characters. Using the right ingredients is key here, so pay close attention to the details.
The Dry Team:
2 ¾ cups All-Purpose Flour
1 tsp Baking Soda
½ tsp Baking Powder
1 tsp Cornstarch (This is our secret weapon for extra chew!)
½ tsp Salt (If you use unsalted butter, bump this up to 1 tsp)
The Wet & Sweet Team:
1 cup (2 sticks) Unsalted Butter, softened to room temperature
1 ½ cups packed Dark Brown Sugar (The darker, the better for that molasses kick!)
1 large Egg + 1 Egg Yolk (The extra yolk adds richness and chew)
2 tsp Pure Vanilla Extract
The Star of the Show:
½ cup Pure Maple Syrup (We’ll reduce this down—trust me on this!)
The Finishing Touch:
About ½ cup of additional granulated or coarse sugar for rolling.
A Quick but Very Important Note on the Maple Syrup:
I need to be a little bossy here for your own good. You must use 100% pure maple syrup. Do not, I repeat, do not use pancake syrup or maple-flavored syrup. That stuff is basically corn syrup with artificial flavor and will not give you the deep, authentic taste we’re going for. It’s the difference between a masterpiece and a meh-sterpiece. FYI
4. Your Step-by-Step Guide to Cookie Bliss
Okay, the prep is done. Now for the main event. Follow these steps, and you’re golden.
Step 1: The Maple Syrup Reduction
This is the one step that might be new to you, and it’s the game-changer. Pour your ½ cup of pure maple syrup into a small saucepan. Heat it over medium heat, letting it simmer gently for about 5-7 minutes. You’ll see it bubble up and reduce slightly to about ⅓ cup. It will become a bit thicker and more syrupy.
Why do we do this? We’re concentrating the flavor and boiling off some of the extra water. This gives us an intense maple punch without making the cookie dough too wet. Let this cool completely before you use it. I usually pop the saucepan in the fridge for 10-15 minutes to speed this up.
Step2: Combine the Dry Ingredients
In your medium bowl, whisk together the flour, baking soda, baking powder, cornstarch, and salt. Whisking is better than sifting here because it ensures everything is evenly distributed without over-aerating the flour. Set this bowl aside.
Step 3: Cream the Butter and Sugar
In your mixer bowl, beat the softened butter and the packed dark brown sugar together on medium speed for a full 2-3 minutes. You’re not just mixing them; you’re creaming them. This means beating until the mixture becomes noticeably lighter in color and fluffy. This step is crucial for creating air pockets that will help our cookies rise and become tender.
Step 4: Bring It All Together
Now, scrape down the sides of the bowl and add the egg, the extra egg yolk, and the vanilla extract. Mix until just combined.
Next, pour in your completely cooled maple syrup reduction. Mix it in until it’s fully incorporated. Your dough might look a little separated or curdled at this point—don’t panic! It will all come together when you add the flour.
Finally, with your mixer on low speed, gradually add the dry ingredient mixture. Mix only until the flour streaks disappear. Do not overmix! Overmixed dough = tough cookies, and we are not in the business of tough cookies.
Step 5: The Chill Session
This is the hardest part, I won’t lie. You need to cover the bowl and chill the dough for at least 30 minutes, and ideally up to an hour. I know, I know, you want cookies now. But chilling the dough does two critical things:
-
It prevents the cookies from spreading too much and turning into flat, greasy puddles in the oven.
-
It allows the flour to fully hydrate, giving us that coveted chewy texture.
So, be patient. It’s worth it. Go set a timer and watch a funny cat video or something.
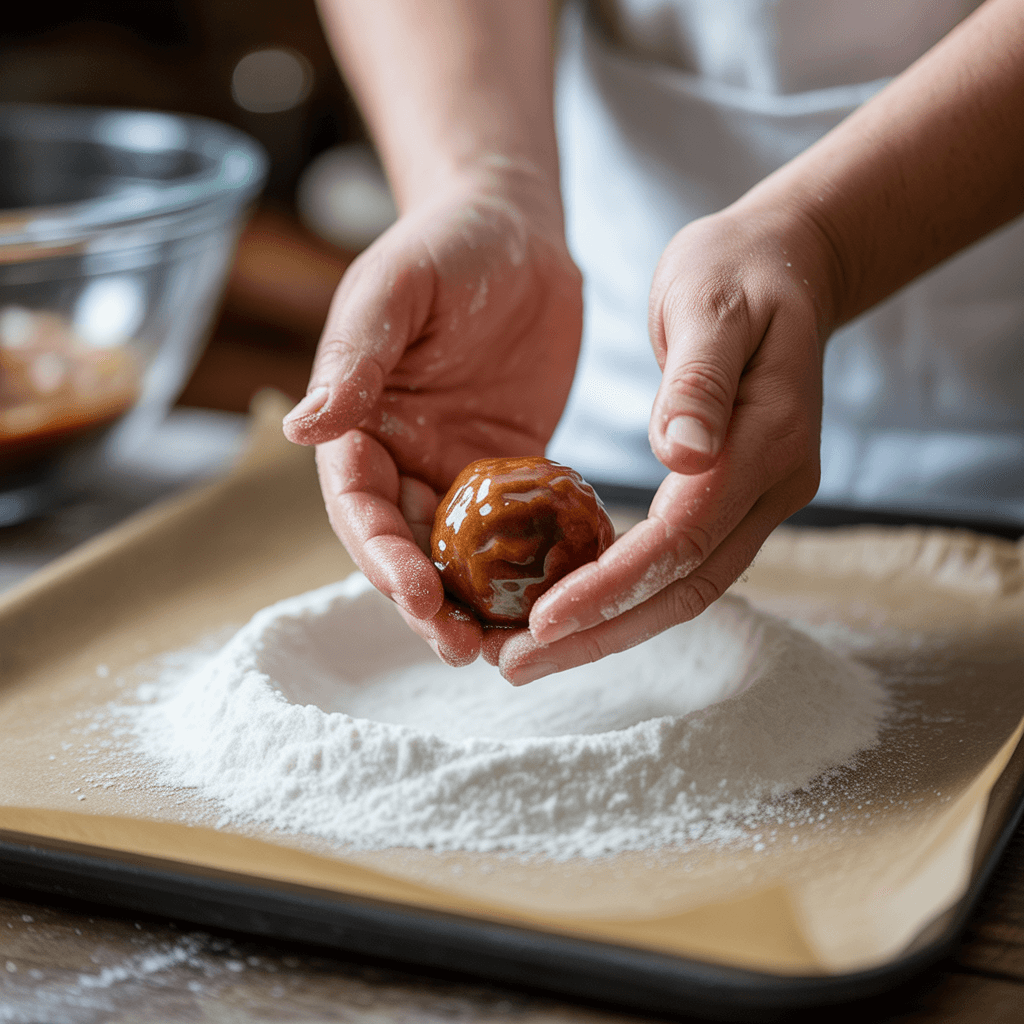
Step 6: Scoop, Roll, and Bake
Preheat your oven to 350°F (175°C) and line your baking sheets with parchment paper.
Take your chilled dough and use your scoop or a tablespoon to portion out balls of dough. Roll each ball between your palms to smooth it, then roll it in the reserved granulated sugar. This gives the cookie a delightfully crisp, sparkly exterior. Place the dough balls about 2 inches apart on your baking sheet.
Bake for 10-12 minutes. The cookies will still look a little soft in the center, and the edges will be just set. They might even look a tiny bit underdone. THIS IS WHAT YOU WANT. They will continue to cook on the hot baking sheet after you pull them out. This is the secret to a soft center.
Step 7: The Final, Crucial Patience Test
When you take the cookies out of the oven, let them cool on the baking sheet for a full 5 minutes. This allows them to set up properly. Then, and only then, transfer them to a wire rack to cool completely.
Or, you know, eat one immediately while it’s still warm and melty, because you’ve earned it.
So, there you have it. My not-so-secret, absolutely perfected recipe for brown sugar maple cookies. They’re the kind of cookie that makes an ordinary day feel special. The dough freezes beautifully, too, so you can have a slice of happiness ready to bake at a moment’s notice.
Now, I have to ask… what are you waiting for? Your kitchen is calling, and it smells like maple-y, brown sugary heaven. Happy baking

